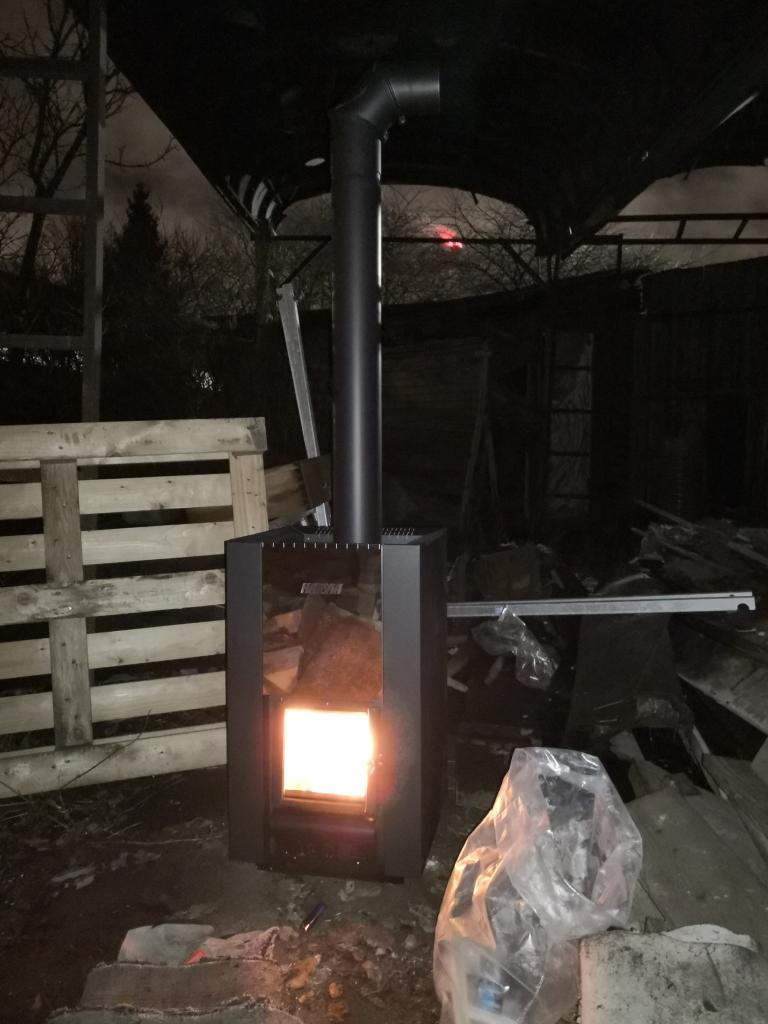
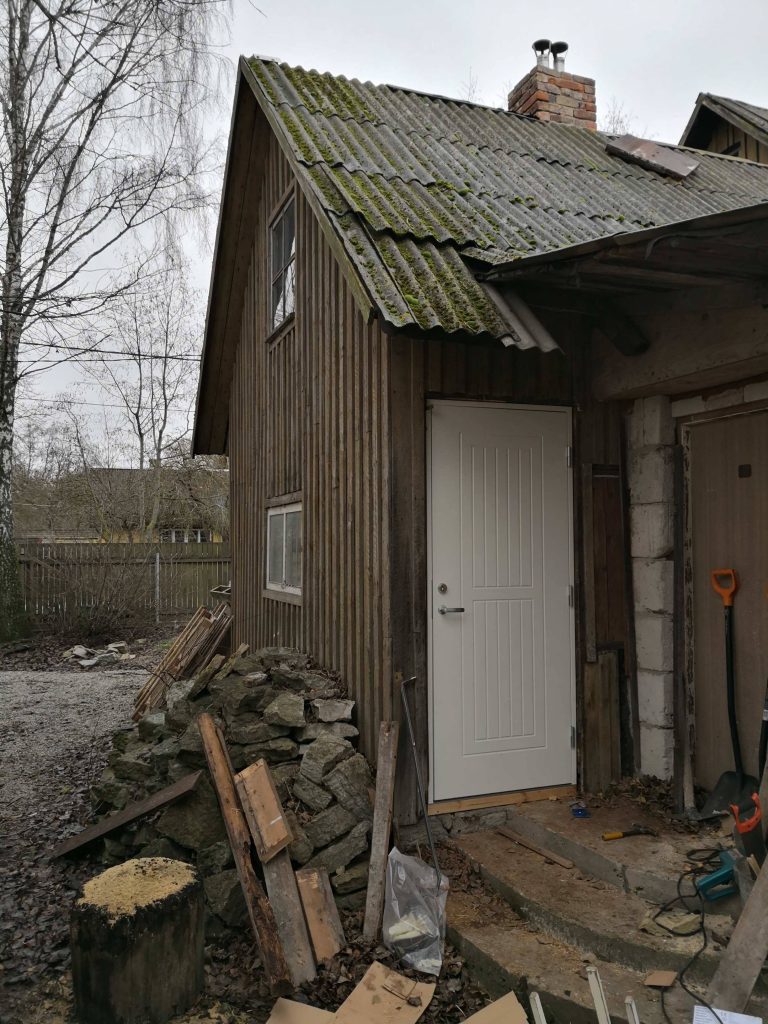
The manual of the heater said to fire it up the first time in a well ventilated place. The best place I could think off was outside, so out it went and there it was fired up for the first time.
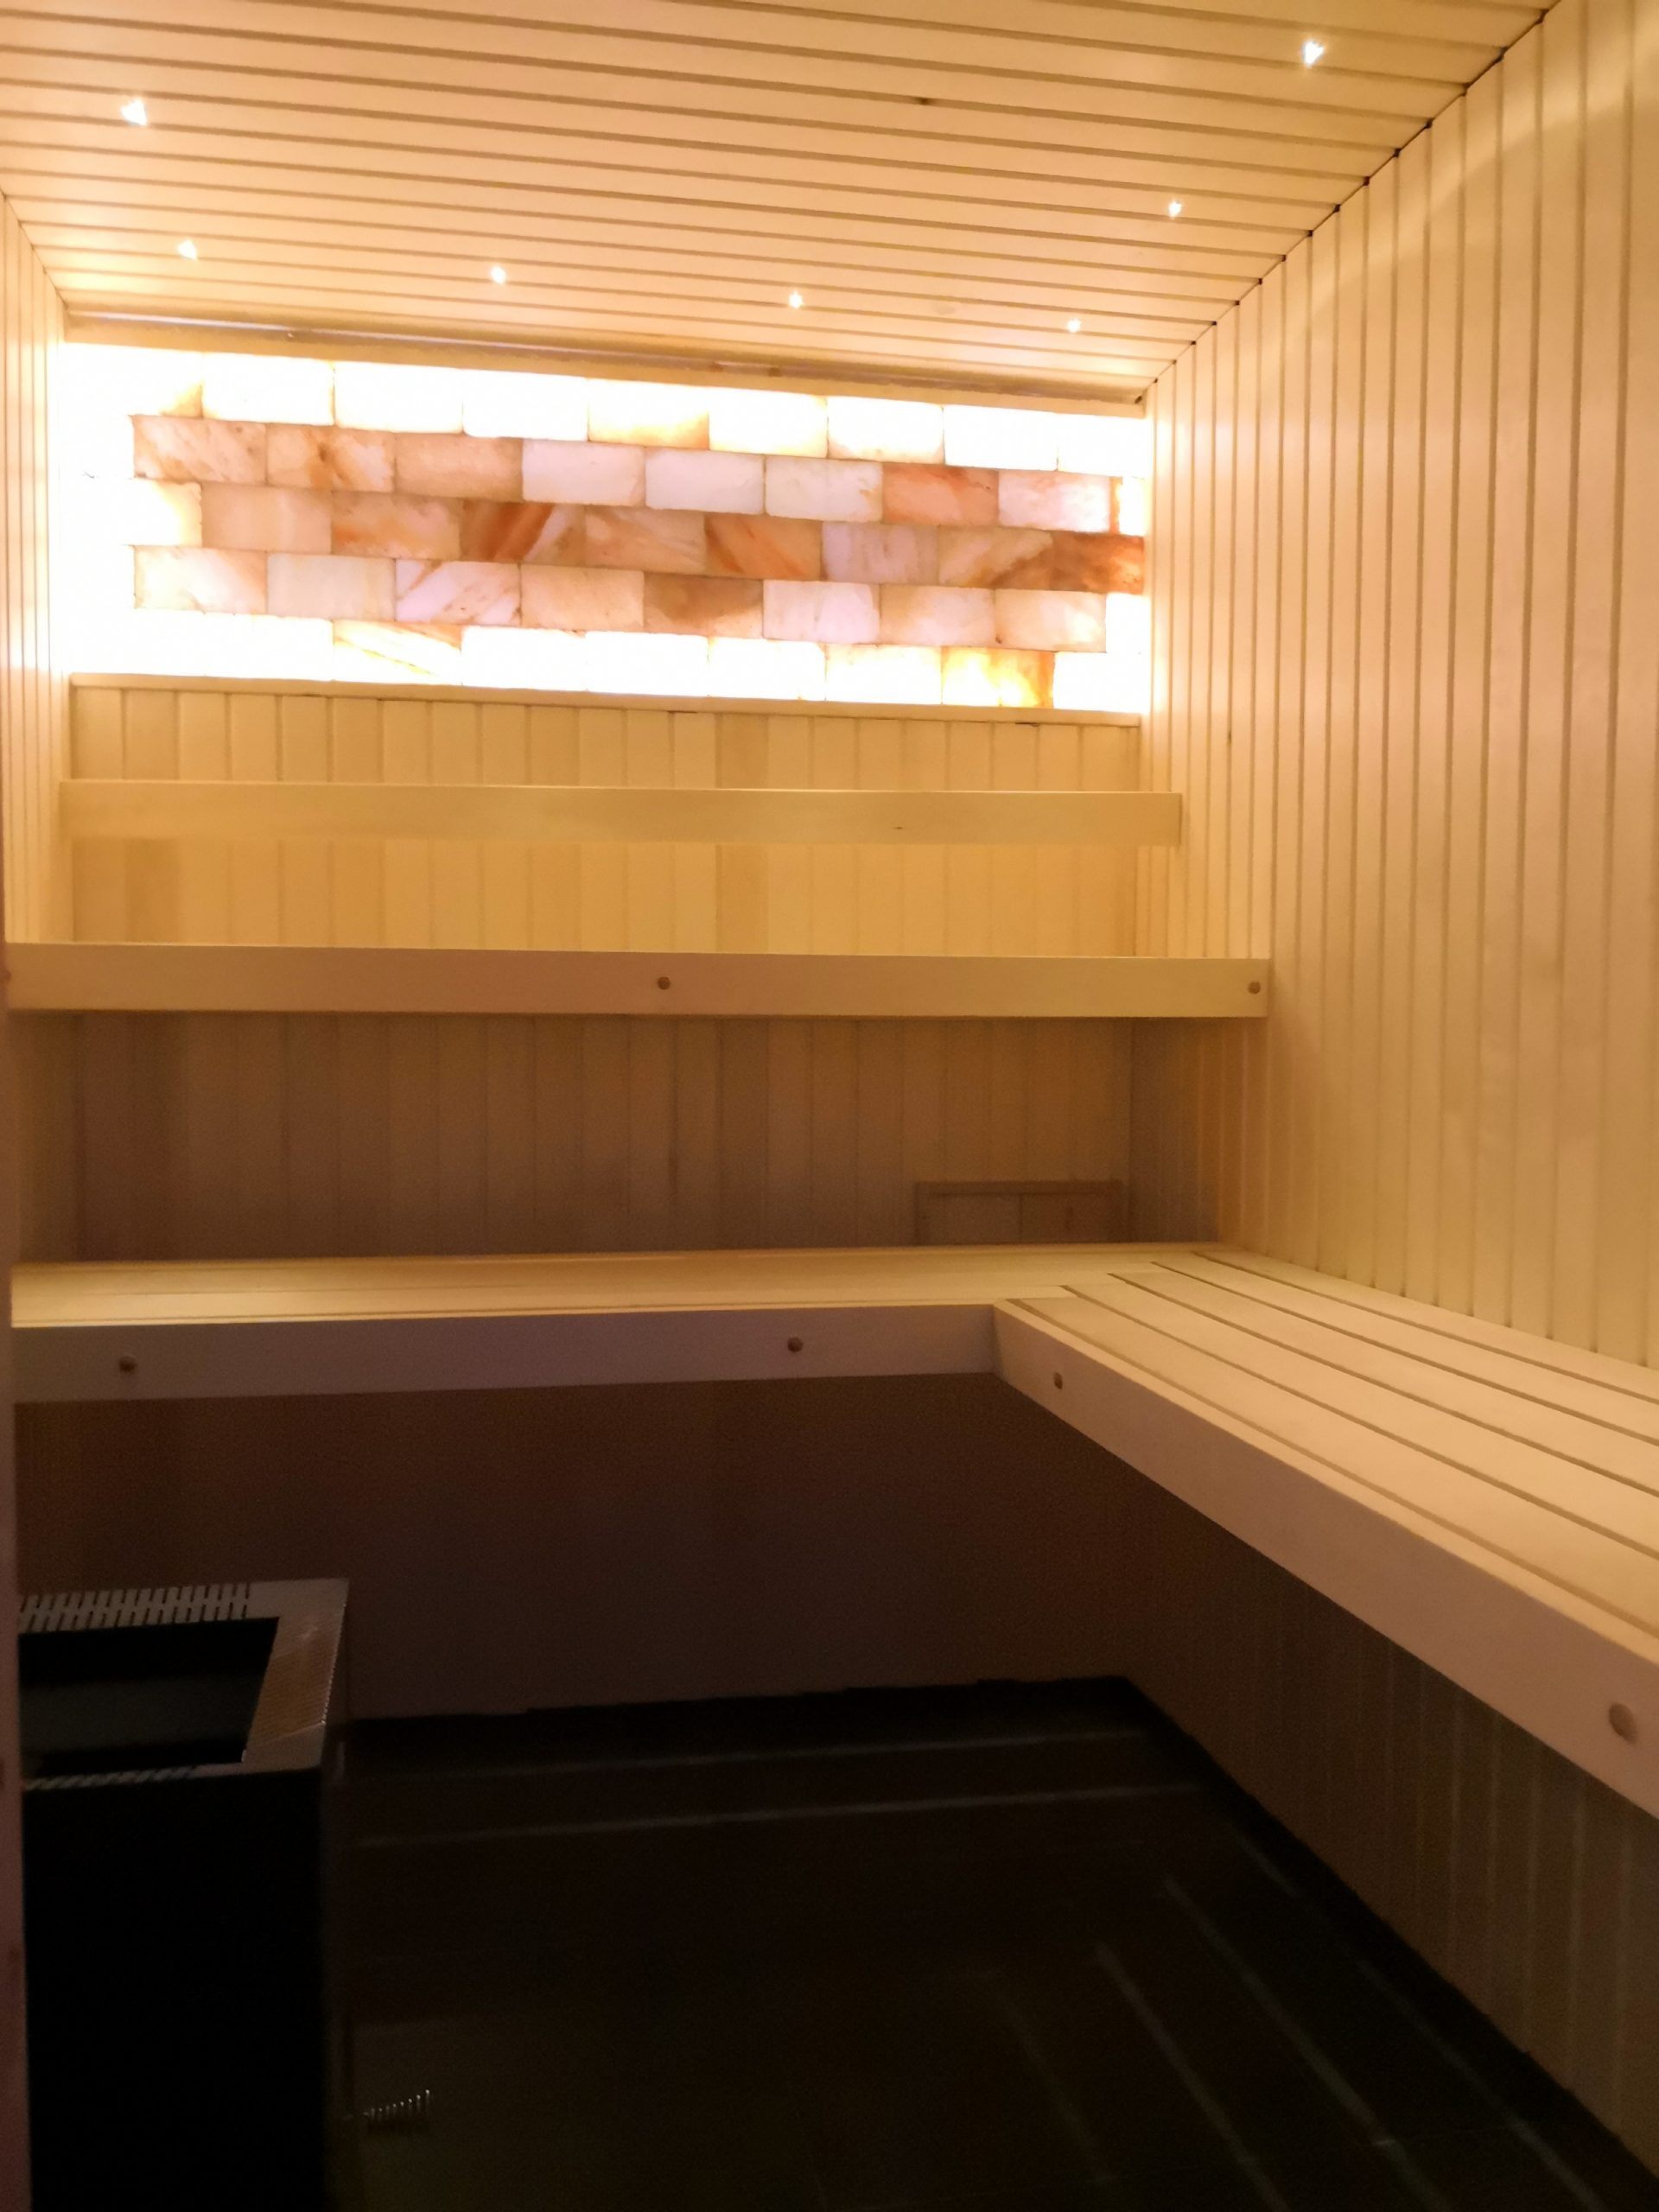
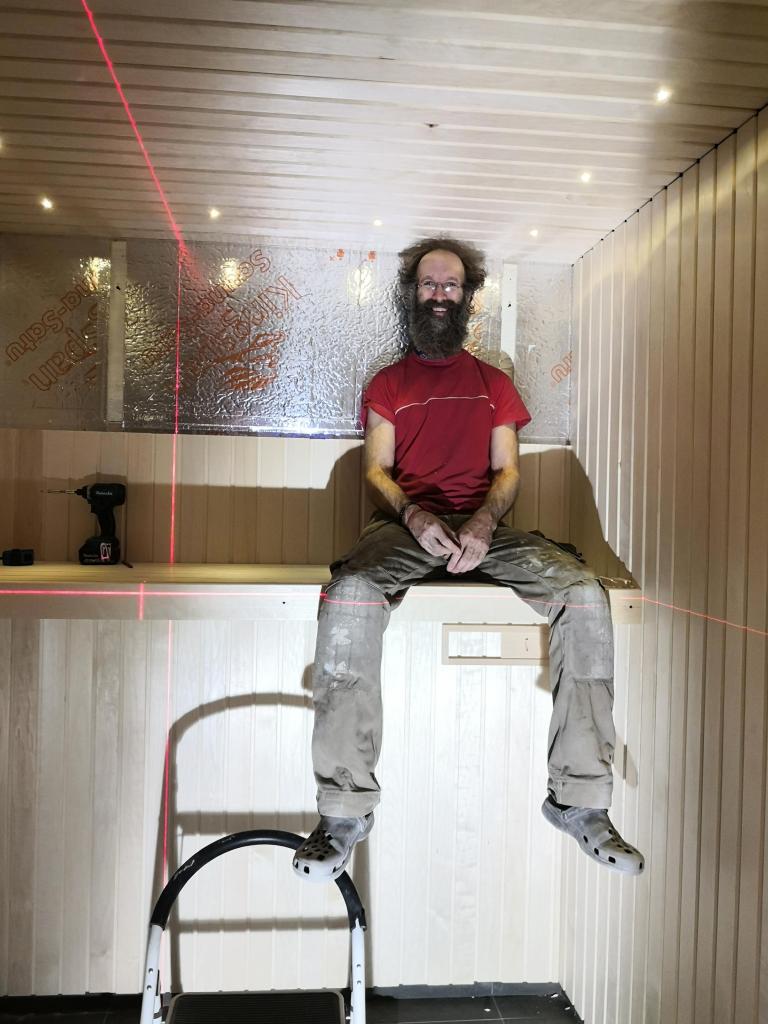
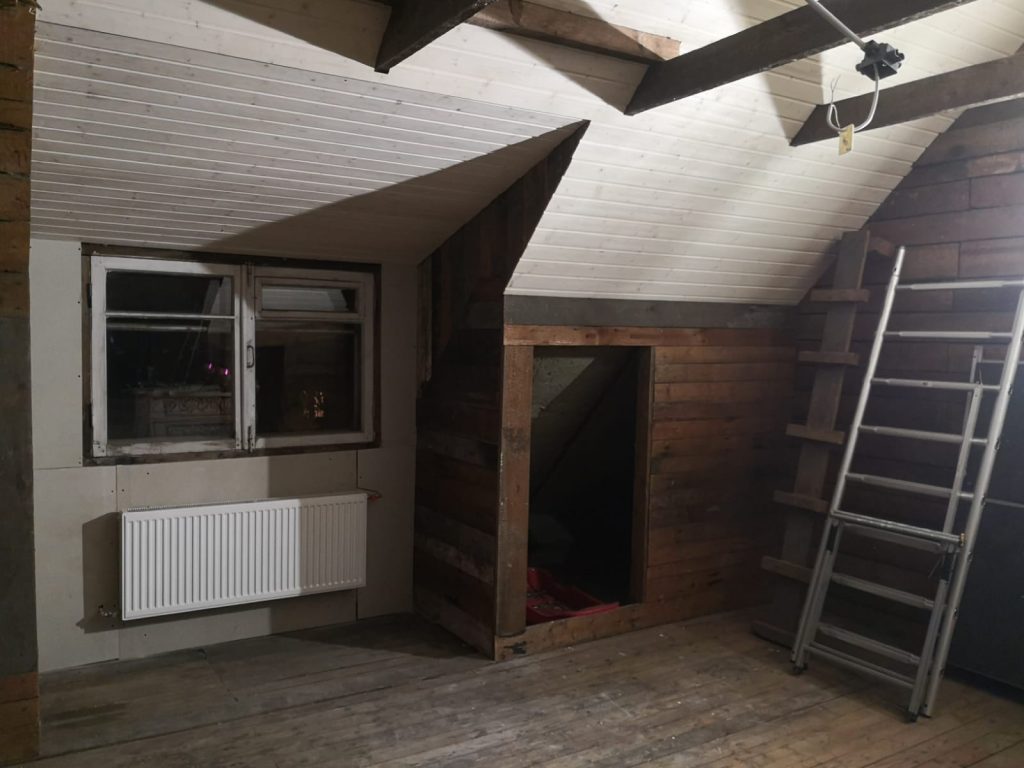
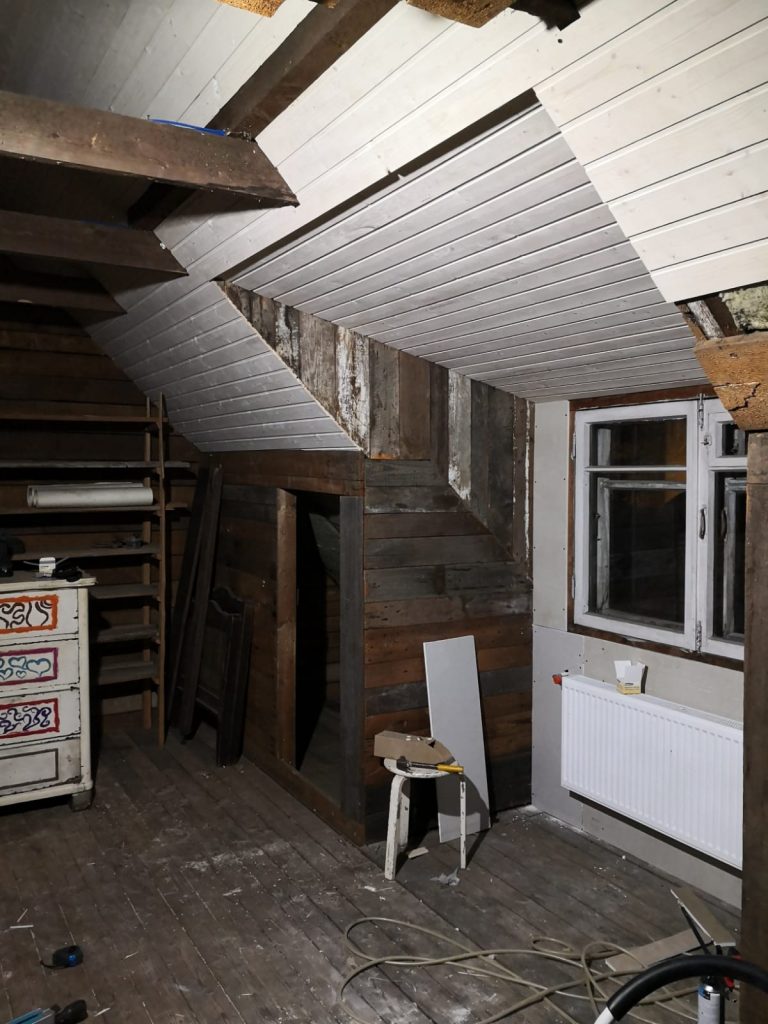
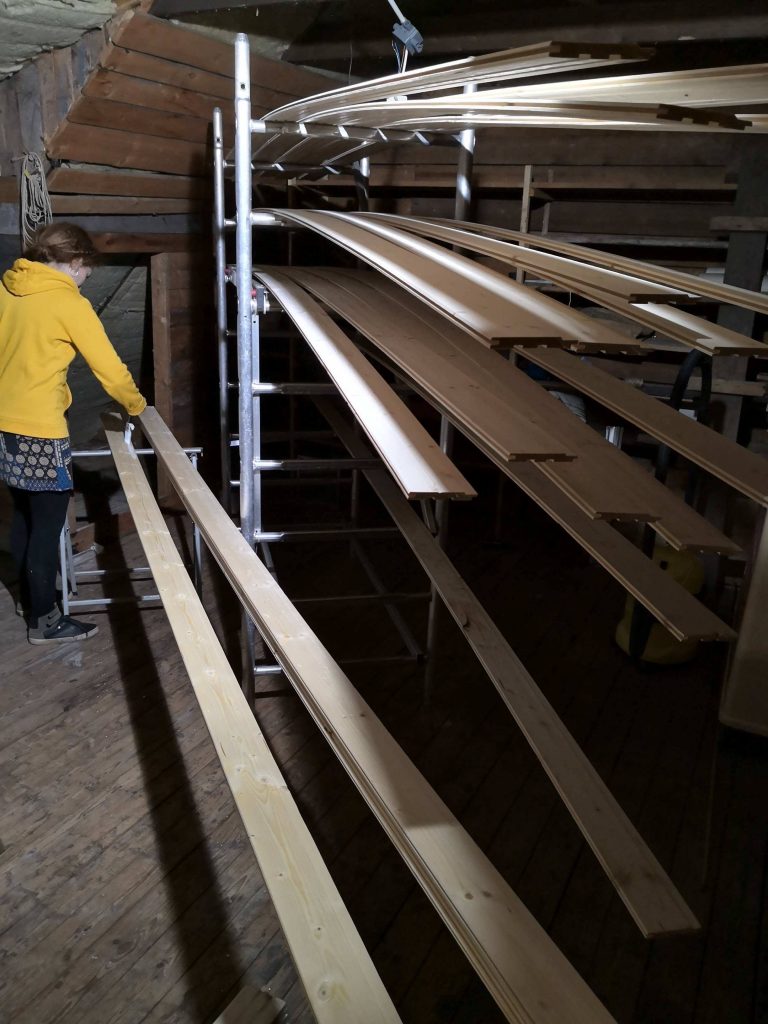
Meanwhile I finished the lower bench, it starts to become a reals sauna .
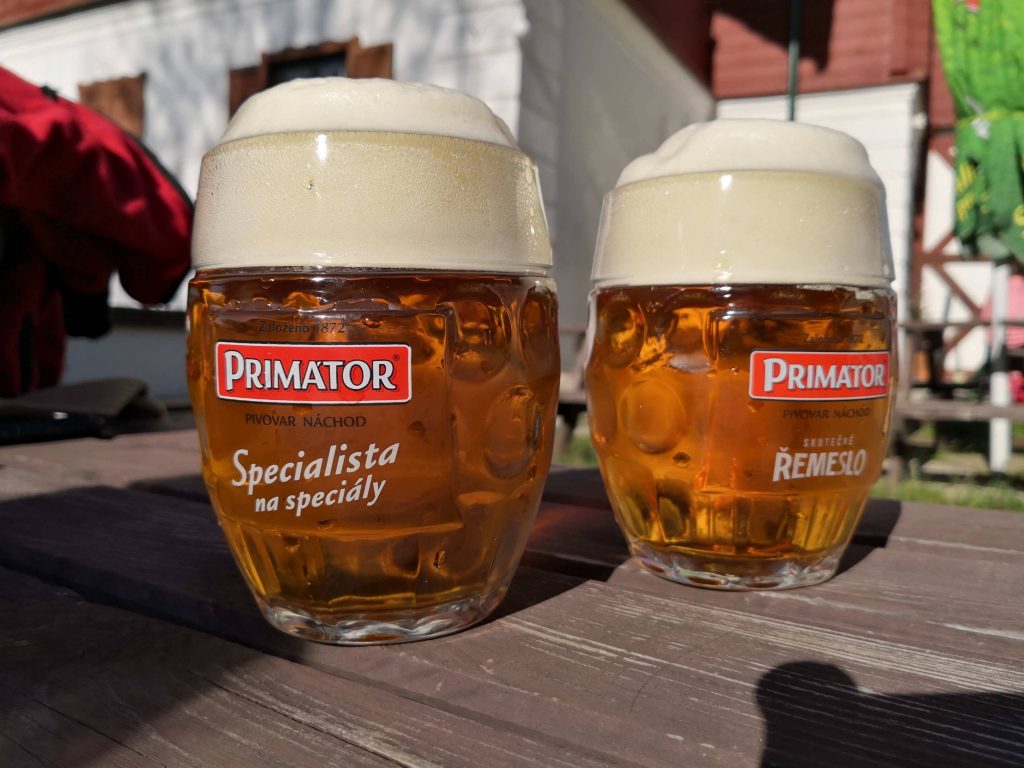
Next thing was connecting the heater and adding the stones and the sauna is ready! Time to test it. So fire in the heater, Sauna Session beers out of the fridge and sauna hats on. Ready to sweat!
First heating 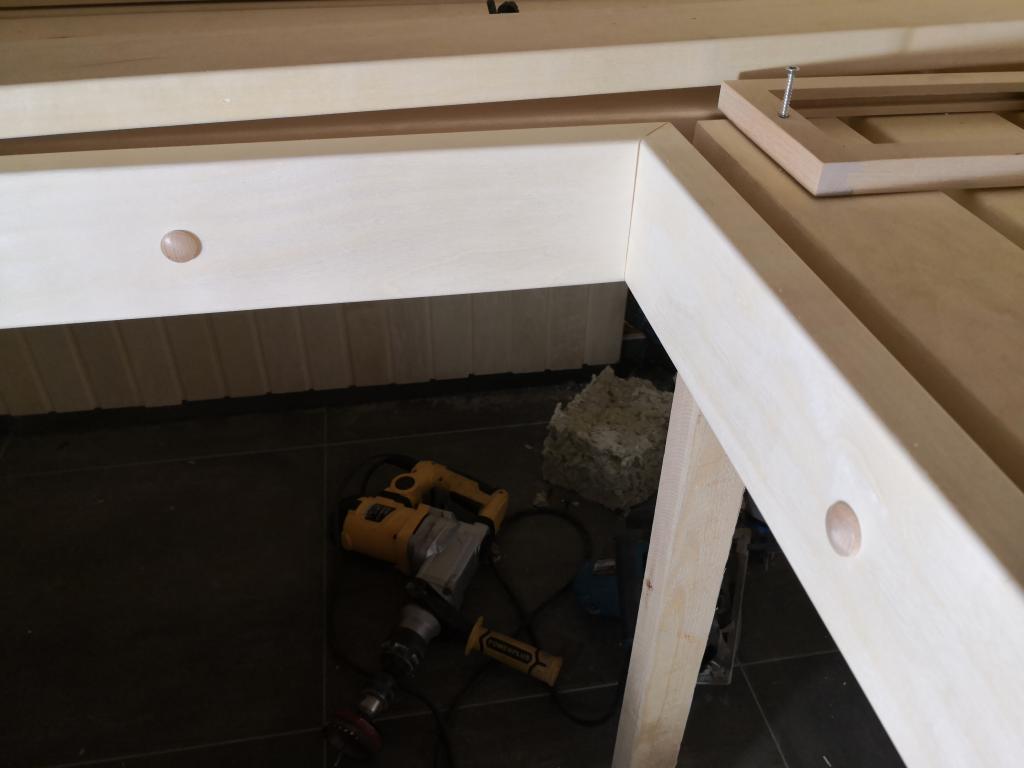
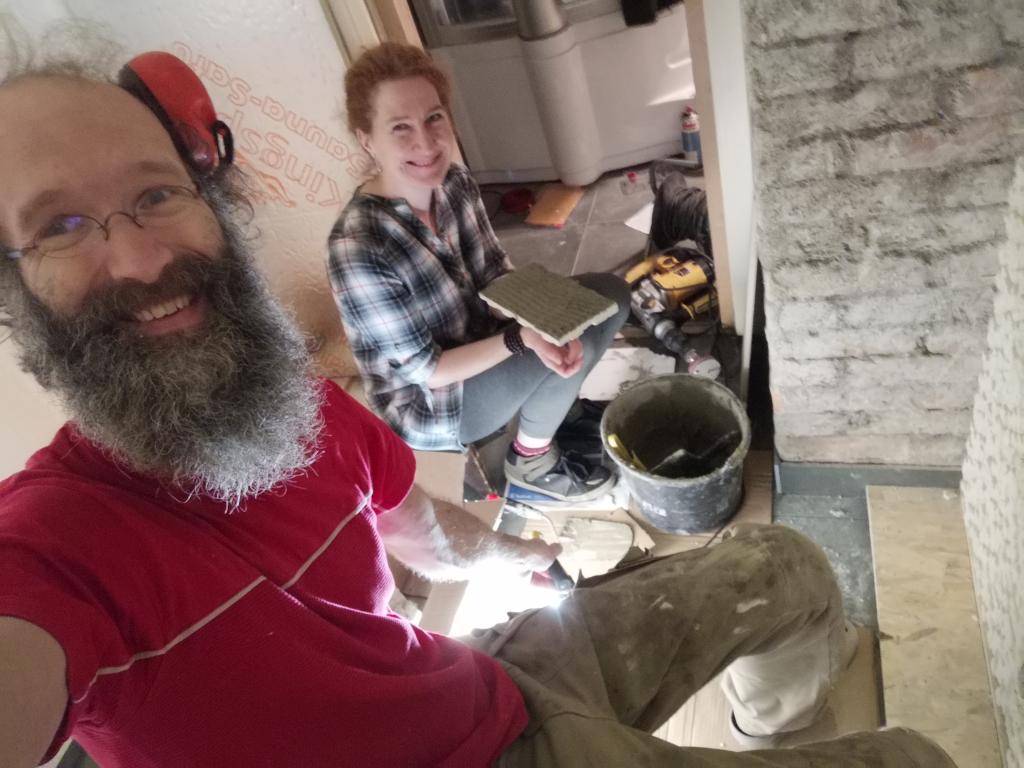
Detail of the lower bench 
The finished benches 
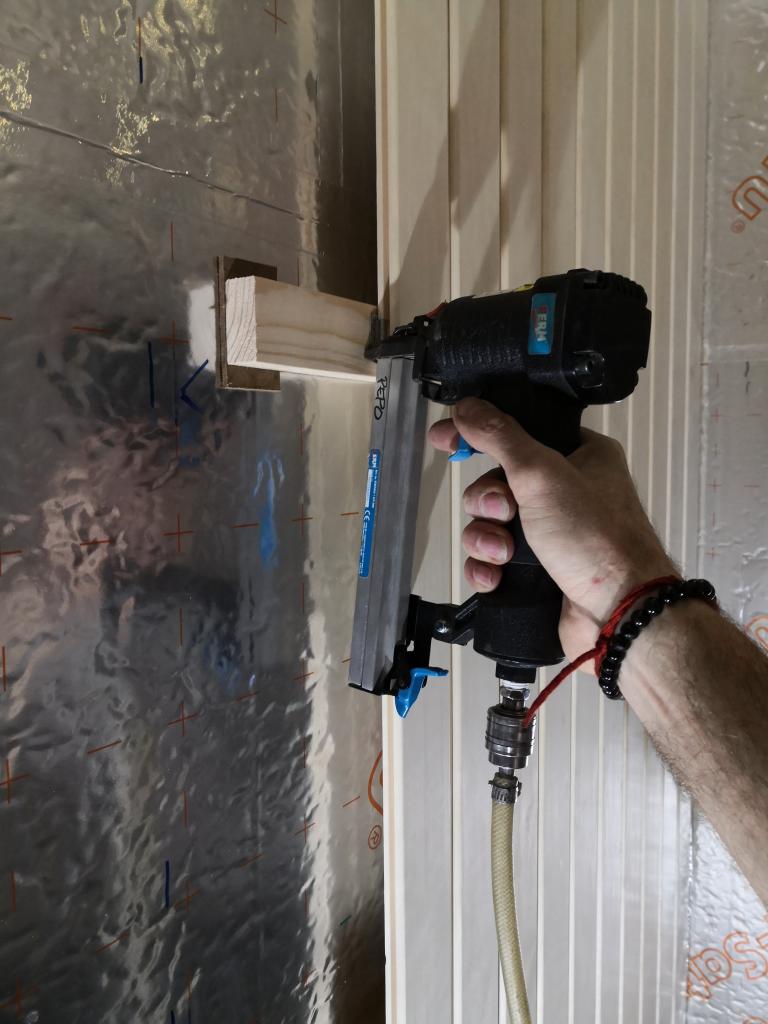
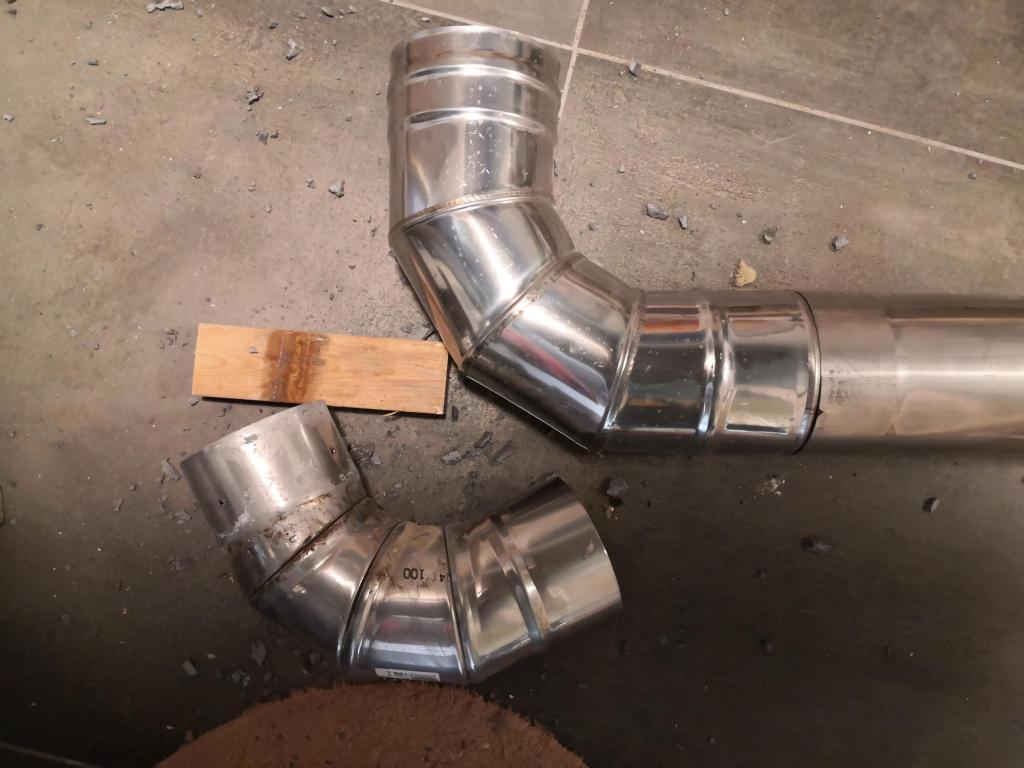
Connecting the heater 
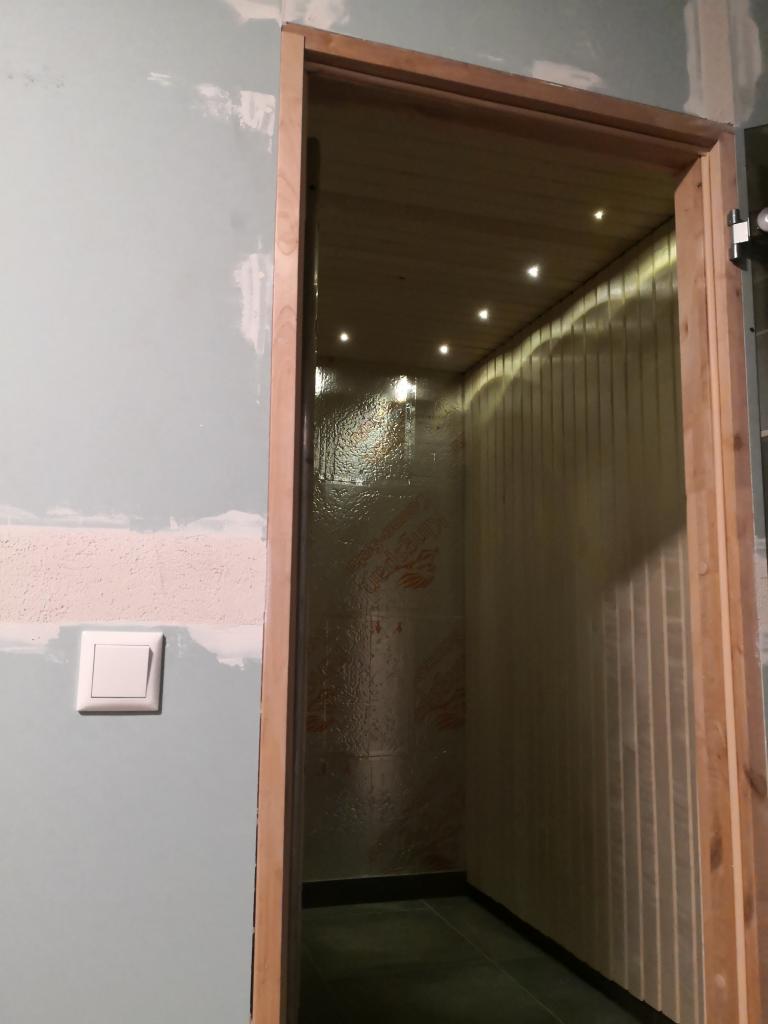
Looking in 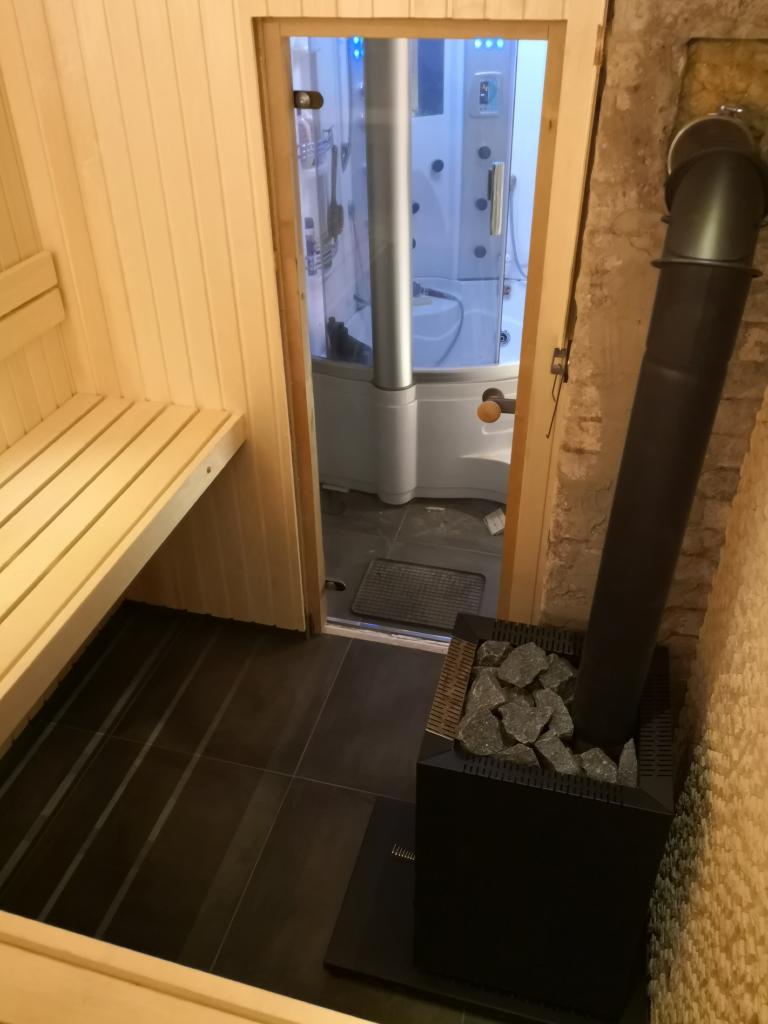
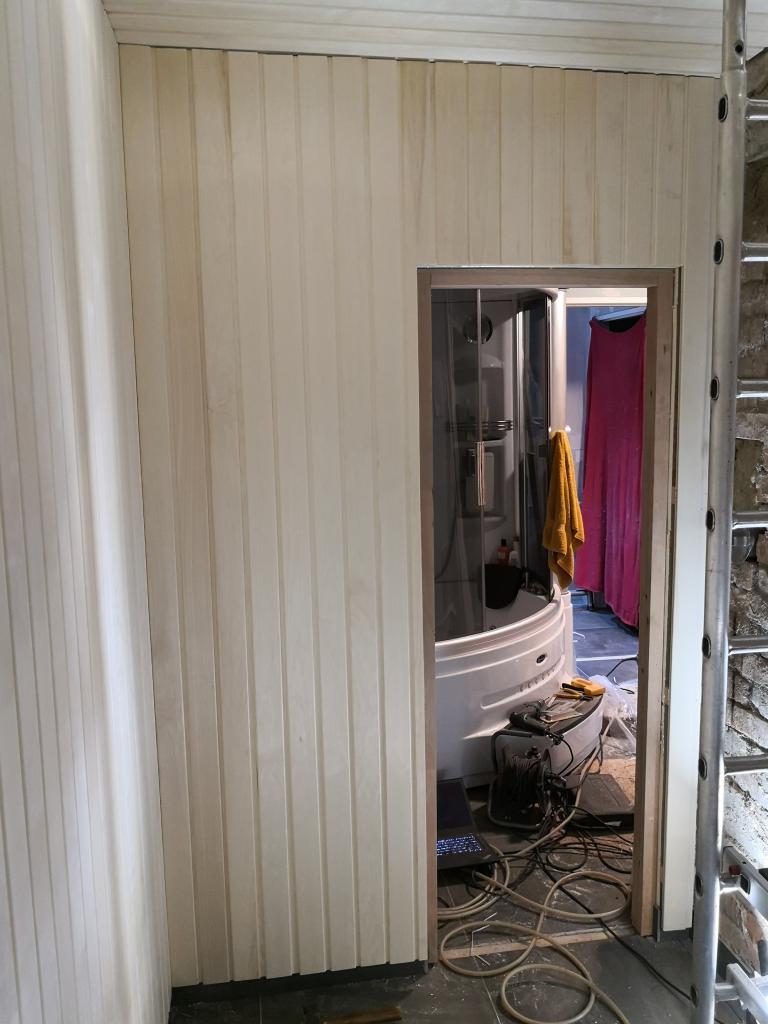
Looking out 
Heating it up for the first time 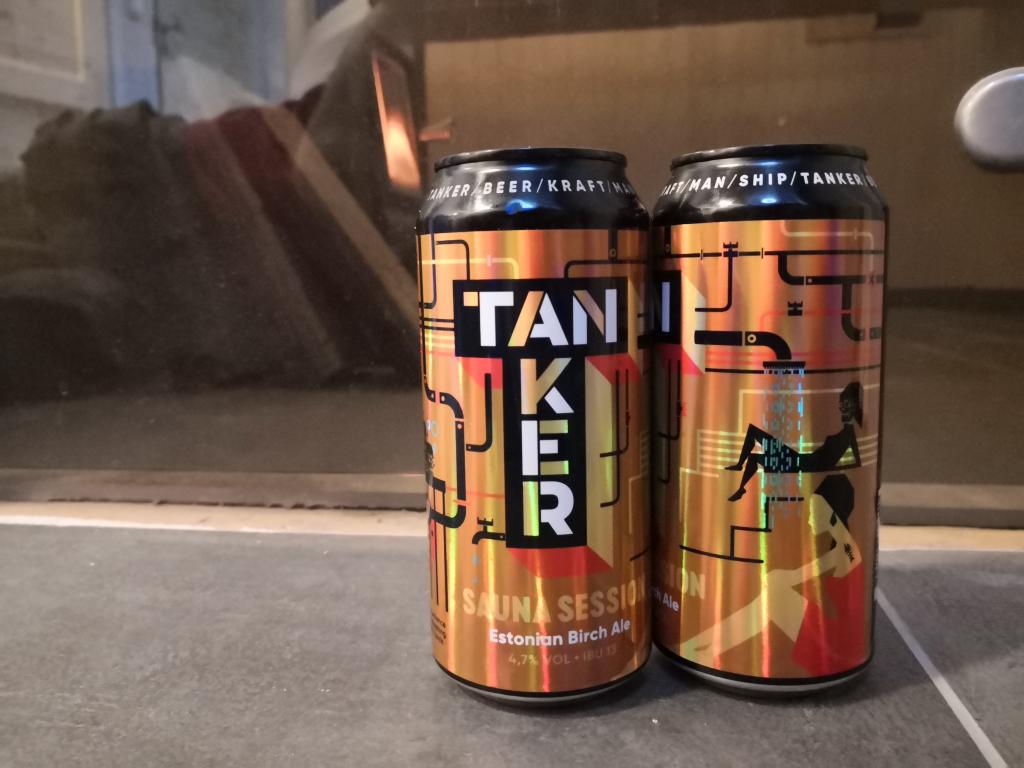
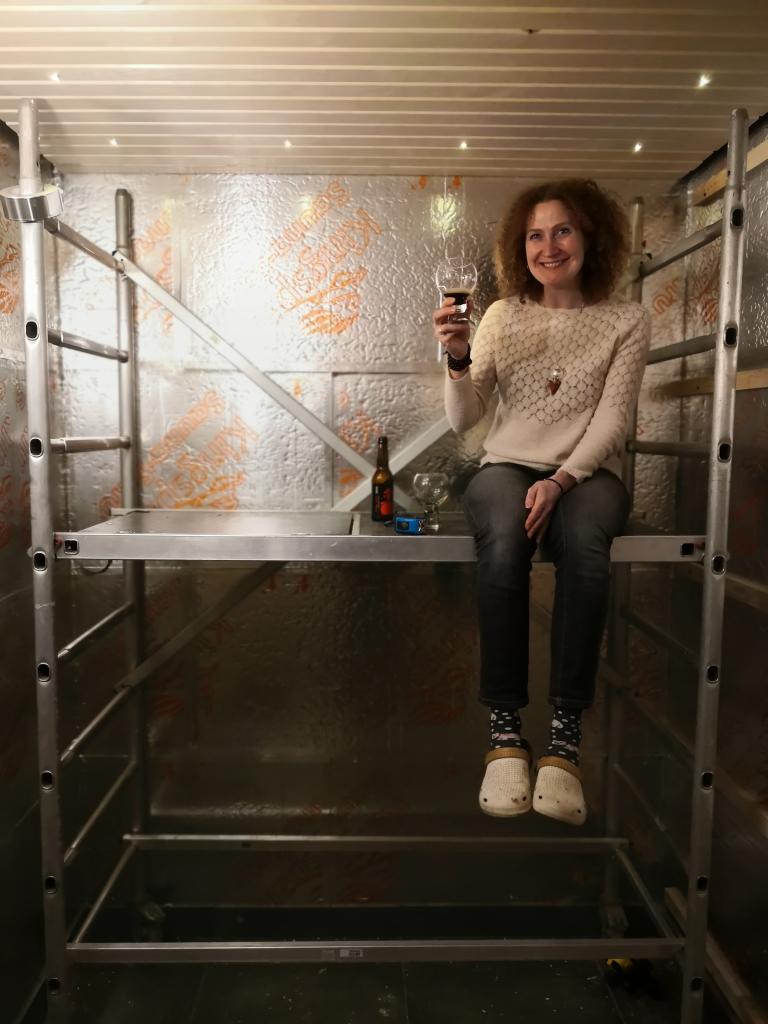
Getting some cold beer 
First use of our own sauna!


Spelling error report
The following text will be sent to our editors: