
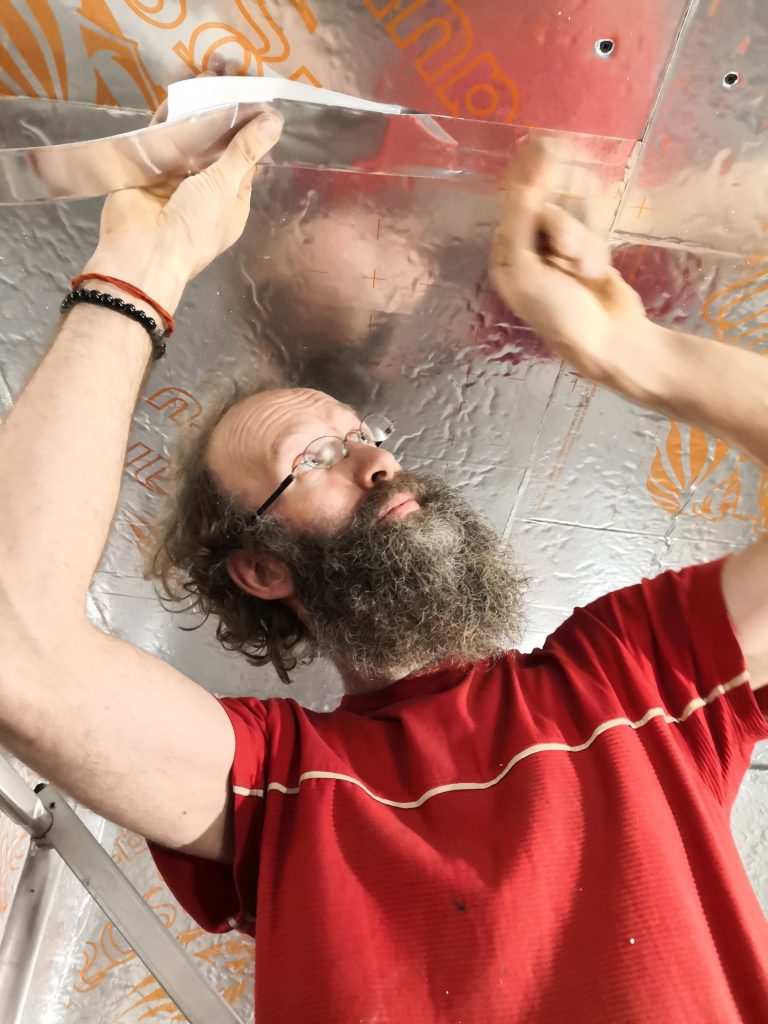
After finishing the framework I could start with the weather boards. I started with the ceiling. After the first few boards, I needed to install the first LED lights. This was a bit of calculating to spread them nicely around the sauna, but I worked nicely.
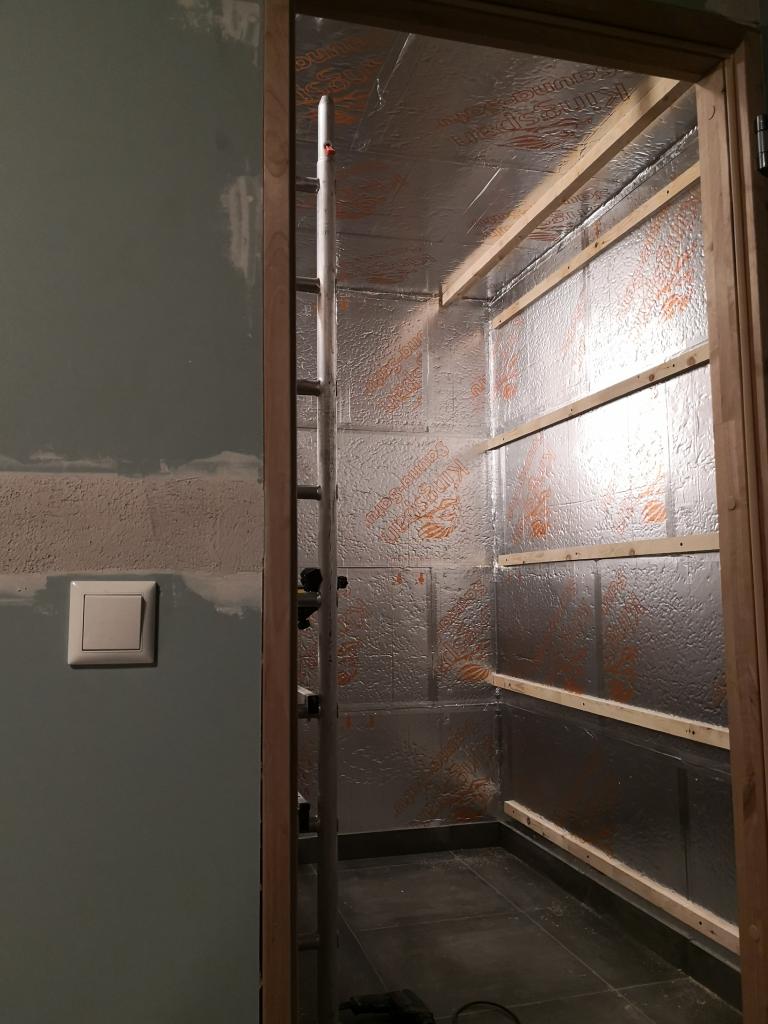
Once the ceiling was in we celebrated with a nice beer, also to see at what height the benches should be placed later on, so I could place reinforcement in the walls. By x-mas eve all but the back wall where covered.
On xmas day I started with the salt wall. As these salt stones are manually cut there is a bit of variety in their size, so I started with sorting them to size. Then I started with a frame. Then I created the location for a ventilation hole in the wall and covered the wall.
When I was ready for the wall behind the heater, I found out the stones where forgotten when we picked up the order. Luckily after a phone fall they could be picked up on the 27th, so time for Mo and me to make a wall.
With the wall done, I could finally start with the salt wall.
To place it the high bench needed to but done, so that was next and while the salt wall was drying I could replace the bend in the chimney pipe that for some reason was a size smaller then the rest of the pipe and is it needed to be.
The placing of the salt wall did not go as easy as hoped, but the result was great! Next step the heater!

The first lights 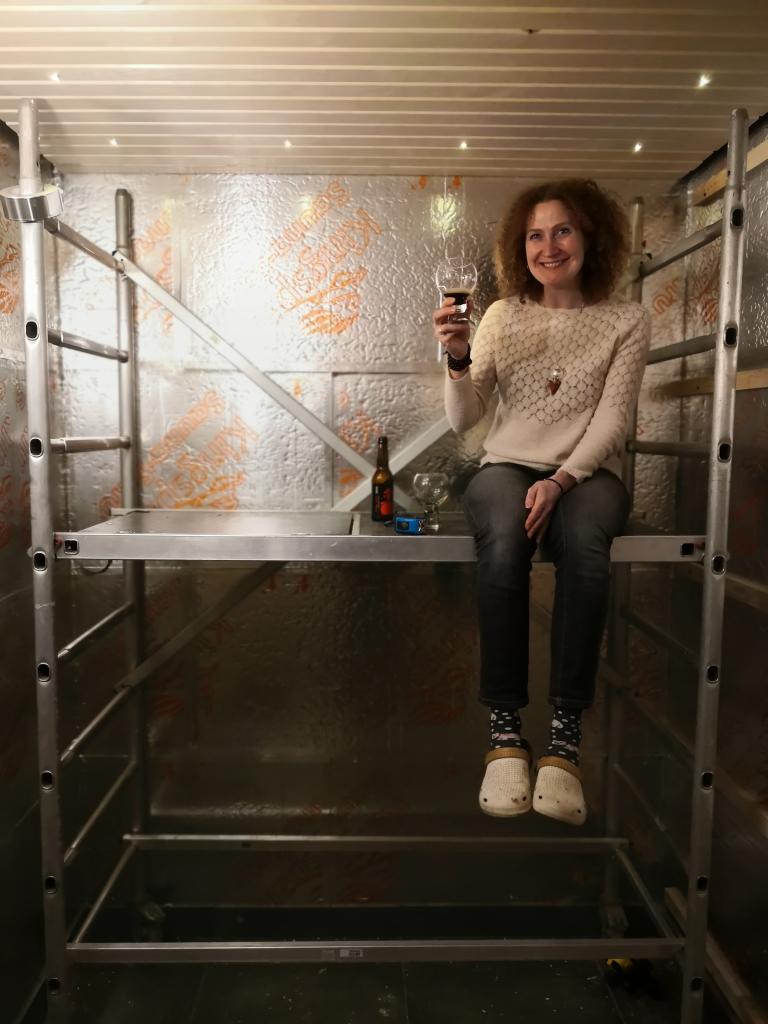
Celibate small things! 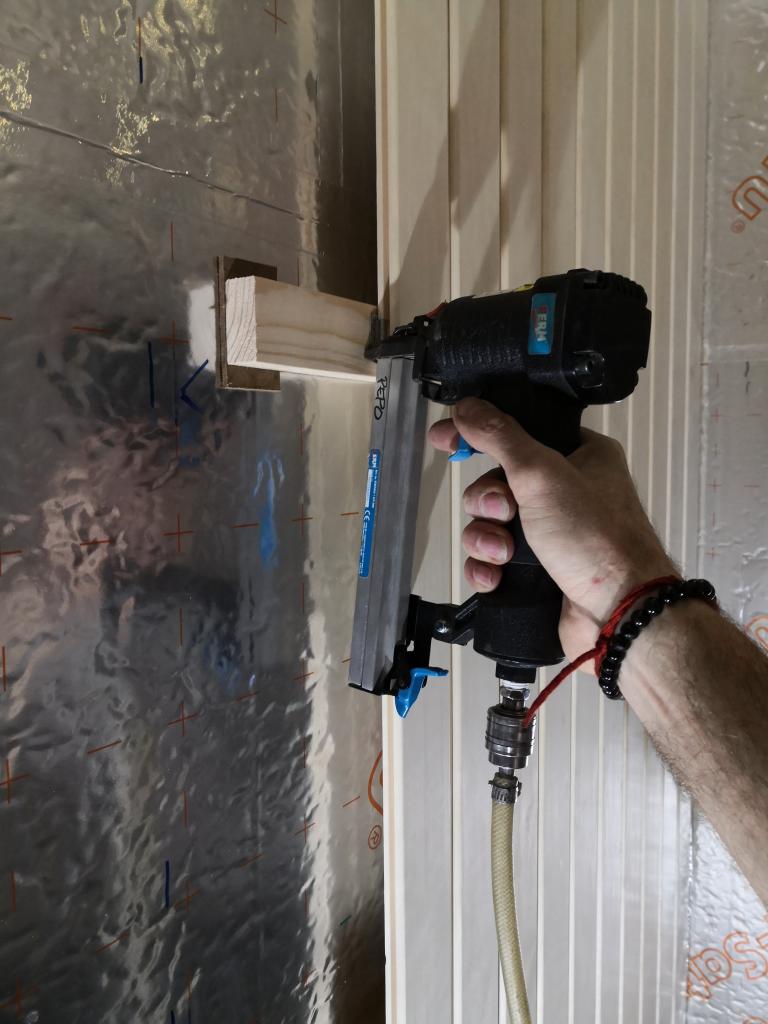
The making of the walls 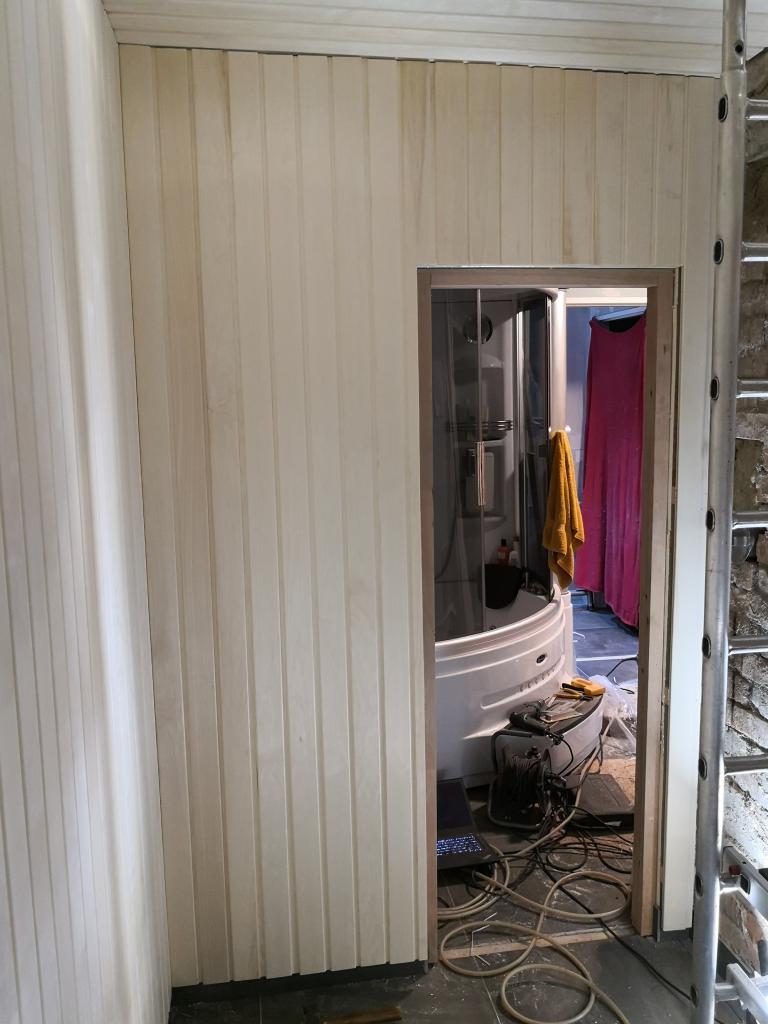
Third wall done. 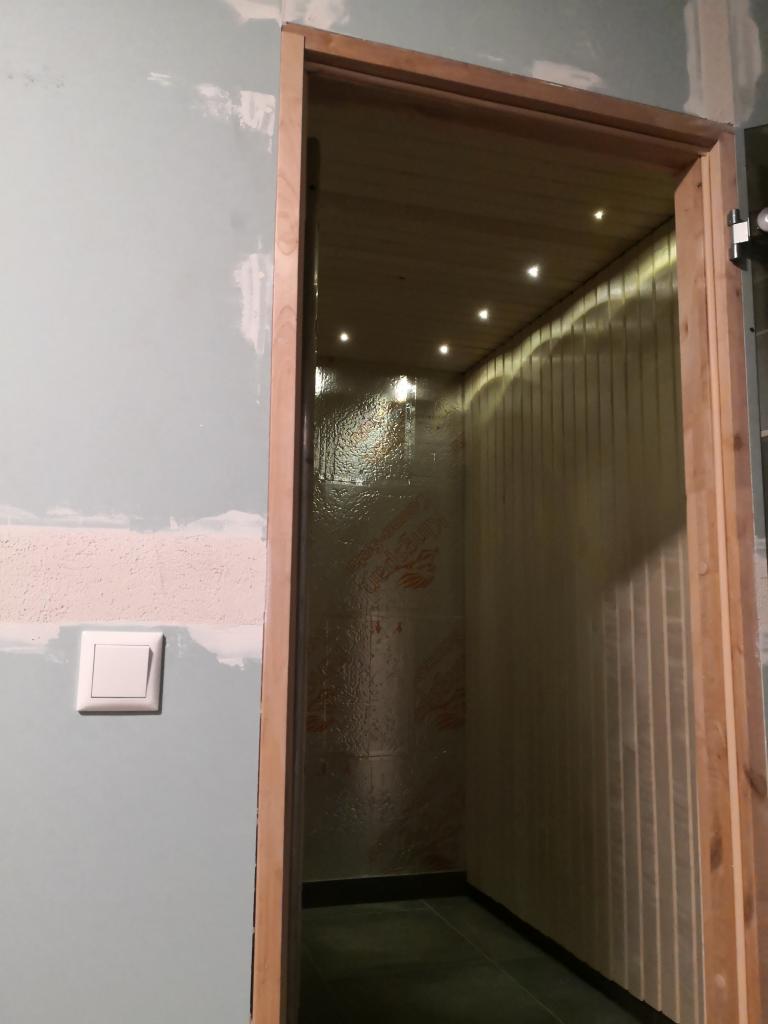
A little peek 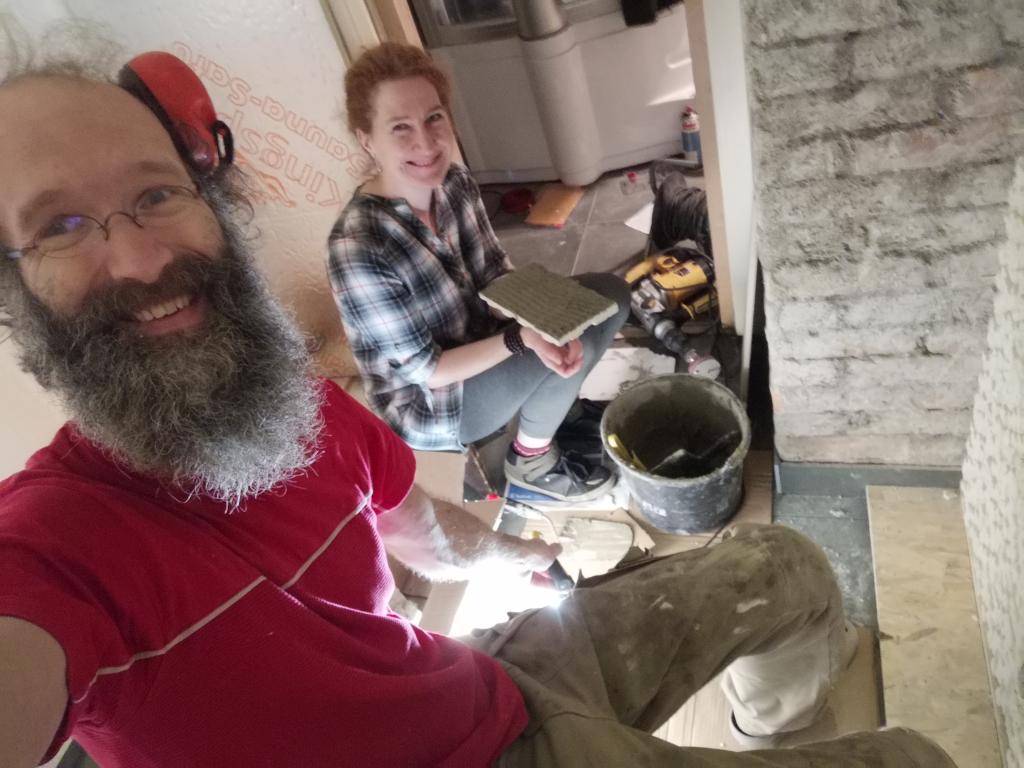
Building a wall together 
The salt wall is drying 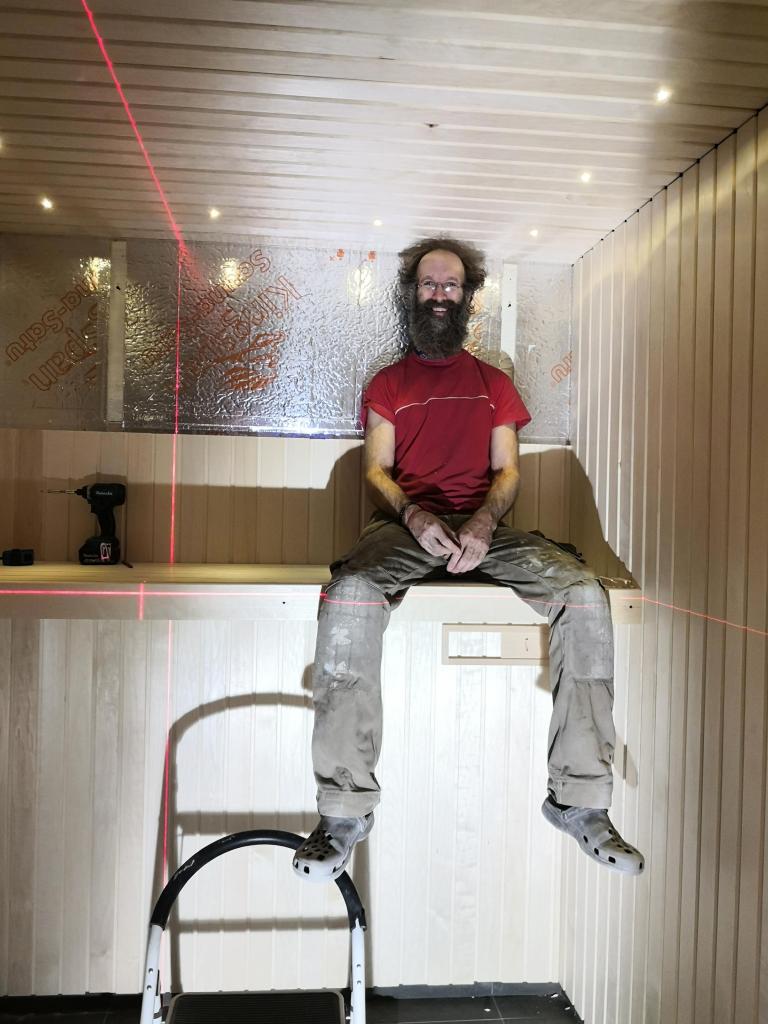
First bench is done 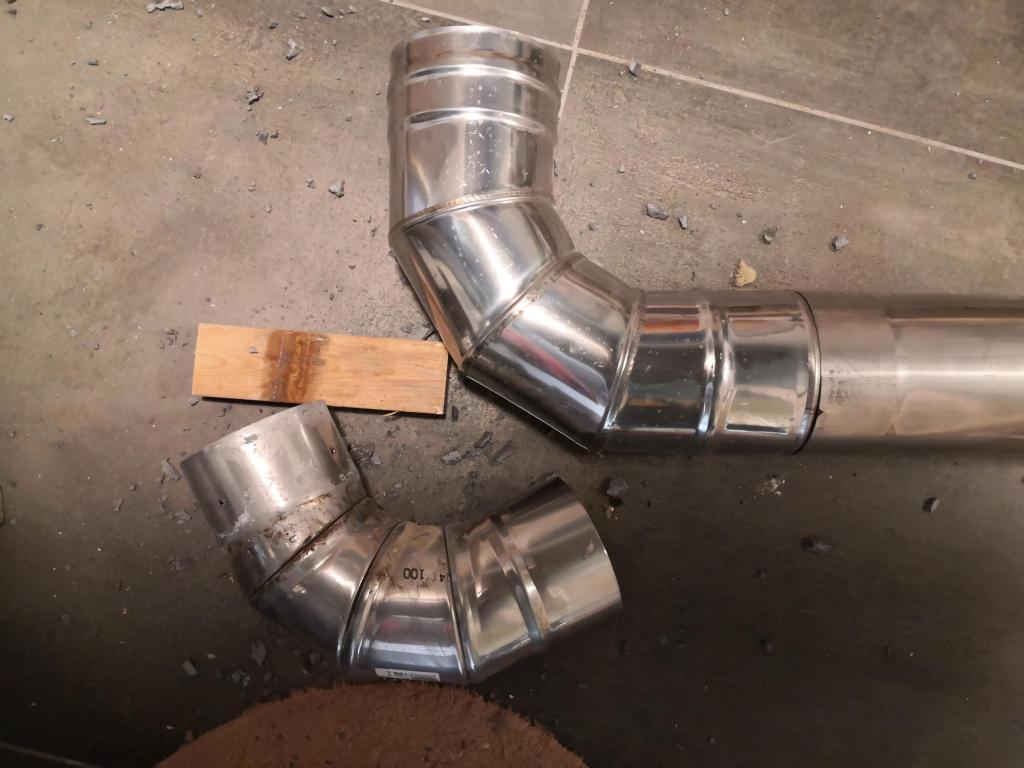
Changing the bend 
The wall is in!


Spelling error report
The following text will be sent to our editors: