Slow building the kitchen

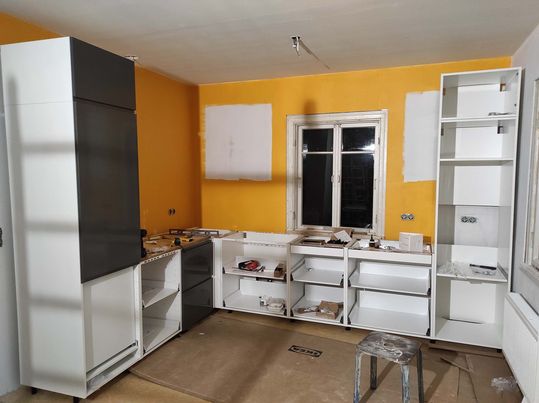
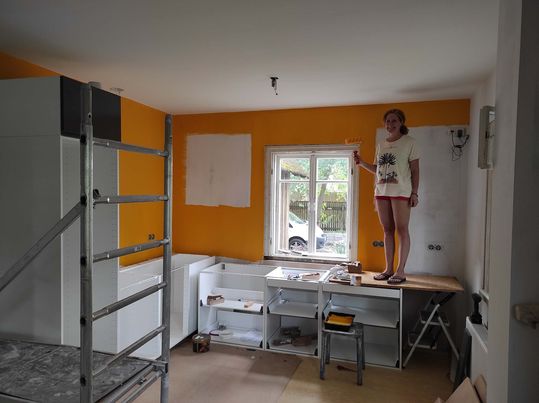
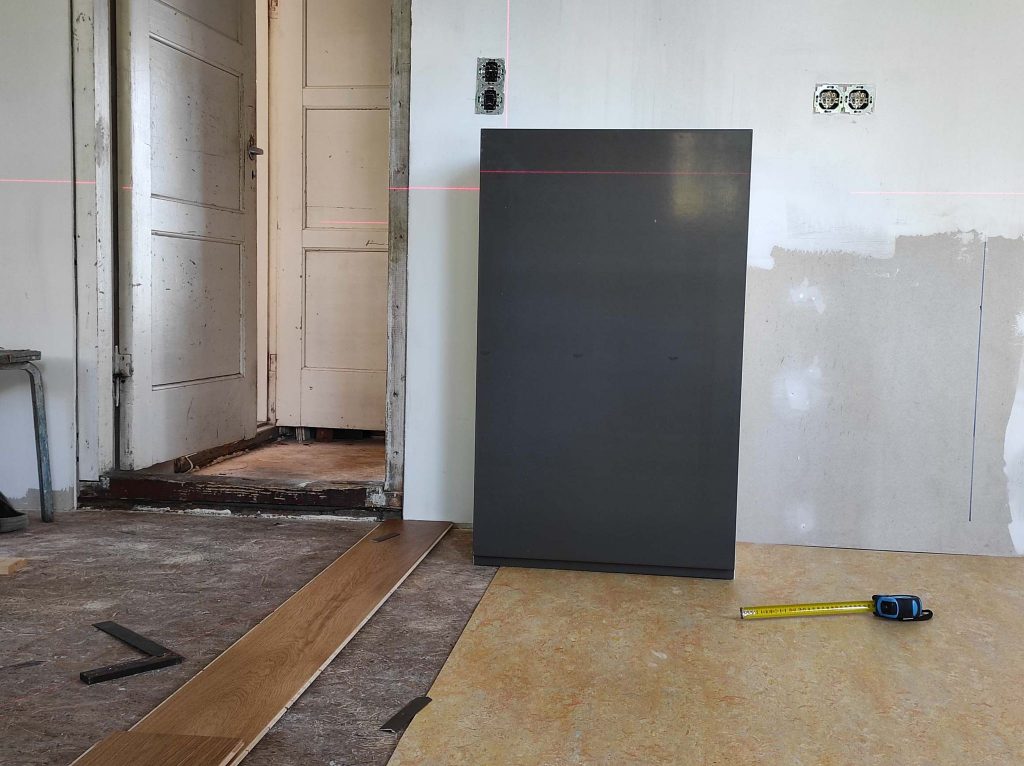
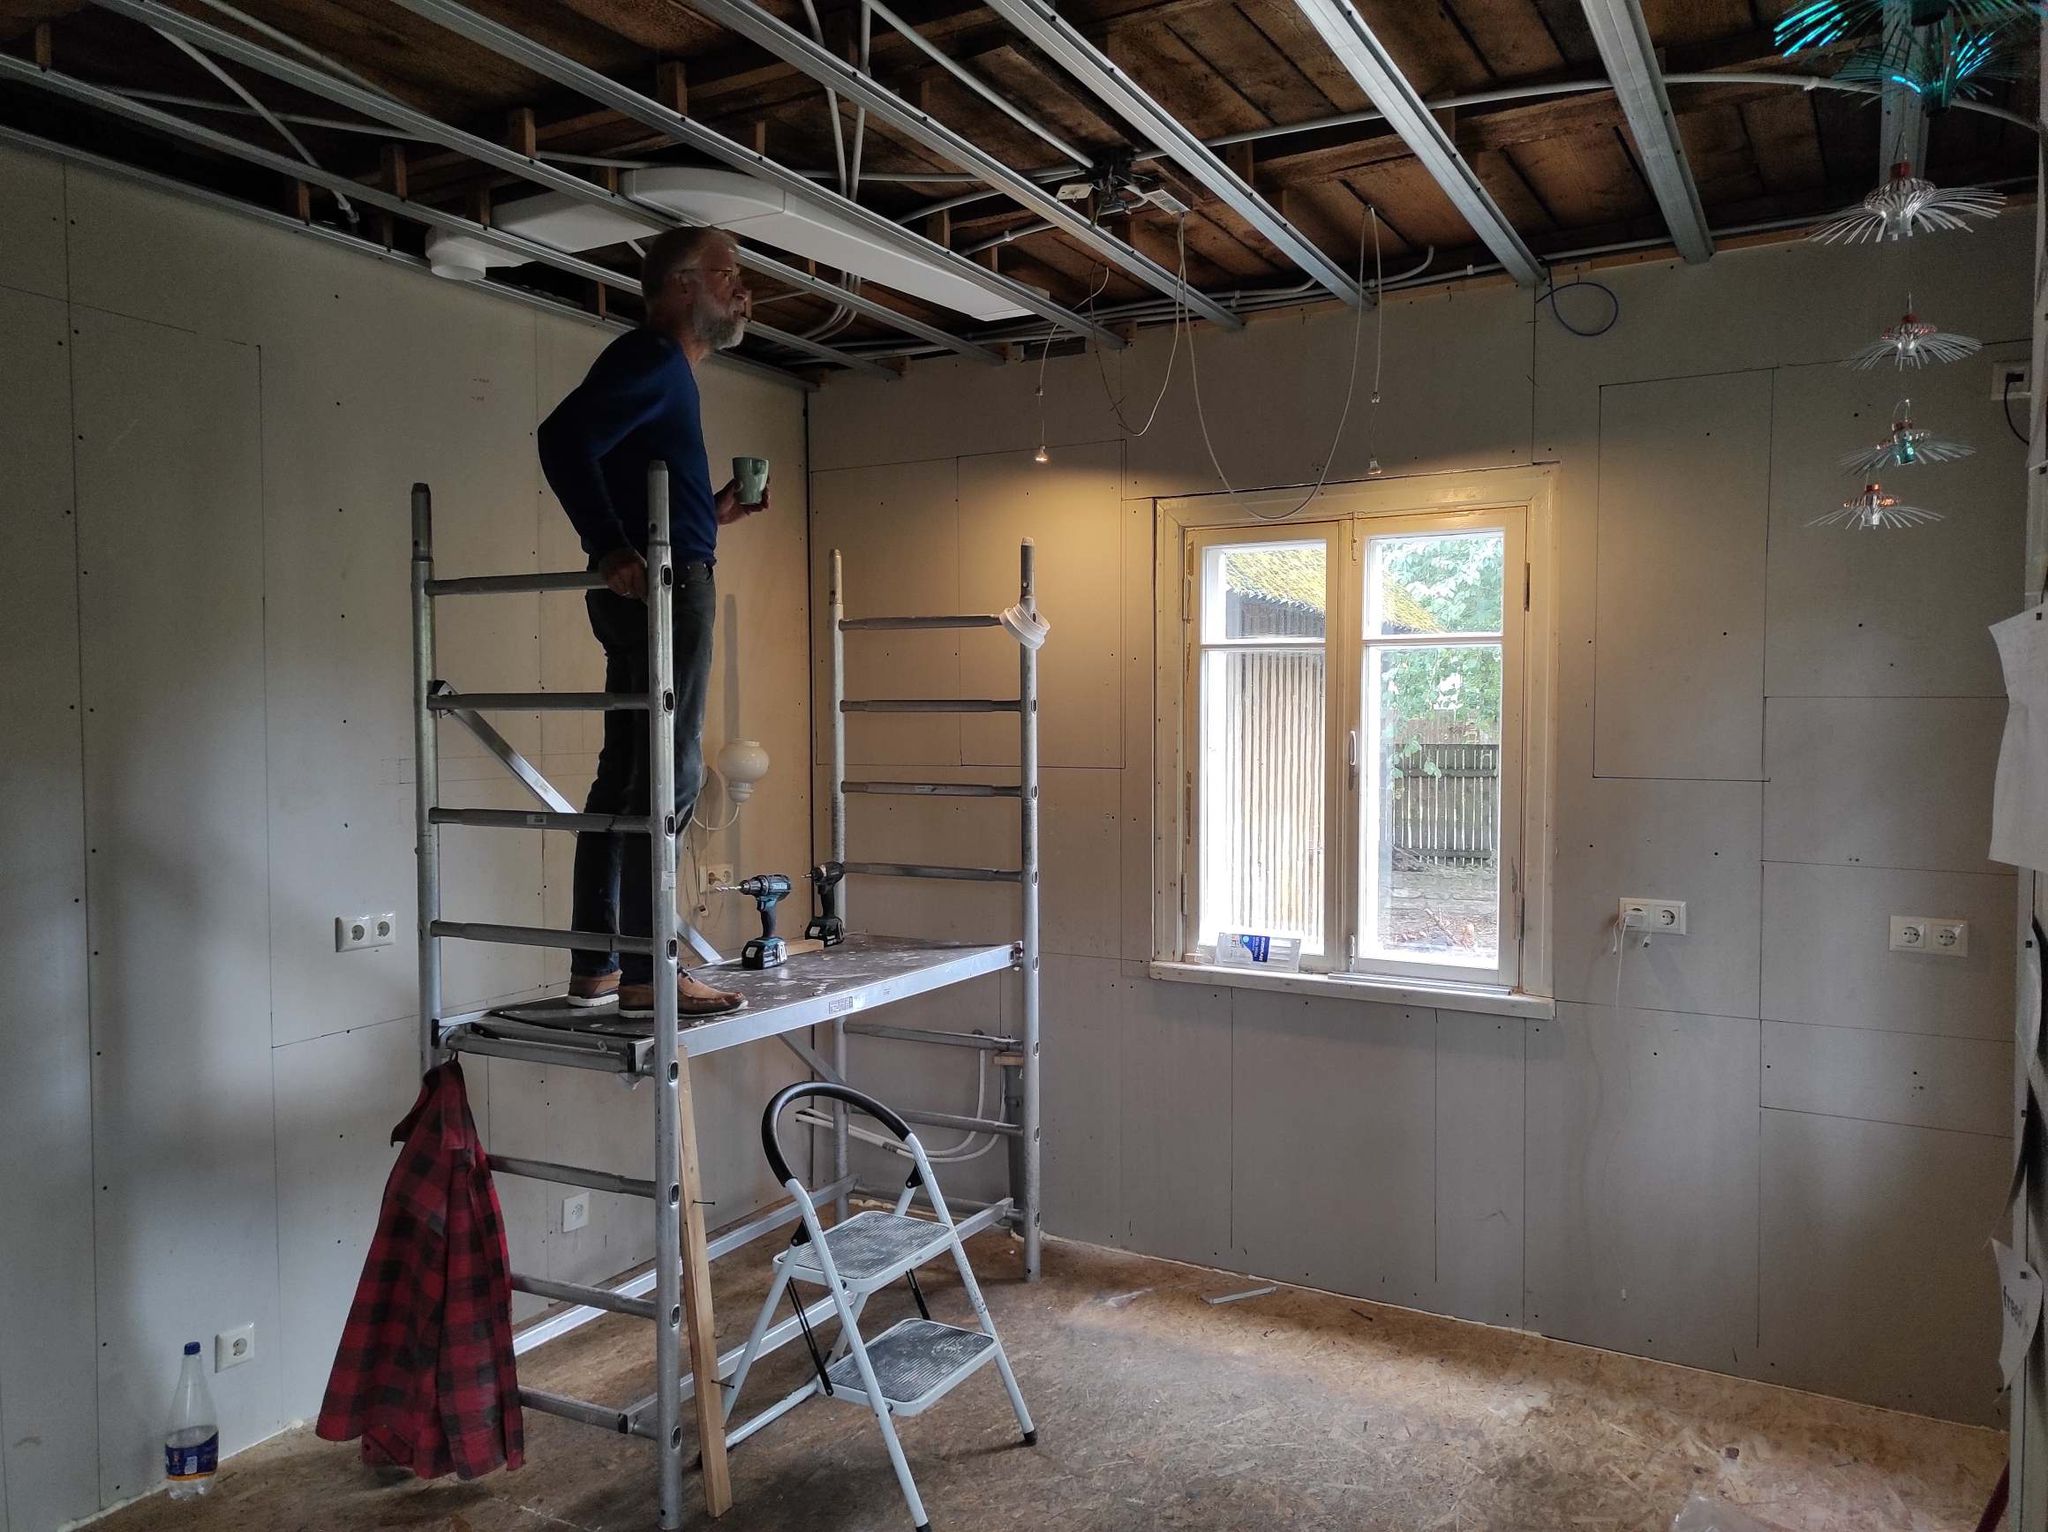
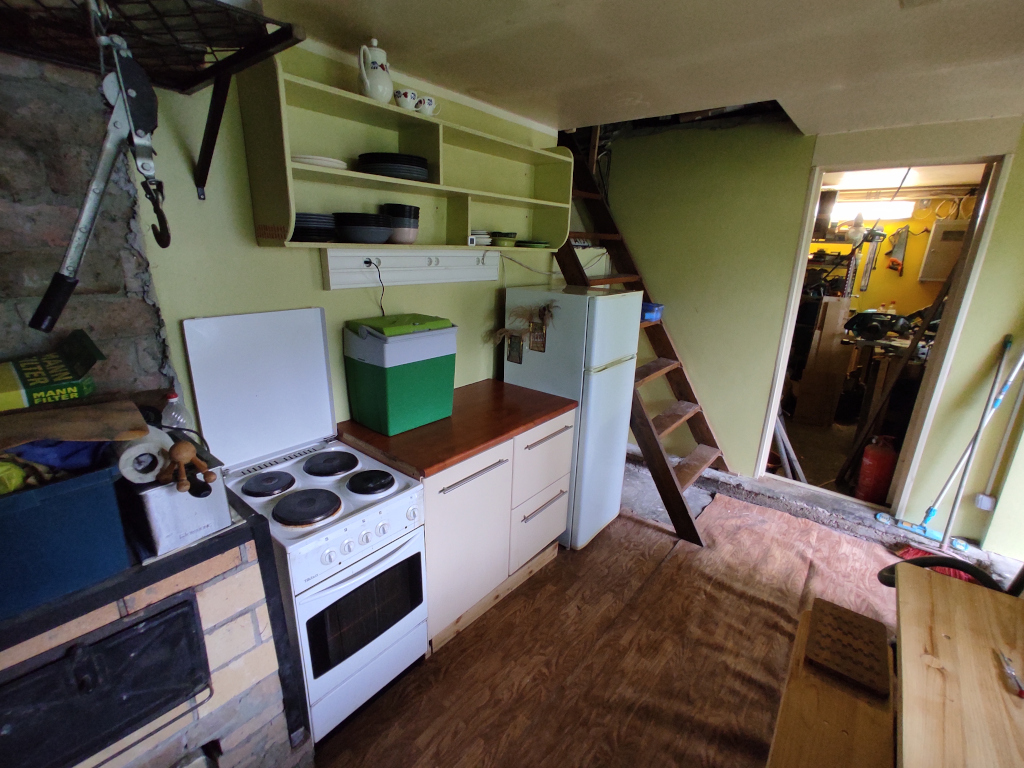
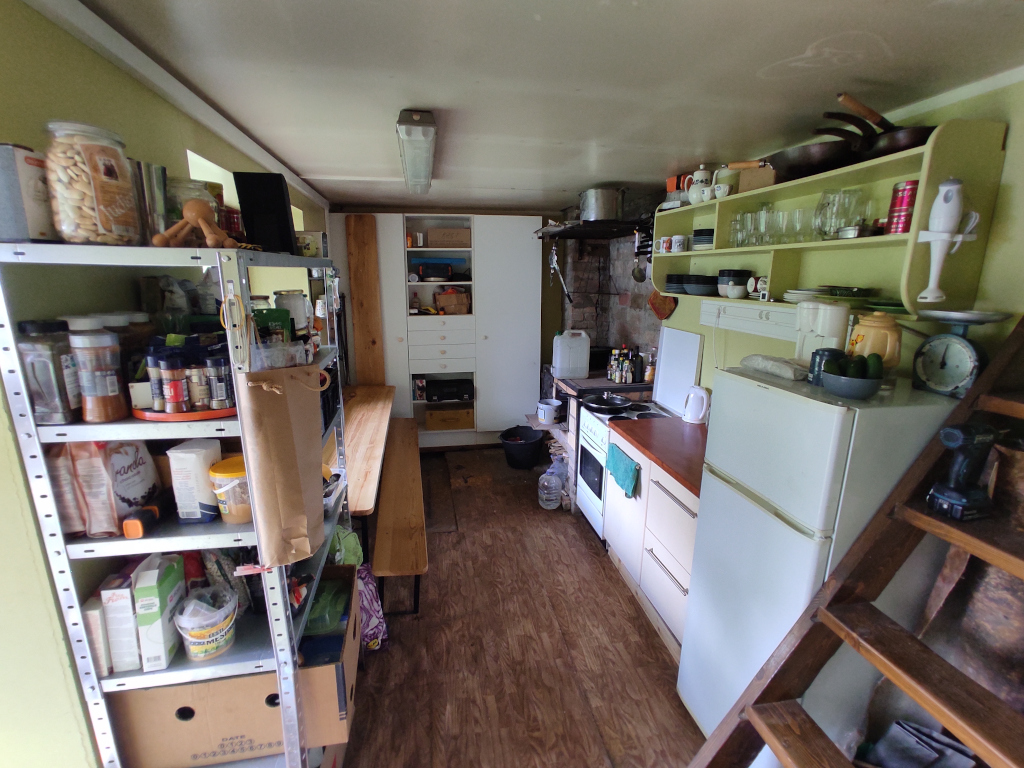
As with many things when renovating a house, you shouldn’t be in a hurry. Putting the kitchen together goes pretty quick, but then the details is where the real time is spend. To make sure everything was level and straight I ended up taking the different cabinets apart from each other and reattaching them. I had good help from Markus, a German guy we had met in France during our vacation who mentioned he was planning to visit the Baltics, so I had given my number and he actually showed up. Together it went pretty smooth and after that we had time to go into town.
Besides not having most of the fronts available yet, also doesn’t add to a satisfying feeling

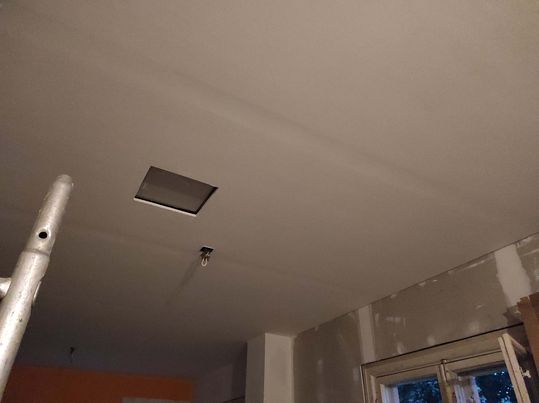
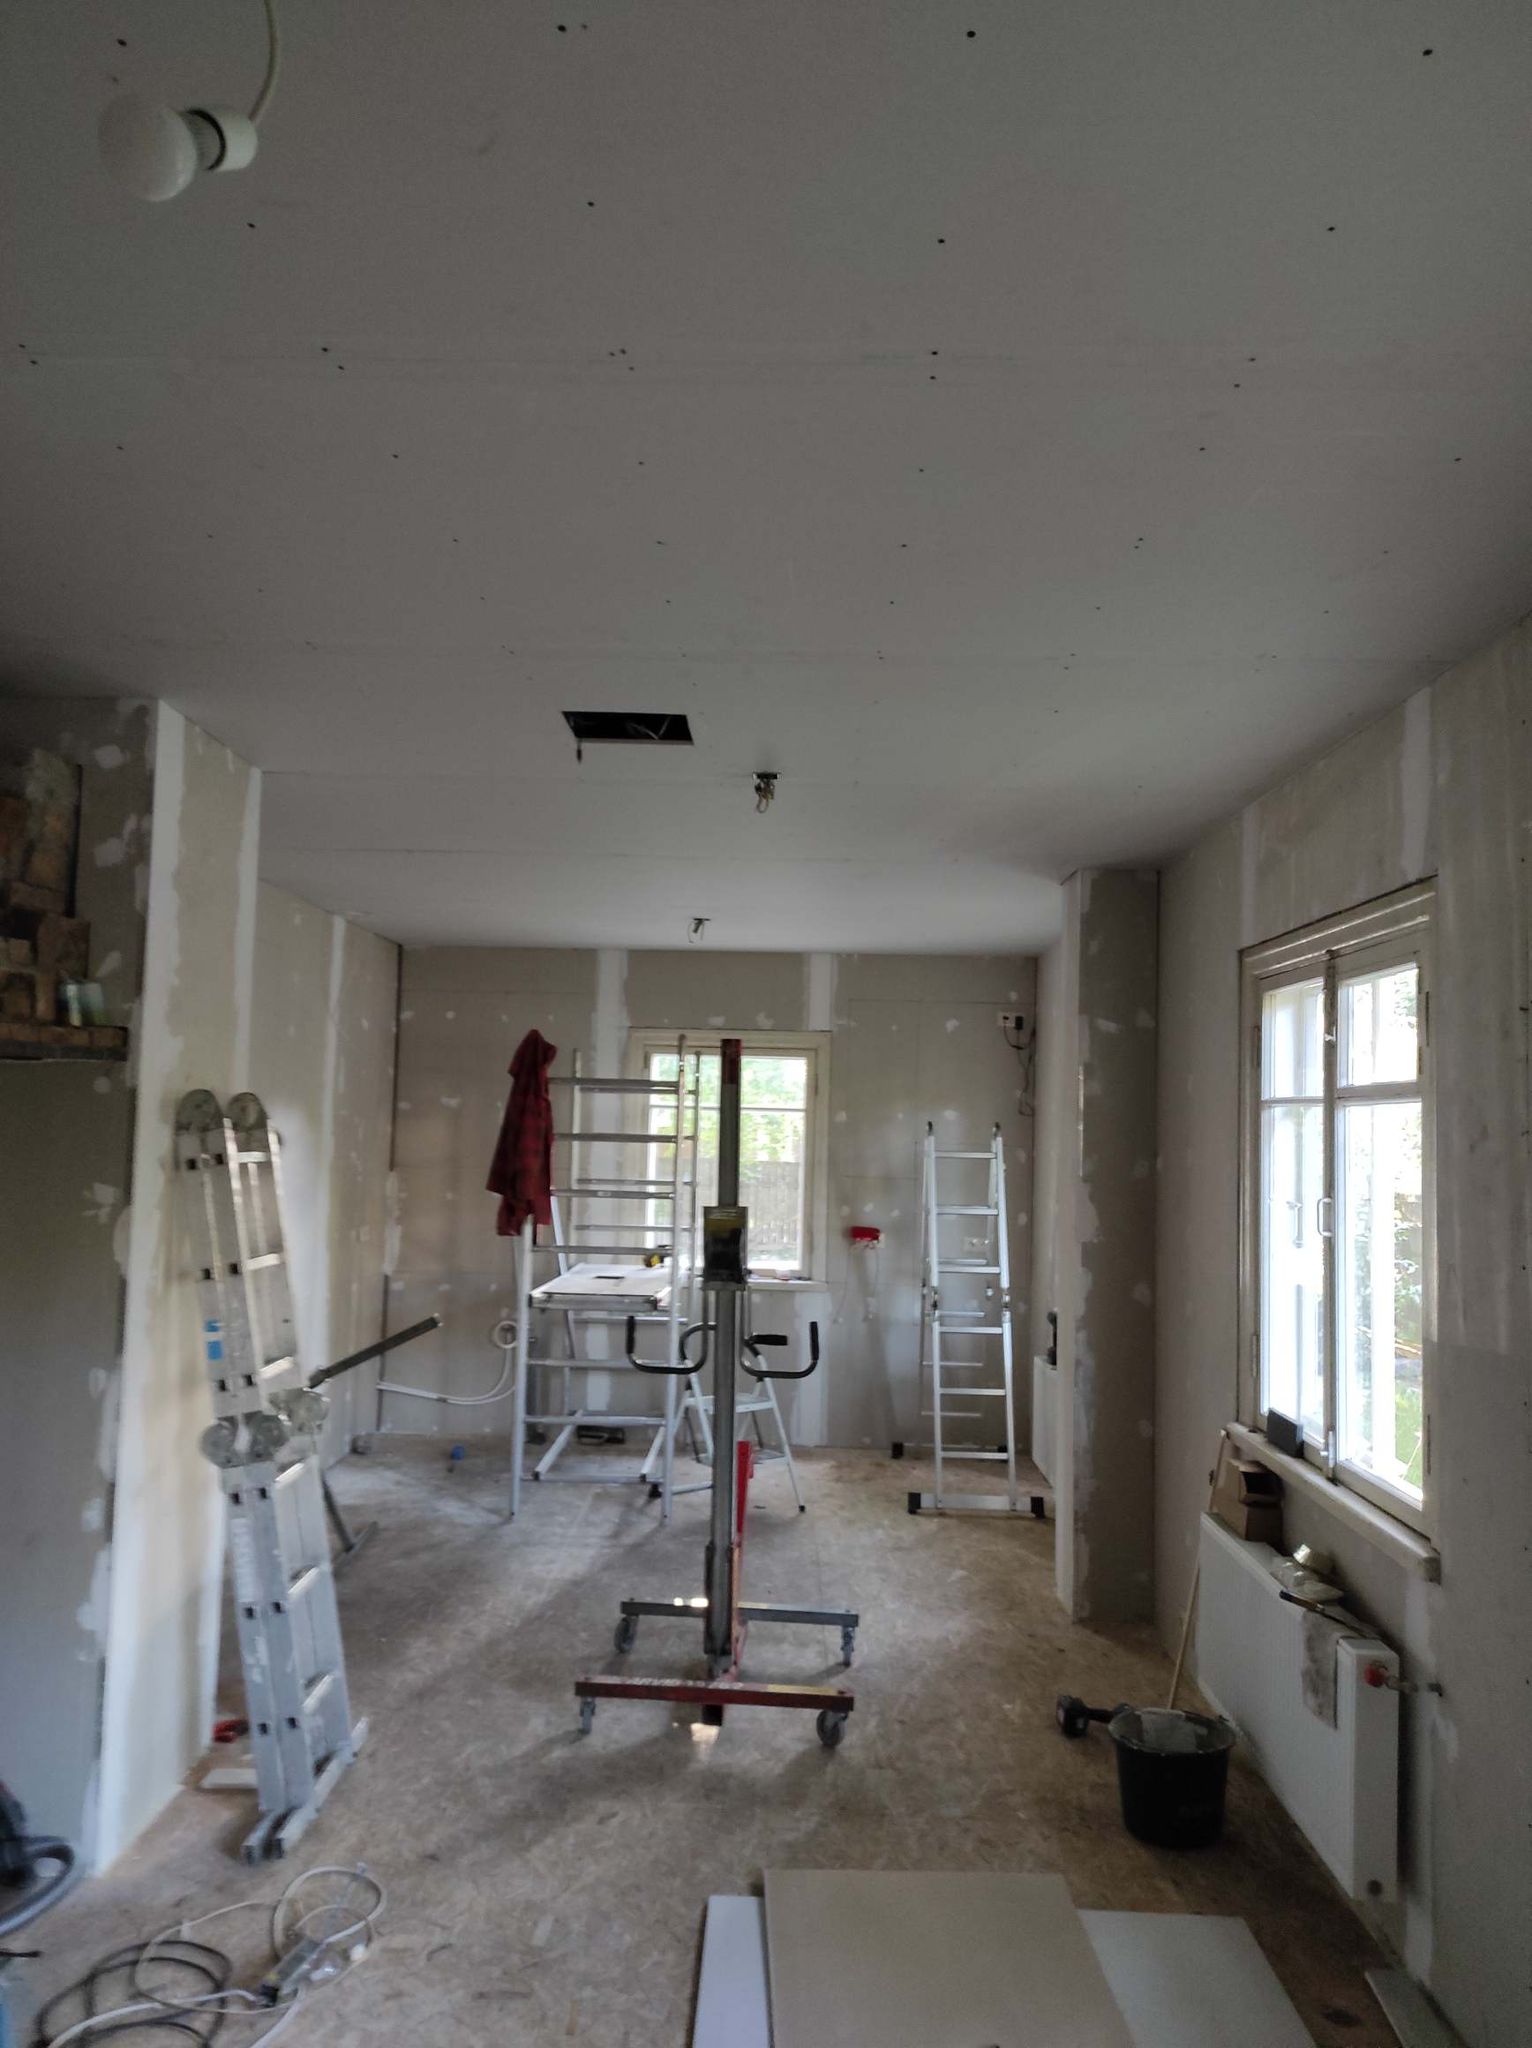
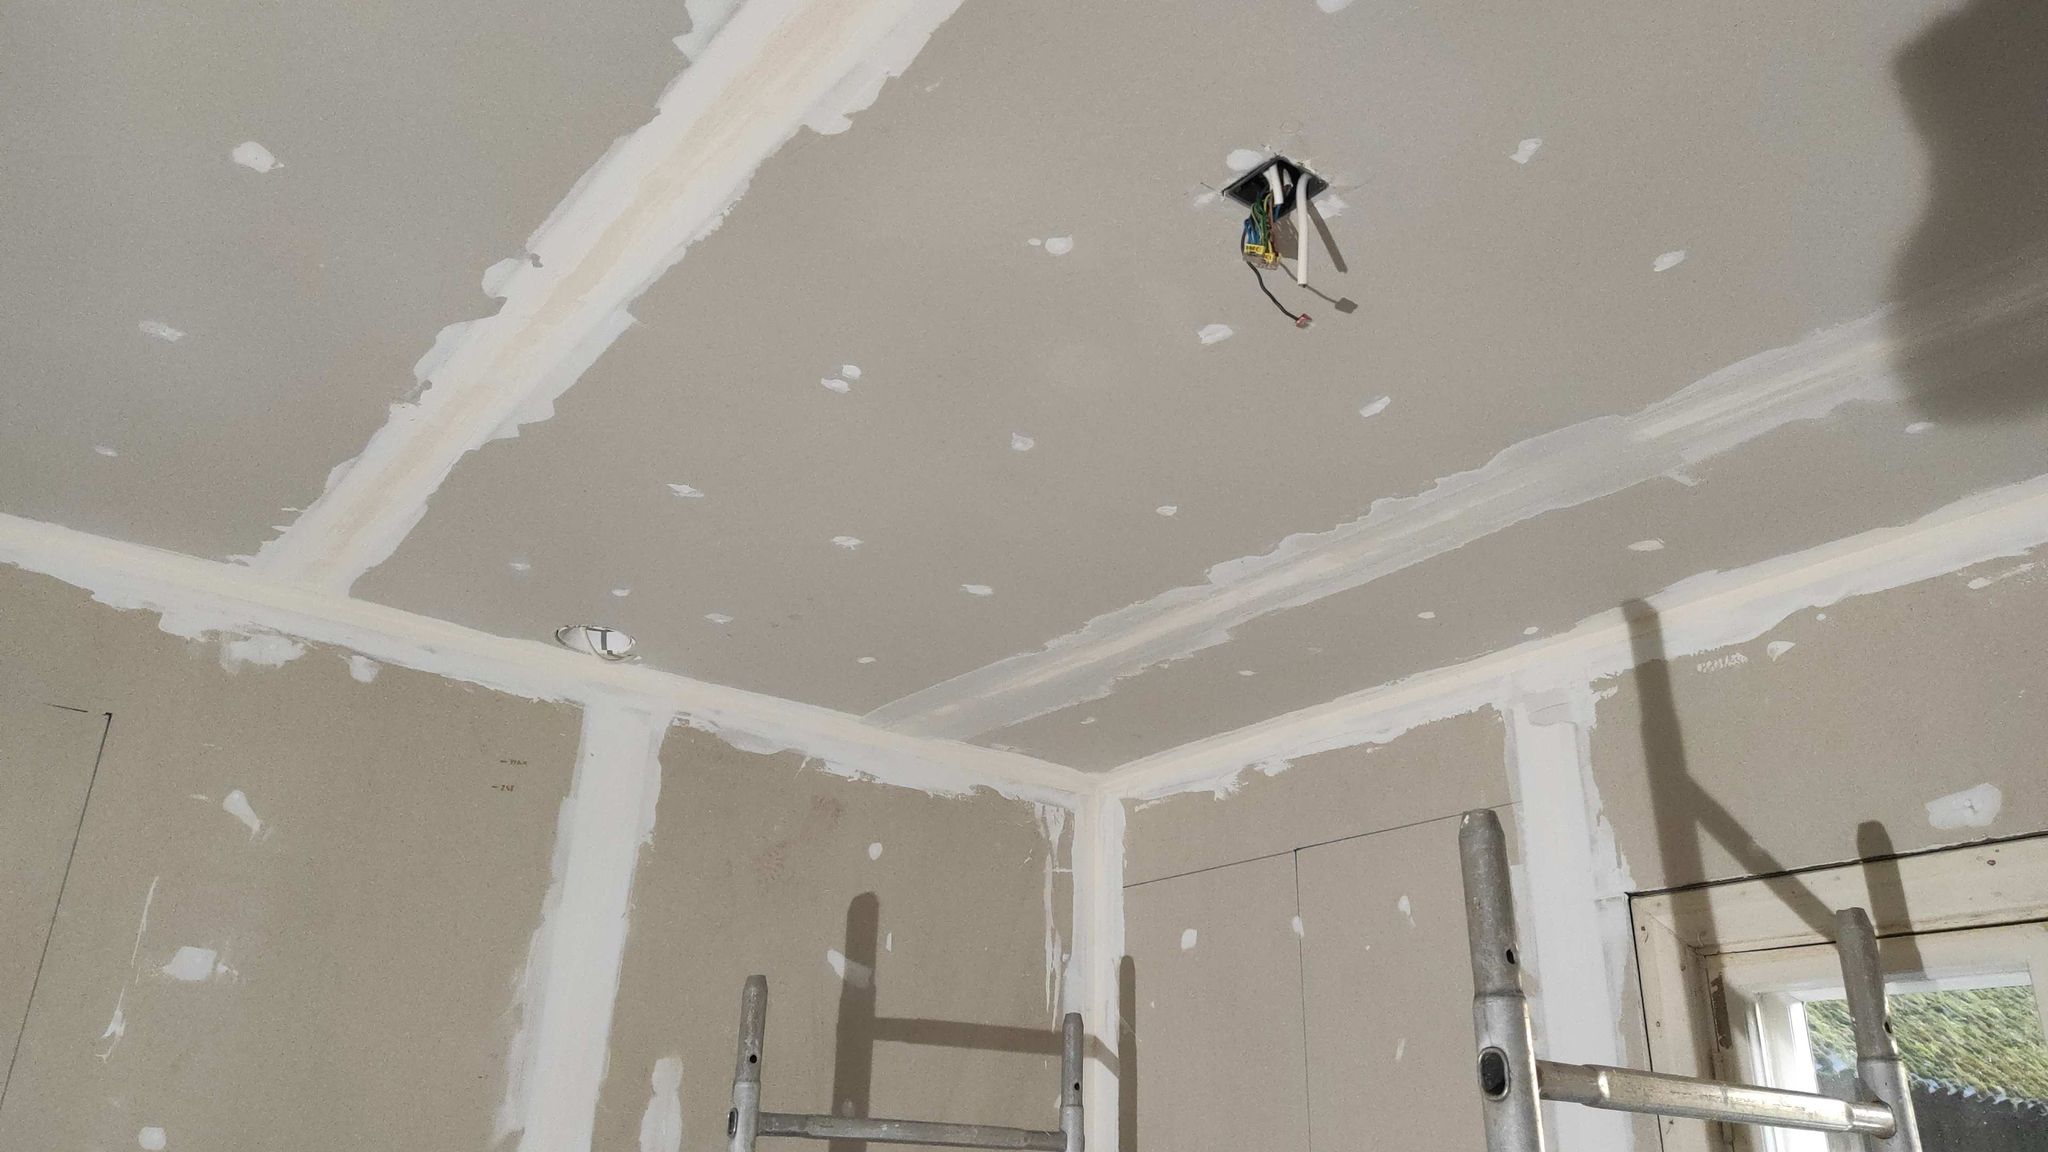
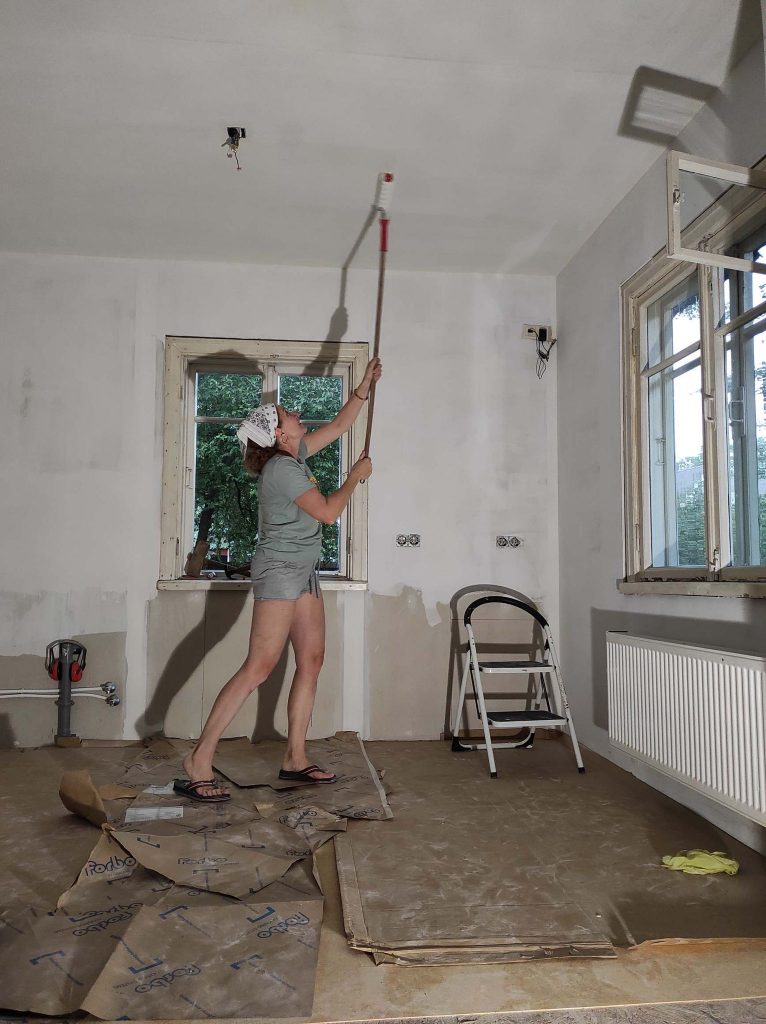
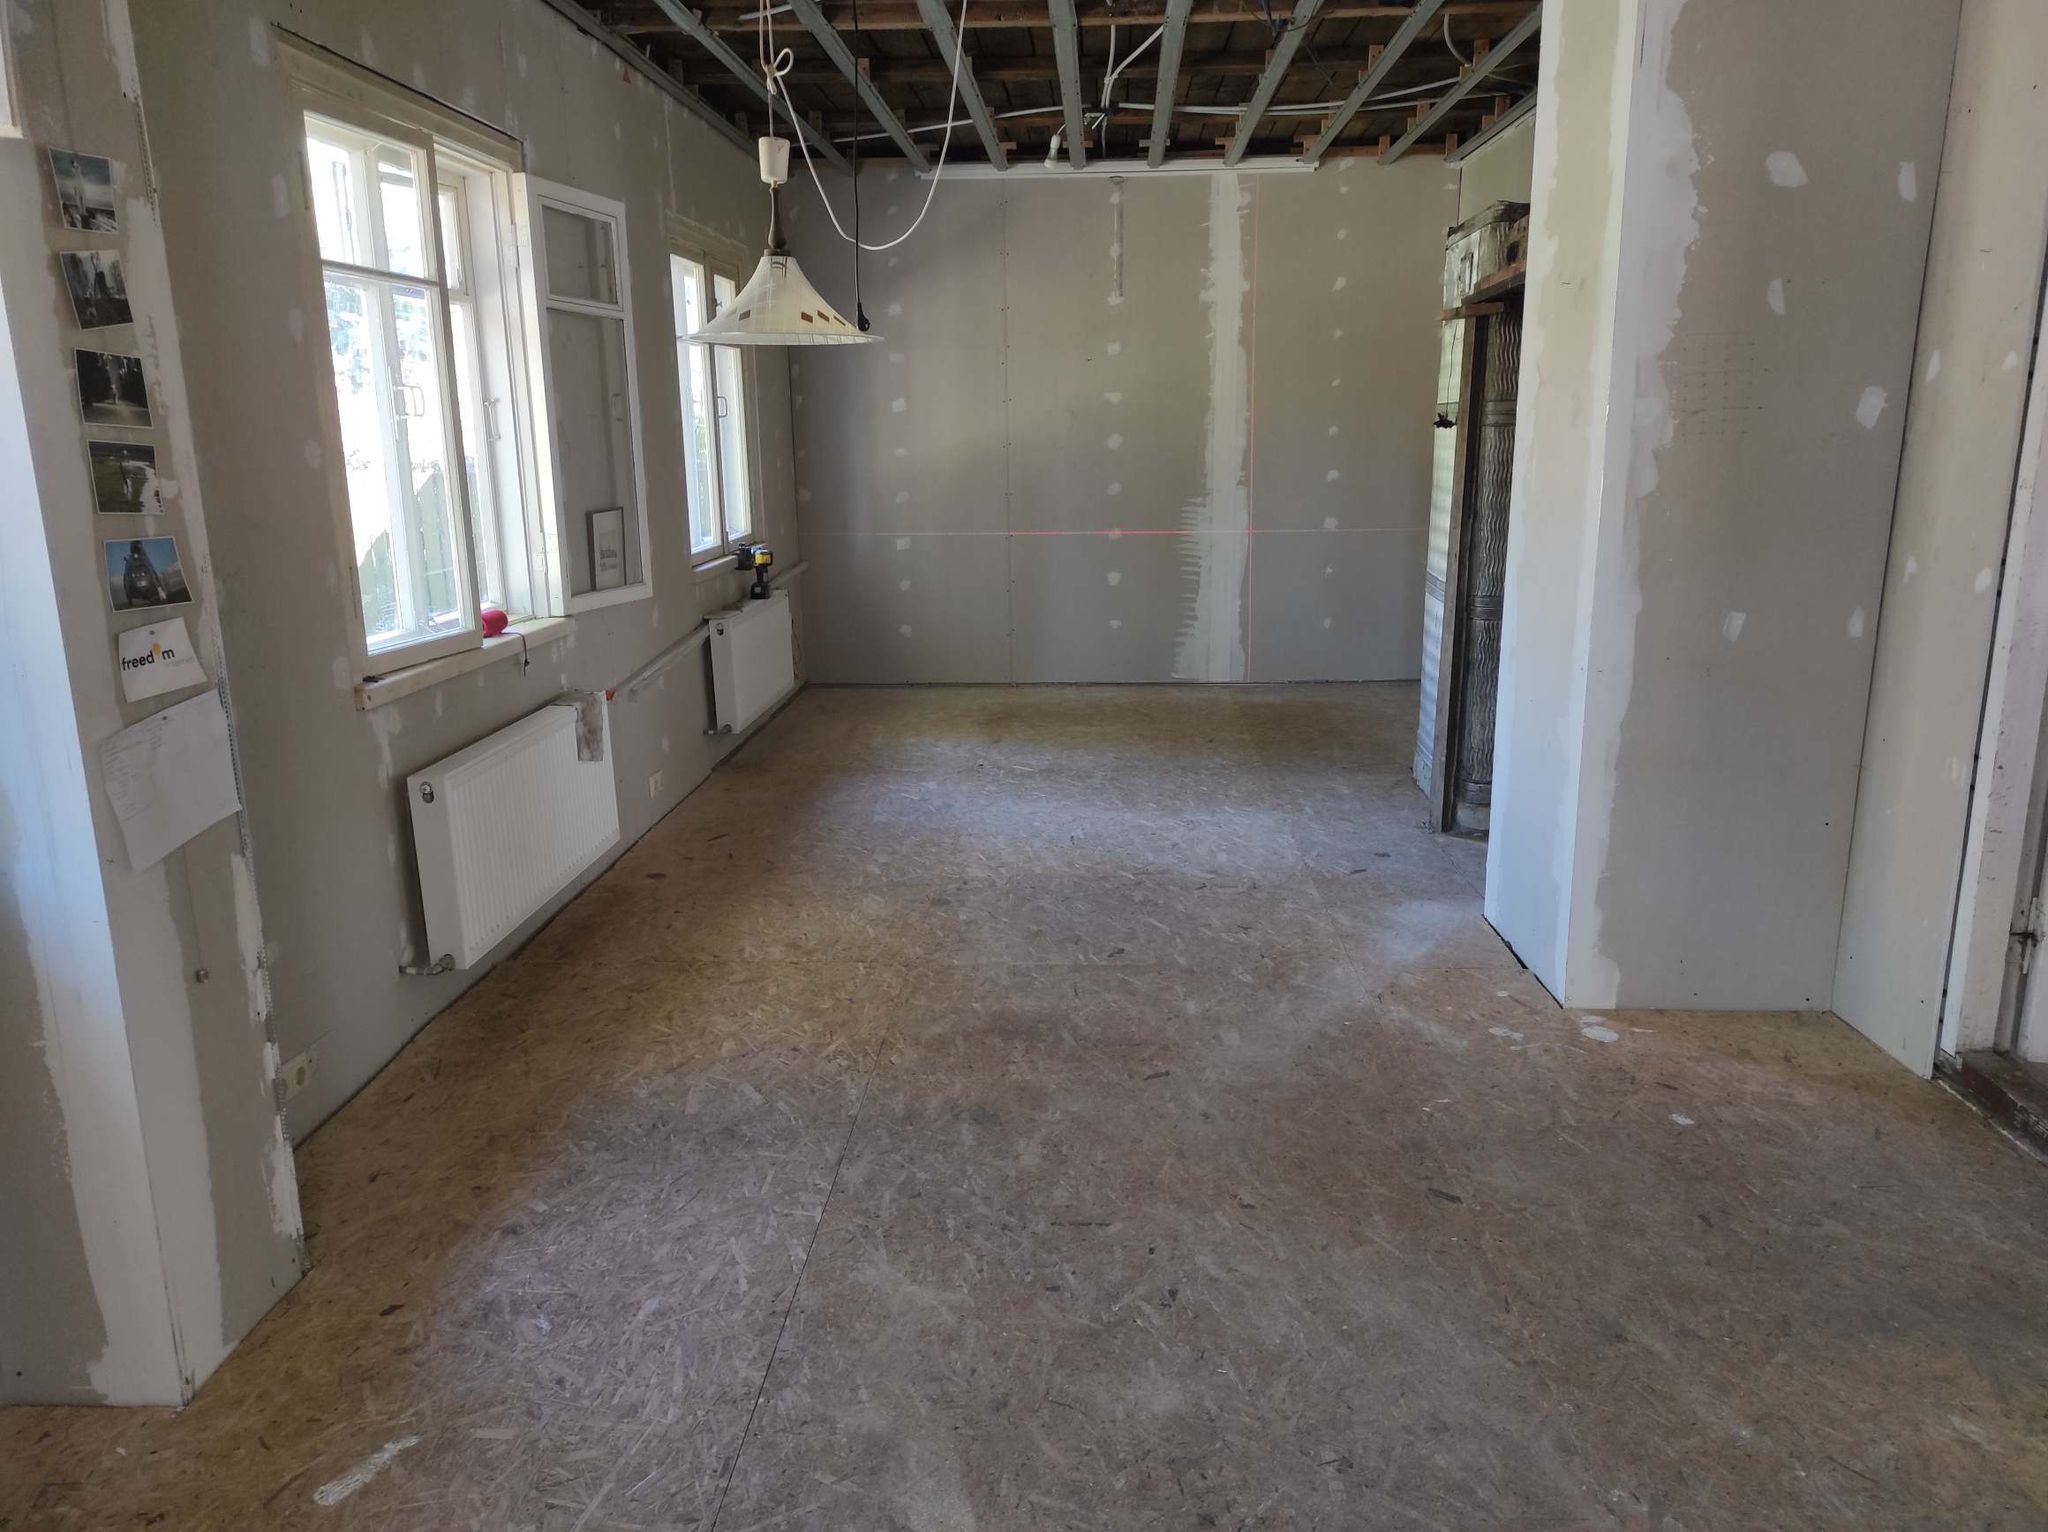
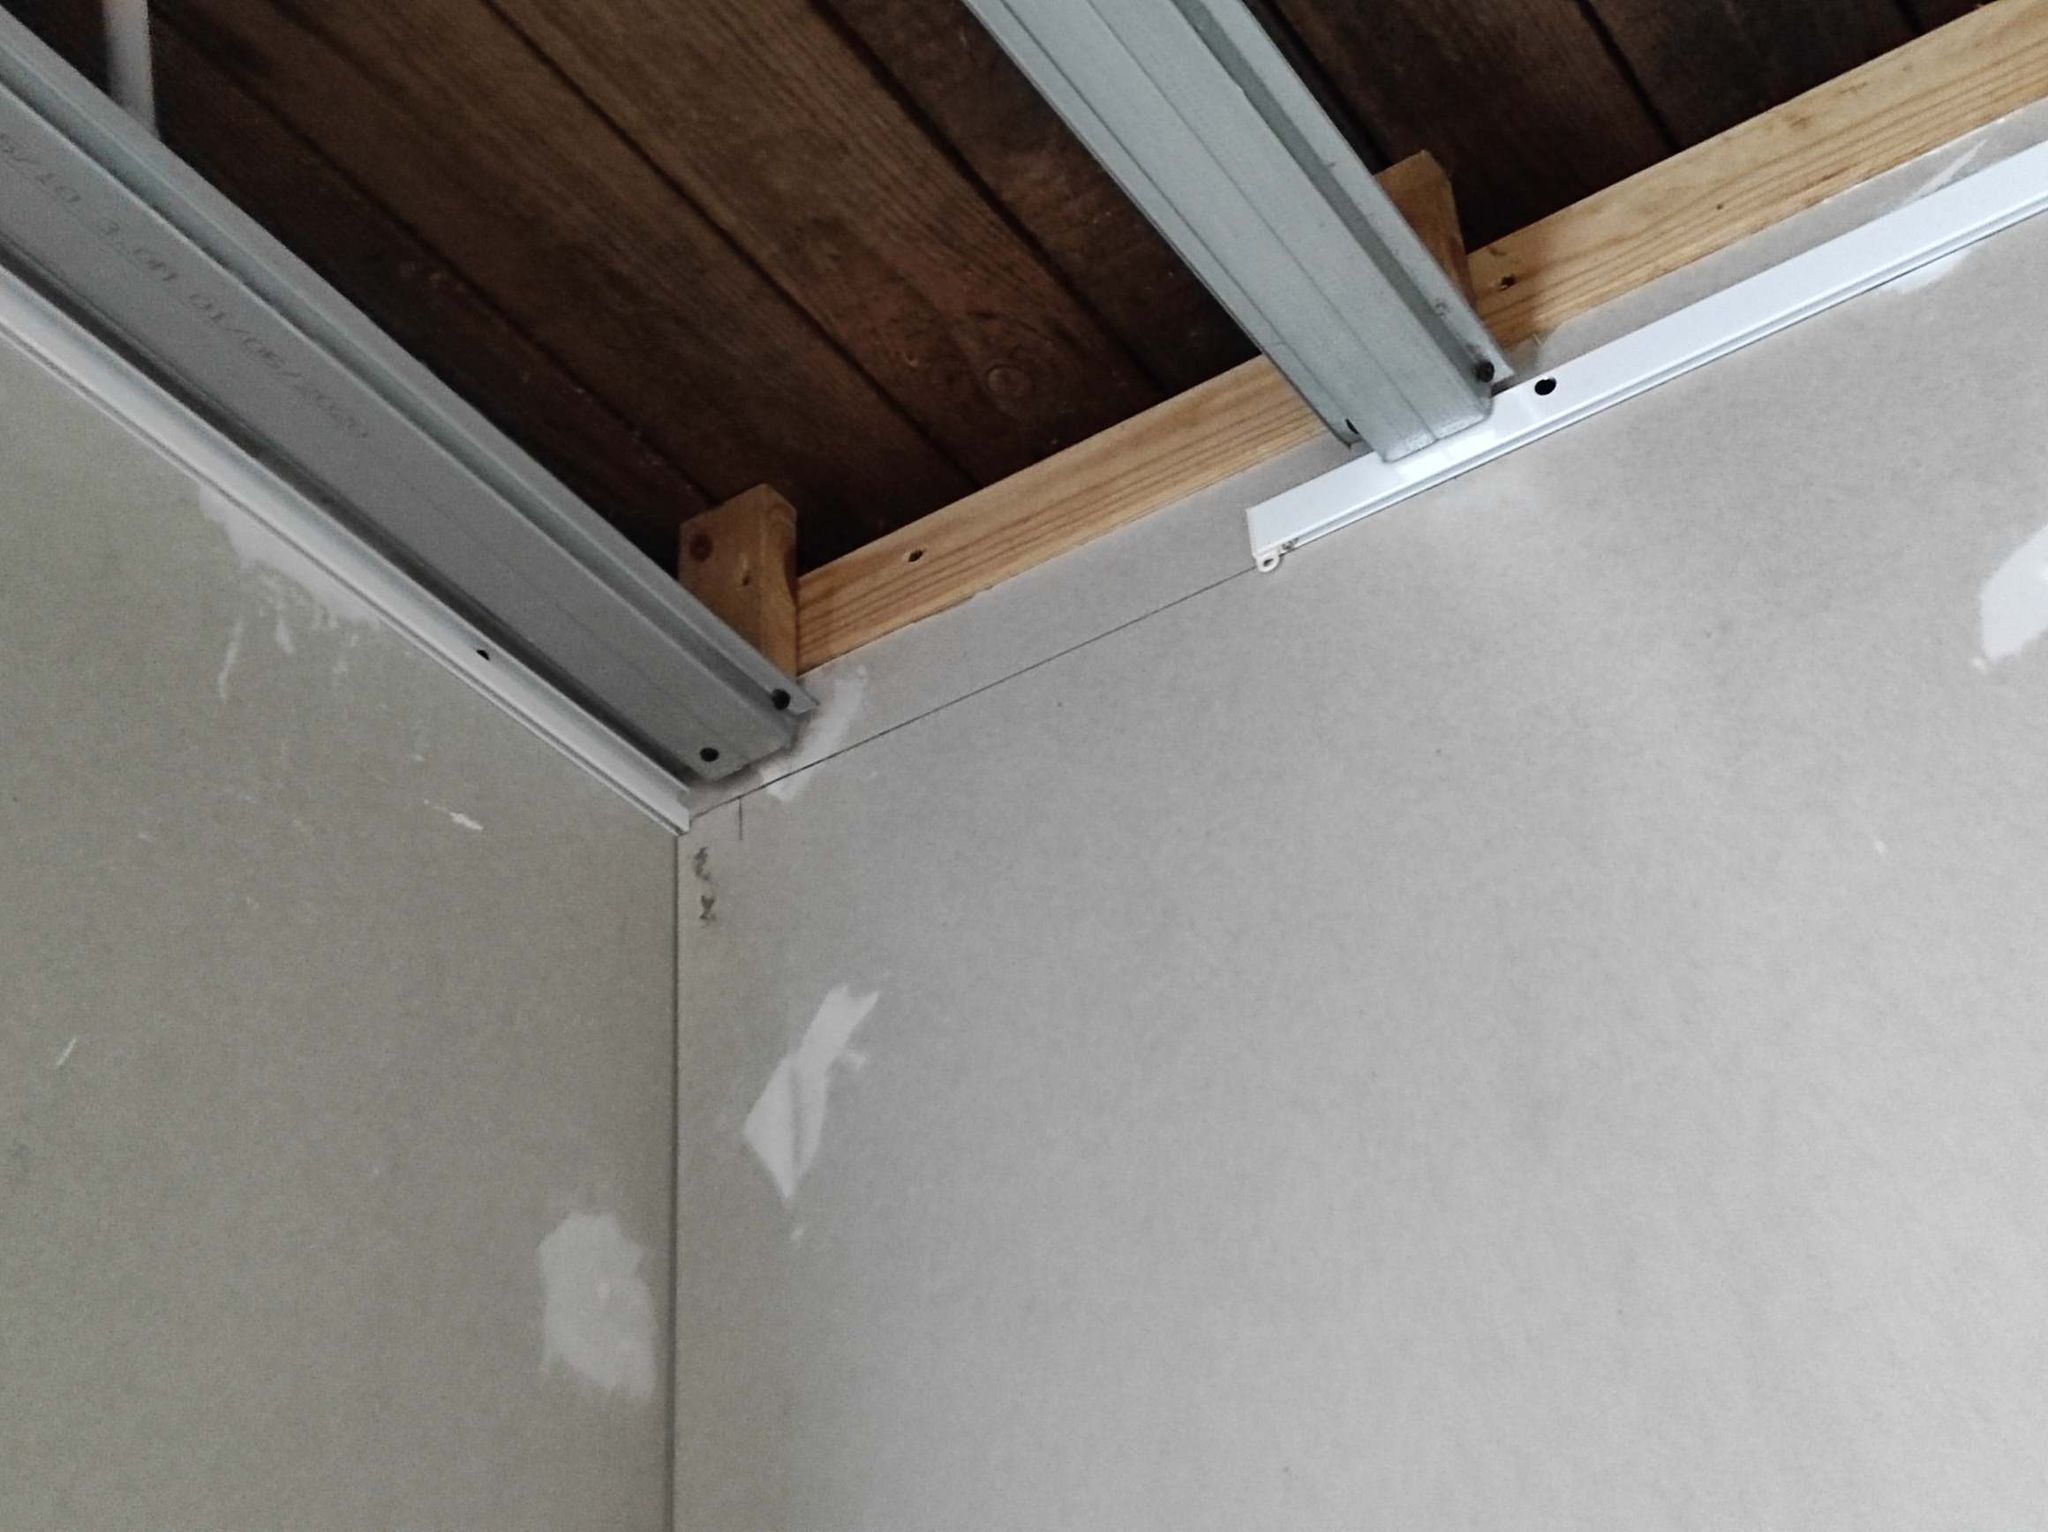
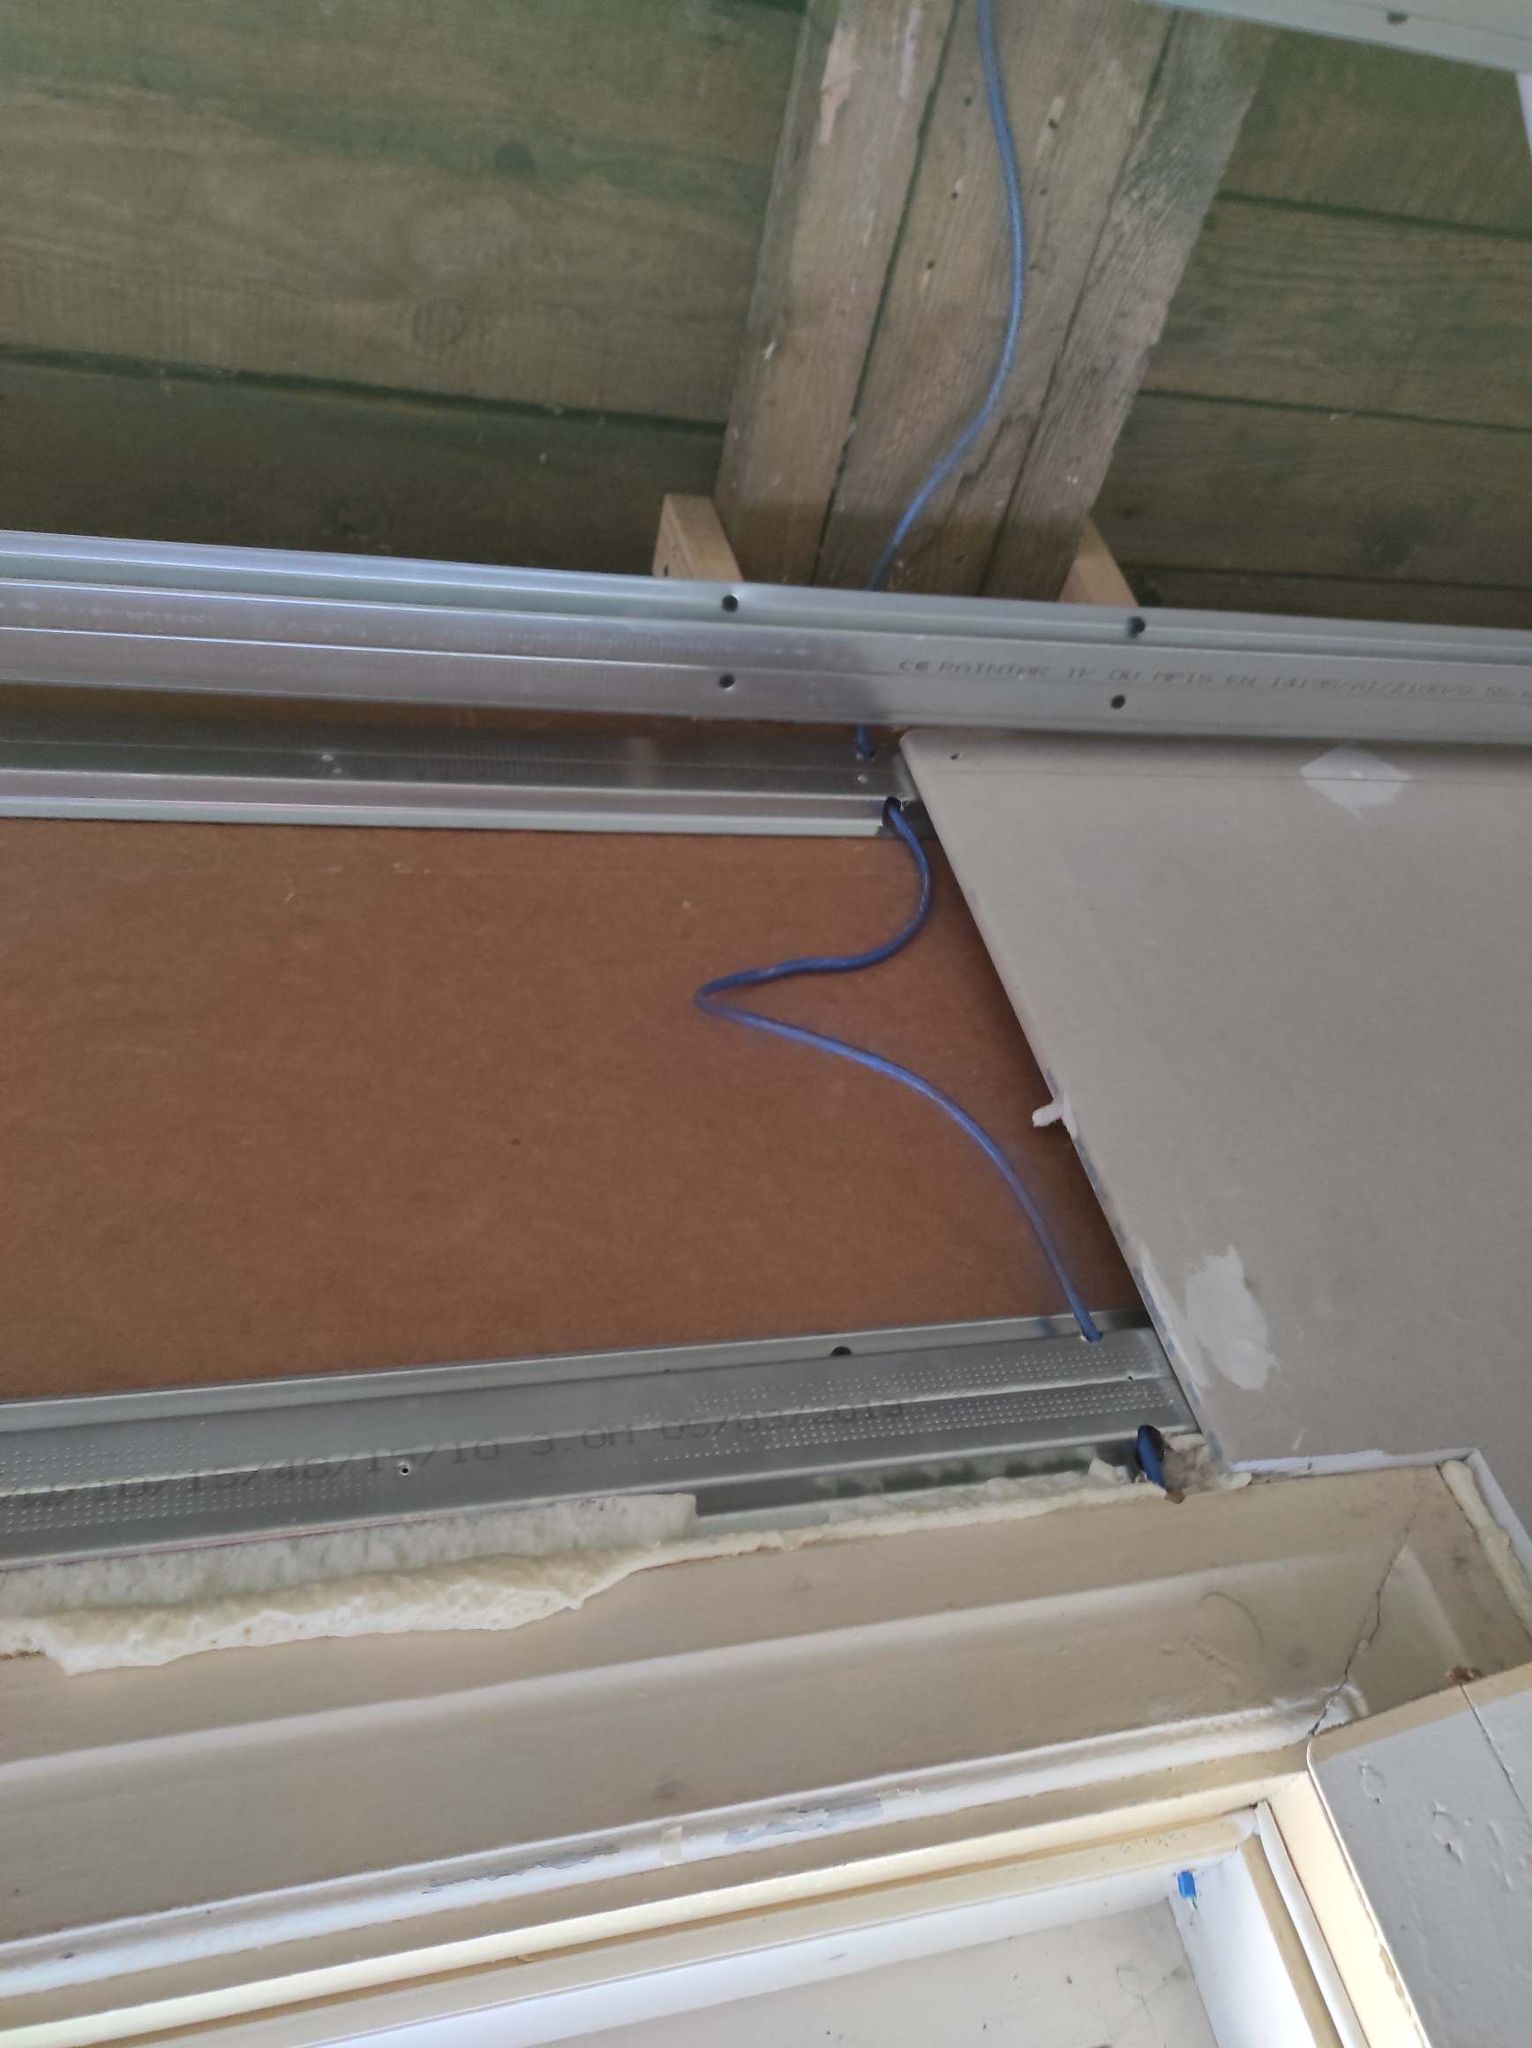
Something else that wasn’t satisfying was the ceiling, the mud that connected the ceiling parts had dried in so much smaller during the drying process that it was very visible. It annoyed me very much, so I ended up filling it 3 more time before it was good enough, at least for now.

The start of the kitchen

The floor is in place, that means, we can finally start to build the kitchen!
Although, it has taken some effort to get to that point, as not all parts of the kitchen where in stock in Estonia. After a few weeks of waiting, I started to look for alternatives. Good thing Jan was in the Netherlands with our trailer and I found out he still had some space, so I ordered the missing cabinets and the cooking hub from Ikea Delft, Ramona picked it up and dropped it off and then Jan drove to Estonia. So finally we could at least build the lower part of the kitchen, so we could have the counter top measured, as that would also take another two weeks to arrive.

But first things first, I had to waterproof the seams in the linoleum, so after work I picked up a special toolkit to do this. The manual was not very clear and it turned out the thermostat of the tool was to high, so the first seam did not turn out very nice, good thing it is the one under the cabinets. The rest went pretty smooth and the result was nice.

During the weekend we put up the cabinets. Since I wanted to have a 70 cm countertop and not the standard 60 cm, all cabinets had to stand 10 cm from the wall, so I had to come up with a way to secure them to the wall. With some different brackets, I came to the perfect solution.

And then finally, it was time to paint the kitchen wall. We had picked a special kitchen paint, that can be washed, se we did not have to put in tiles. The result of the first layer was great! This really is going to be a nice kitchen!

A ceiling and a kitchen floor

All the preparations are done, time to rent a plaster plate lift and put in a ceiling. Of course all the lifts where rented out at the Ramirent around the corner and also in the other Tallinn branches there was no lift left over. Good thing there was one in Keila, so a little drive through the beautiful Estonia landscape and we could start anyway.

With the lift, putting in these huge ceiling plates was a breeze. We where done before we knew it. To to do some plastering. Well a lot of plastering. And then after some sanding it was time for a coat of paint. I figured Ral 9010 would be a good colour.

With this work done, the next step was to put in the linoleum in the kitchen. There was an annoying surprise when we found out they had cut the role just a few cm short. But after a bit of measuring and rethinking the way we could lay it we made it work. It was a fun new skill to learn and the result was super!

Now we could pick a colour for the kitchen wall. We picket an egg yellow, and could hardly wait to put it on.

Redoing the living room floor

The first project my dad and I planned to do was to redo the floor, straighten it out an take out some of the of the movement we noticed in some spots. We planned to replace the OSB for a thicker version, but with the prices being threefold of last year, we decided on different solution.

First we took out the floor and then we had to find the highest and lowest point of the floor. With the laser and a pole this was relatively easy. We found the difference throughout the room was about 5 cm. Especially in the middle of the room the beams seem to have bend over the years.

We got straight wood and screwed this to the sides of the original beams. In between we place cross beams to strengthen the floor boards. After this was done in the kitchen area, we got the hang of it. After about 6000 screw the more expensive Makita screw bit was warn out. It sure proved it was worth the extra money. All in all it still took almost a week to replace the floor, but the result was very satisfying.

The next step was to create an air duct for extraction hood in the kitchen. After some careful consideration we create it with 1 90 degree angle in it so the exit would be a bit away from the roof, as in the winter snow would otherwise block the exit.

As I wanted to have gallery rails to hang painting from to be flush with the ceiling, on other job this week was to put these at the correct height. This made me realize it might be a good idea to run some cables to the windows in case in the future I want to create automated curtains. A small job now, hopefully it will be useful in the future.

Towards the weekend we got a message from Ikea that most of the kitchen was in. With a bit of logical loading the van held the entire kitchen and even had a bit of left over space.

Bathroom and summer kitchen

The first thing to finish was the bathroom ceiling. The majority of the work was done already, only the main ceiling had to be put in, plastered and painted. This went pretty smooth.
In between we moved the temporary kitchen to the garage and made it into a pretty cozy kitchen. The only thing missing was running water and a sink, but this was fixed with a the vacation jerrycan and a bucket. It is temporary anyway. Soon we will be able to use a real kitchen.
Finally we could also put in the cabinet in the bathroom. At first I thought of building a cabinet, but when I found out it would fit a stock cabinet from Ikea with matching wooden doors, the choice was easy. Just in time for the arrival of my dad. It was good seeing him again in Tallinn. Looking forward to all the work we have planned.

The first thing we planned to do was take out the floor in the living room/kitchen and make it completely level. So taking out all the floor boards again. Minor detail was then we had build the insulation and walls over the floor, so we had to cut the floor. My old cheap jigsaw broke, so time to replace it for a real one. For some parts this was not the best solution either, so we also got a little circular saw blade for on an angle grinder. A scary tool that got the job done nicely.
With the floor out, we had to find out how big the difference was. After a lot of measuring we found out the difference between the highest and lowest point of the floor was almost 5,5 cm. No wonder the floor was wavy. We put in screws at the measuring points to visualize what we needed to fix and decided to screw some straight beams against the sacked beams.

Spelling error report

The following text will be sent to our editors: