
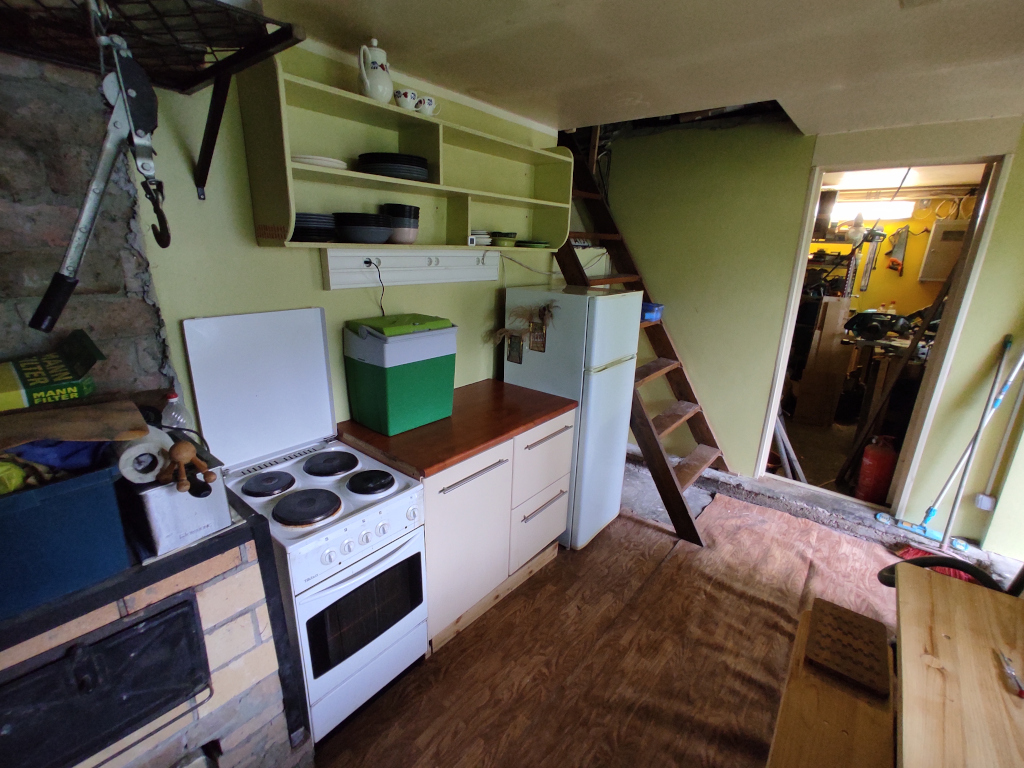
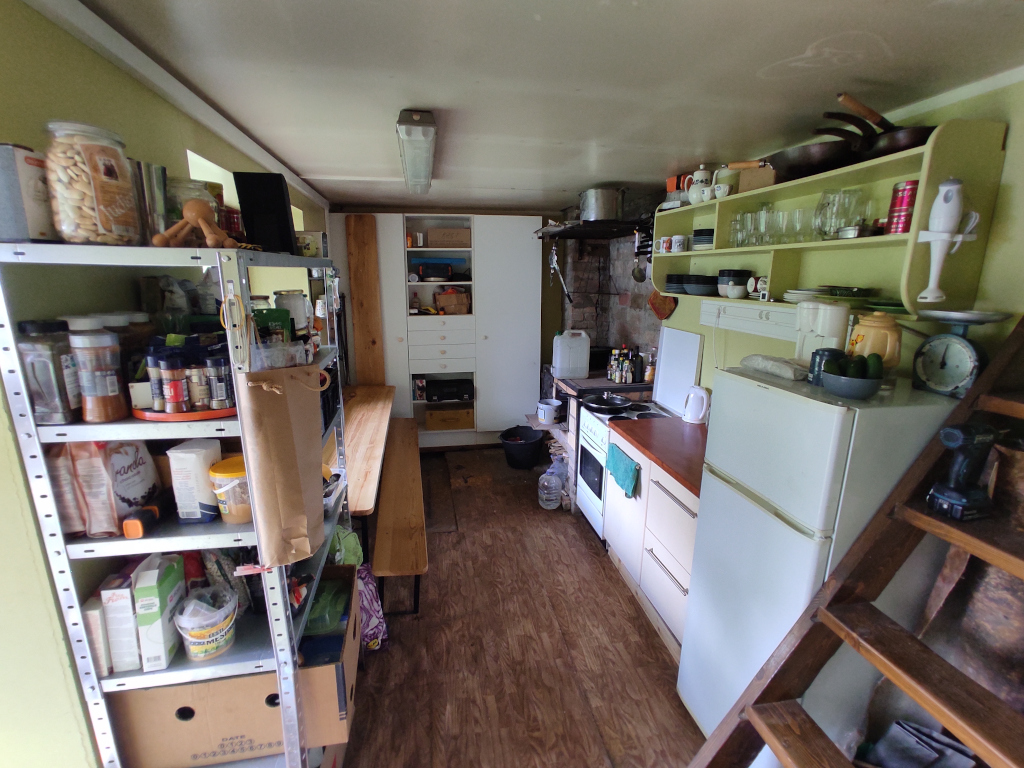
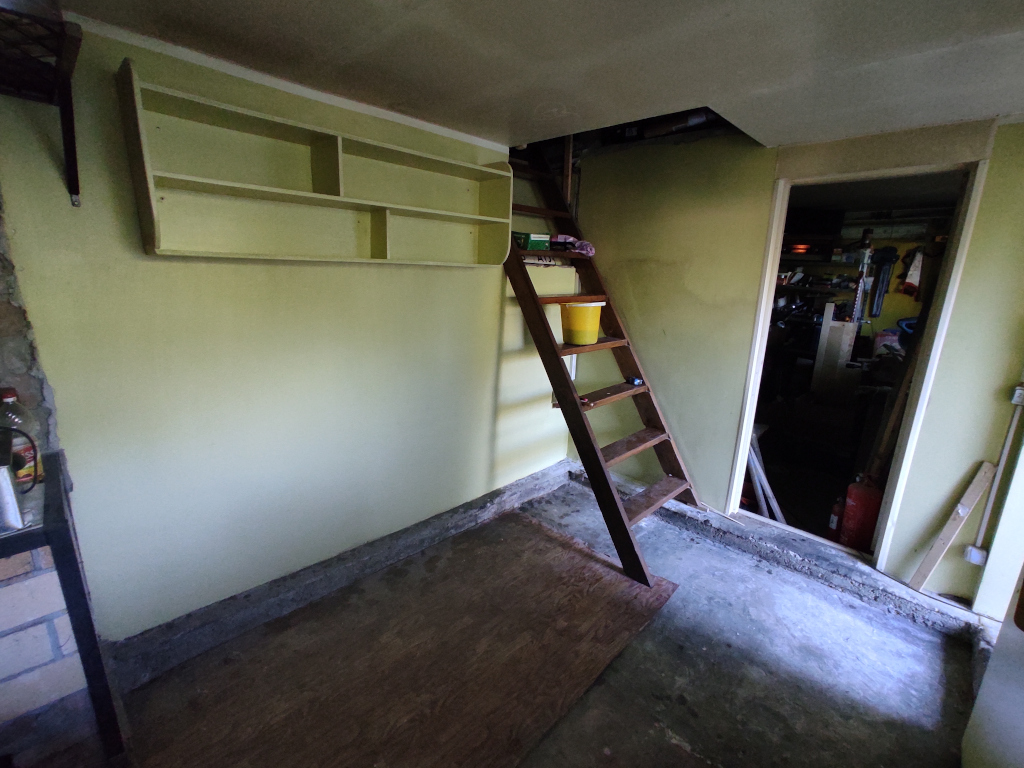
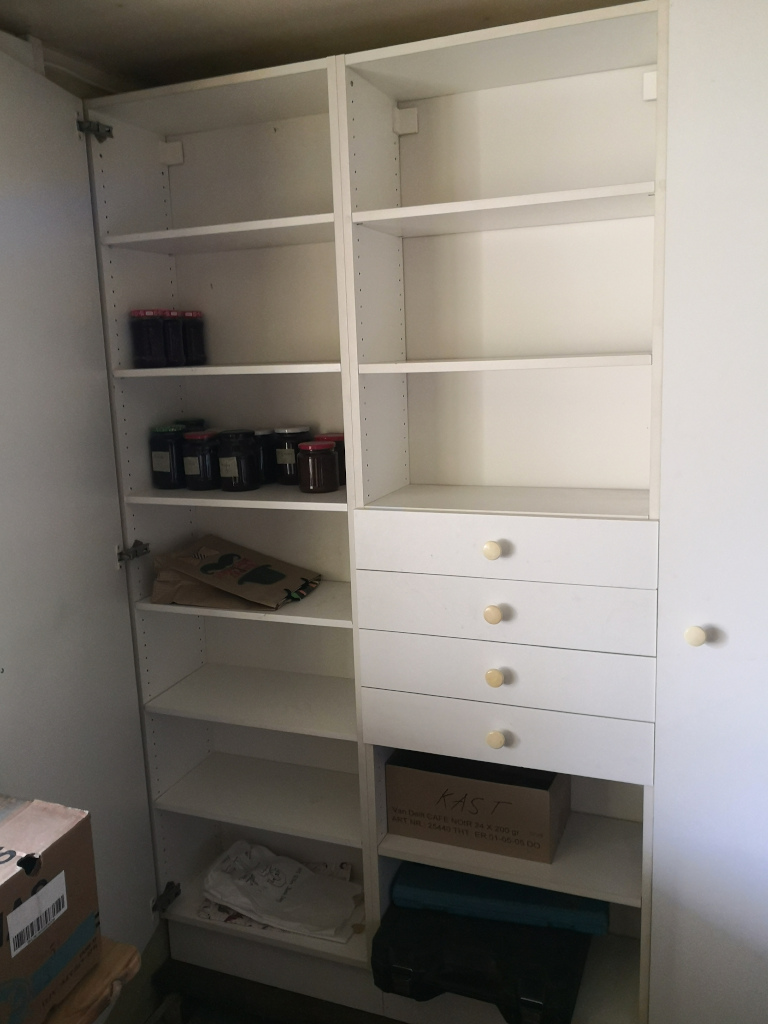
While cleaning up the attic of the garage we came across the upper shelves of the old kitchen. It made sense to hang them in the garage kitchen so we have more useful space and more unity.
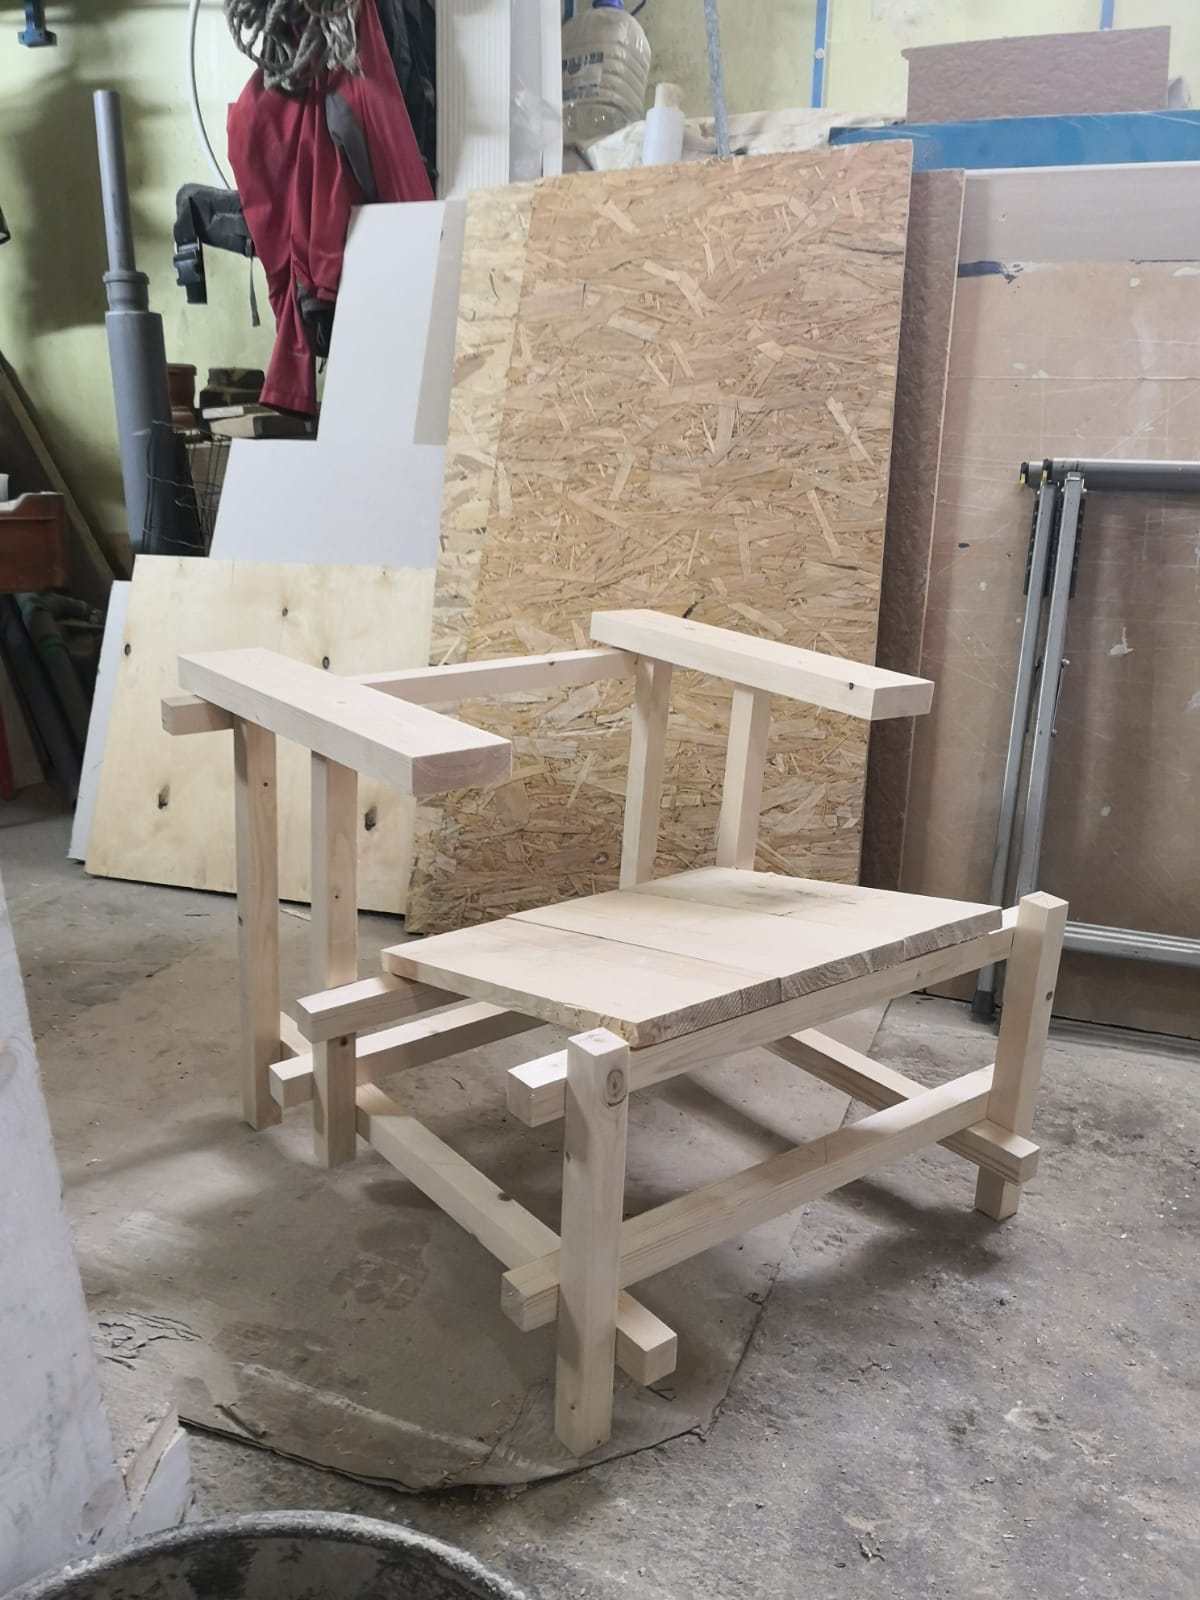
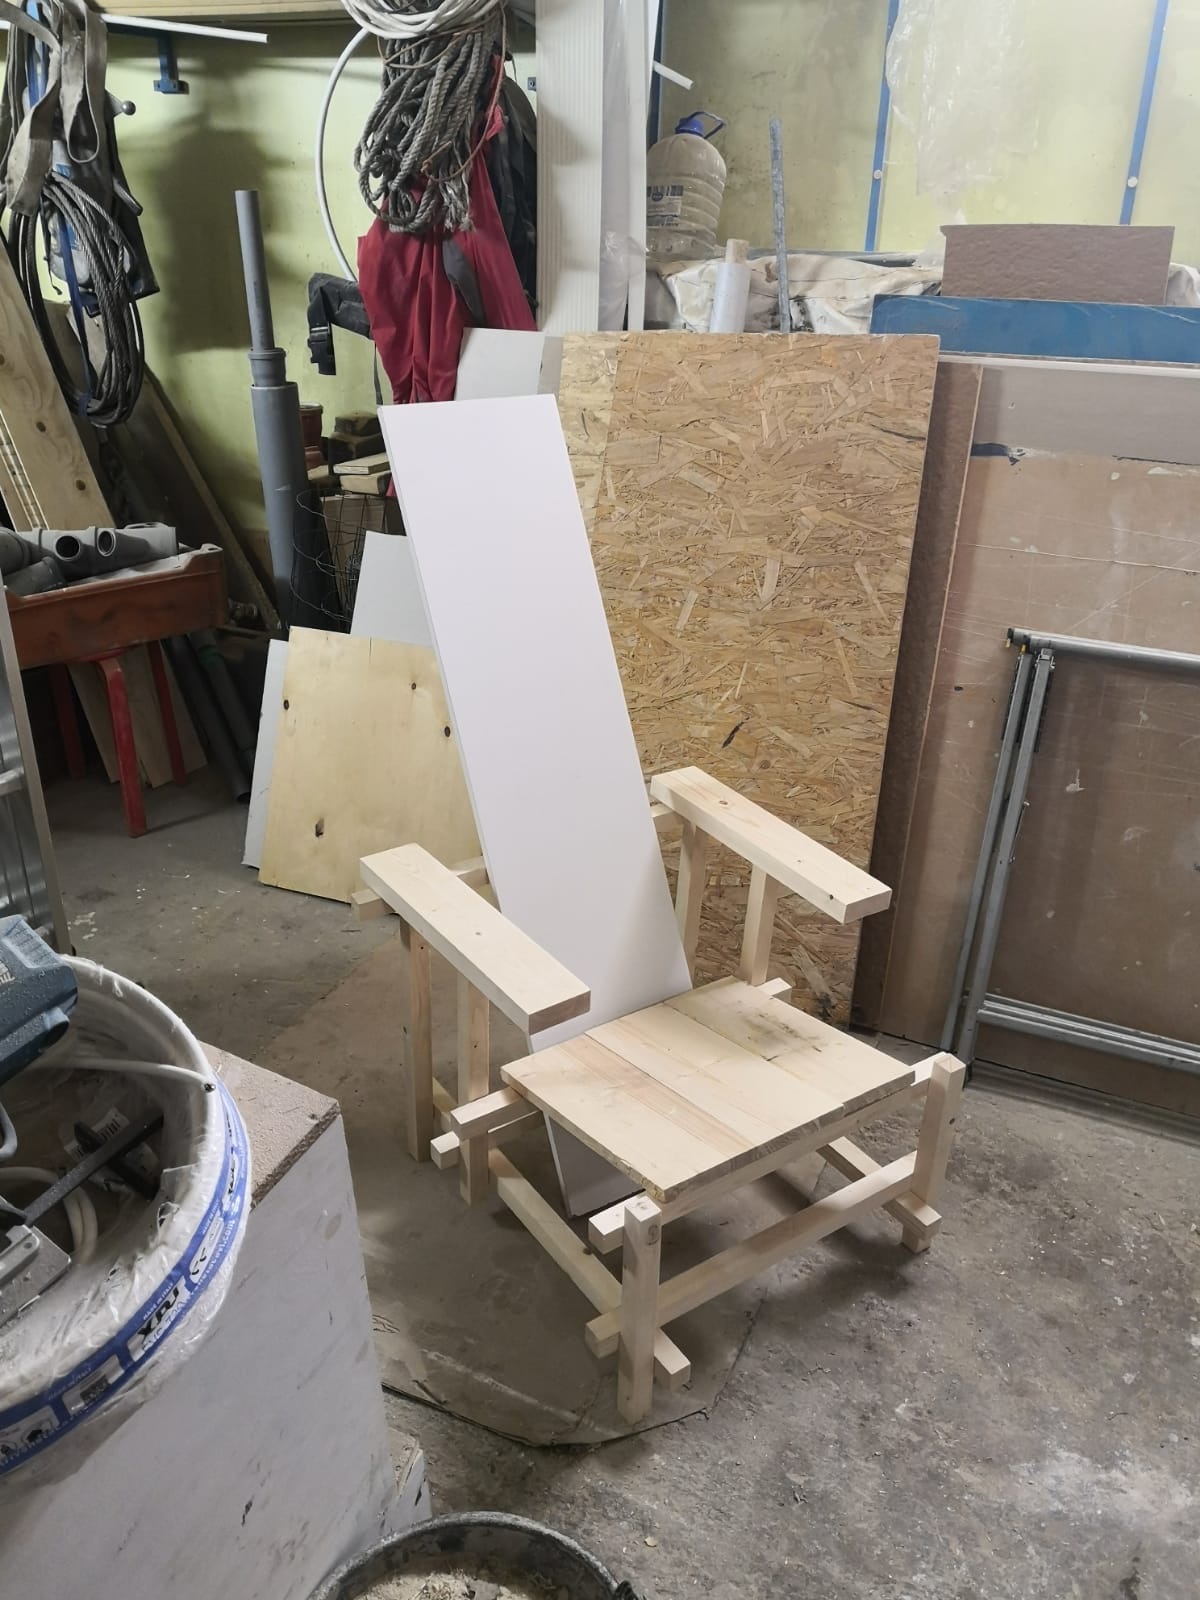
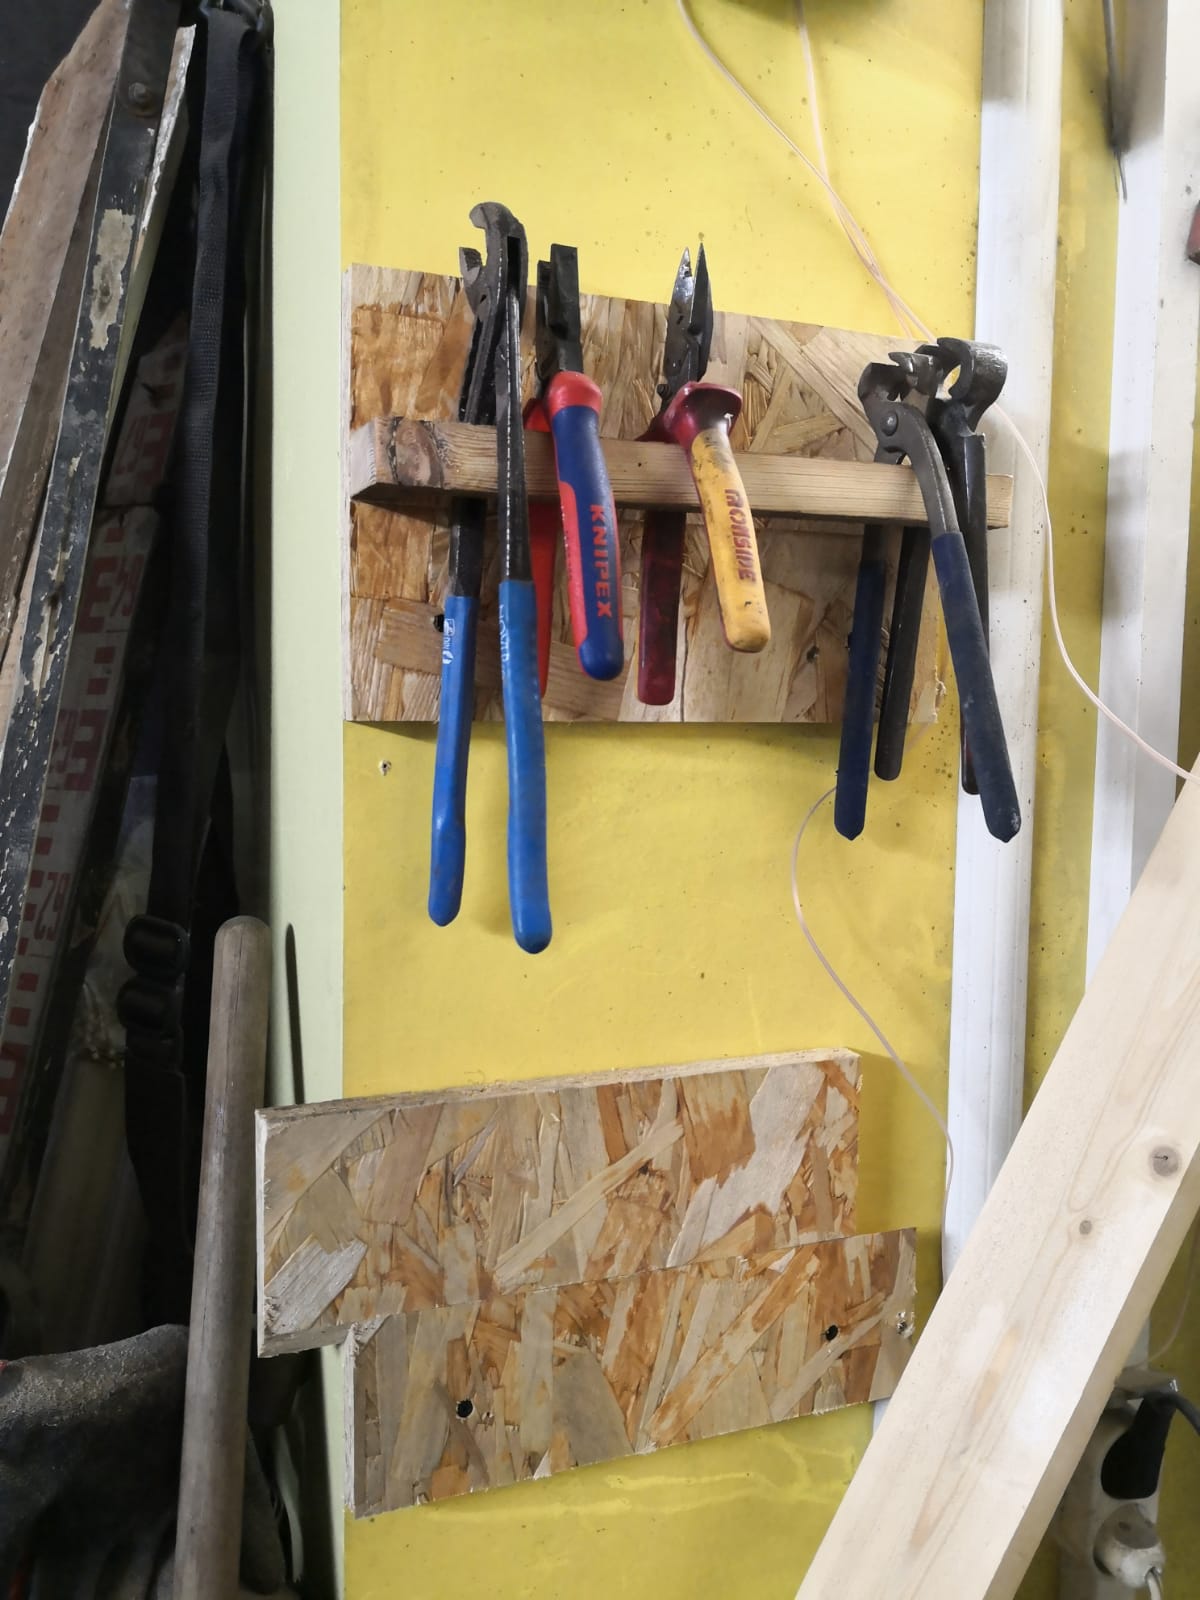
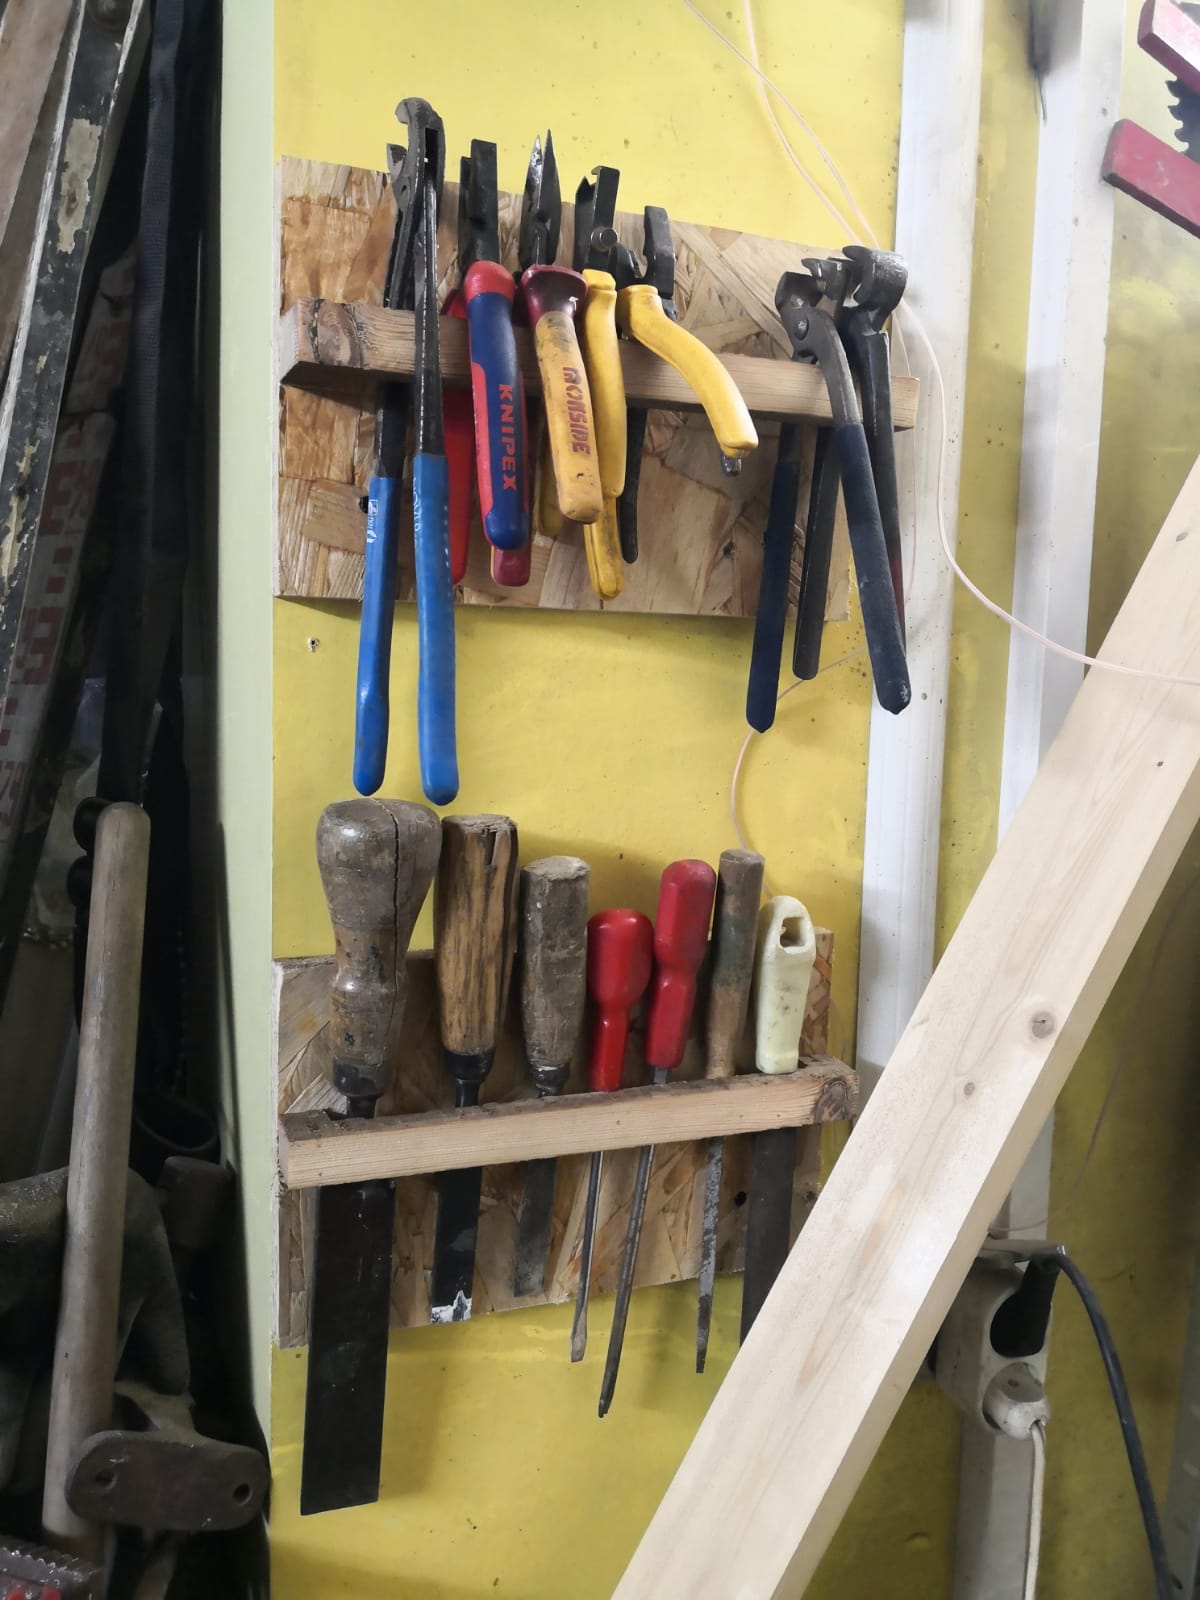
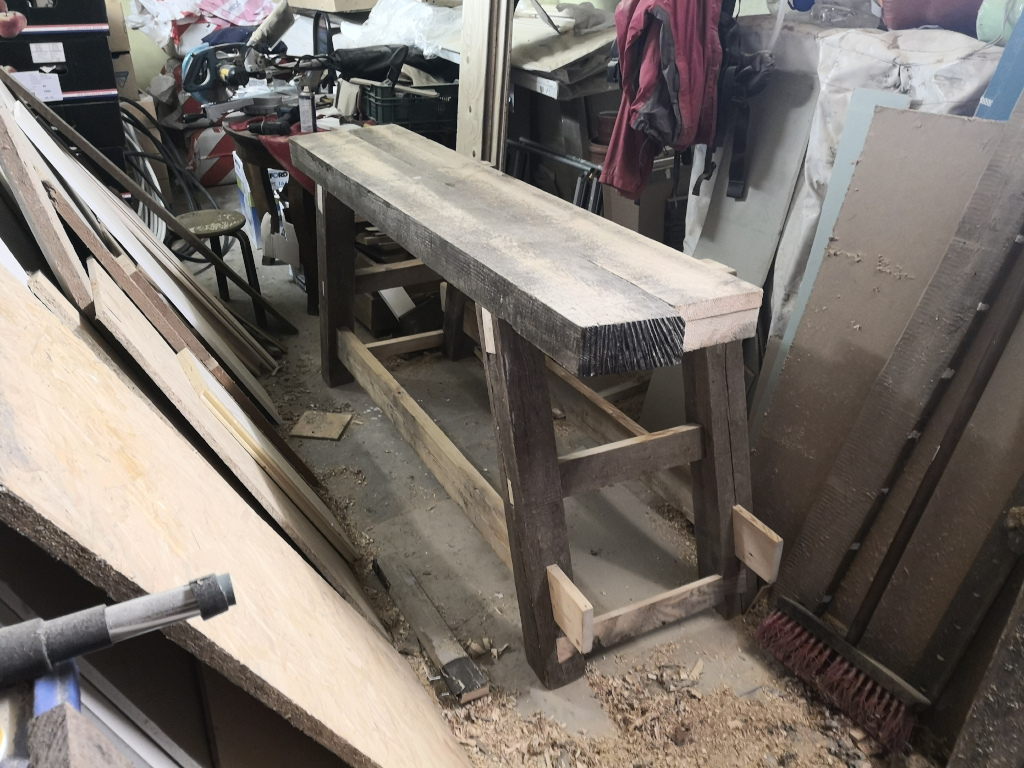
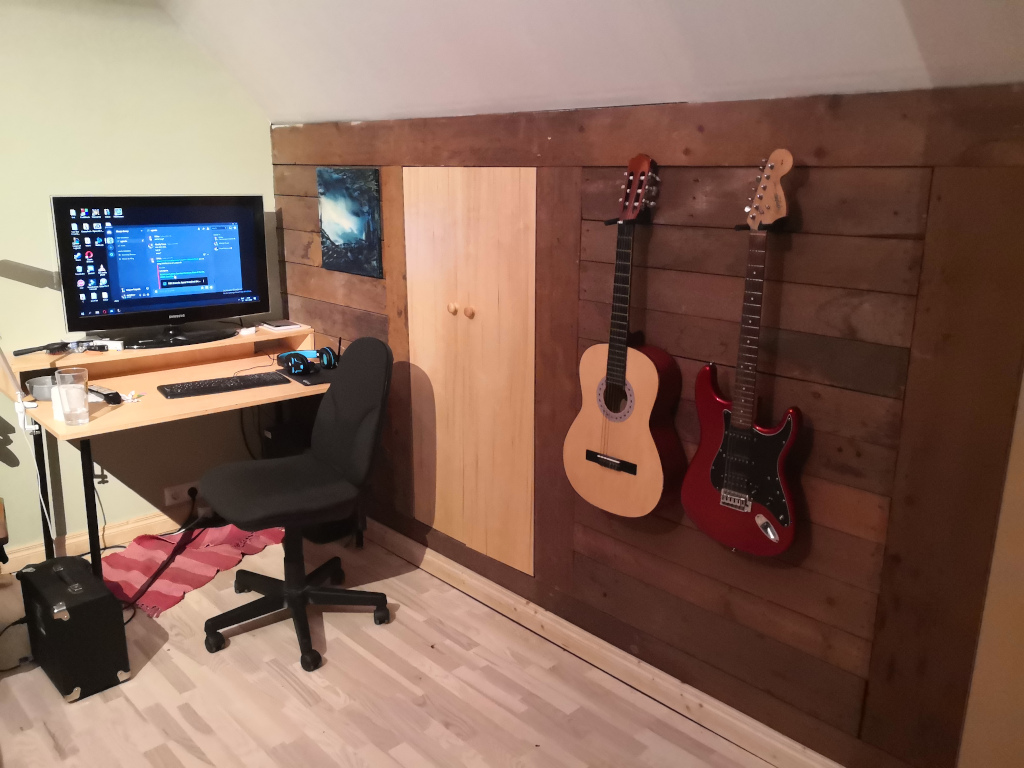
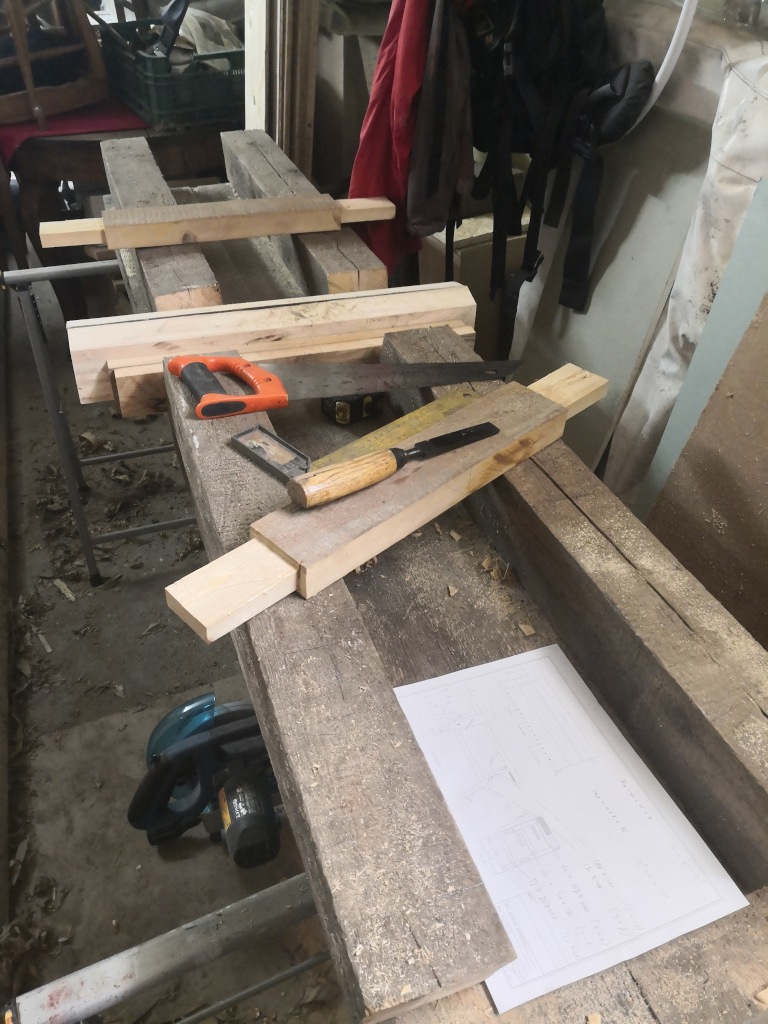
In between I made a few holders for the french cleat wall and I arranged a bench for the home gym, which starts to look more complete.
November is also the month Mo has her birthday. As long as I know here she never celebrated it much but this year she planned a real party in combination with an exhibition of some of her art. The art rails really showed their purpose and even the bathroom was brightened up with a fitting work.
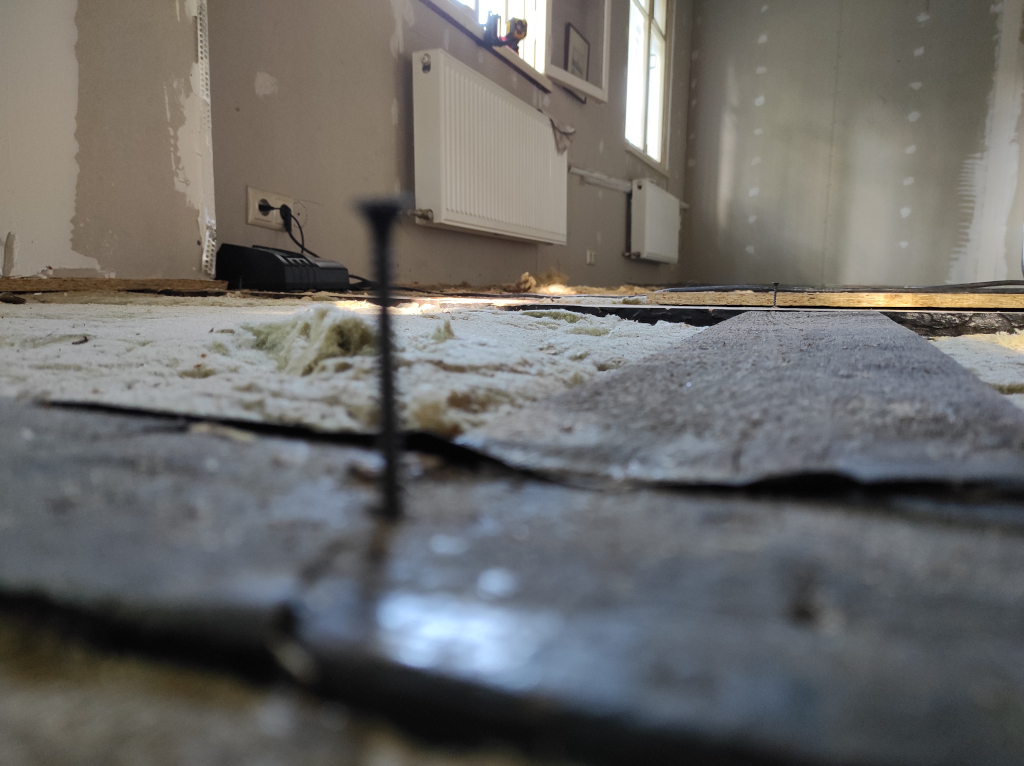
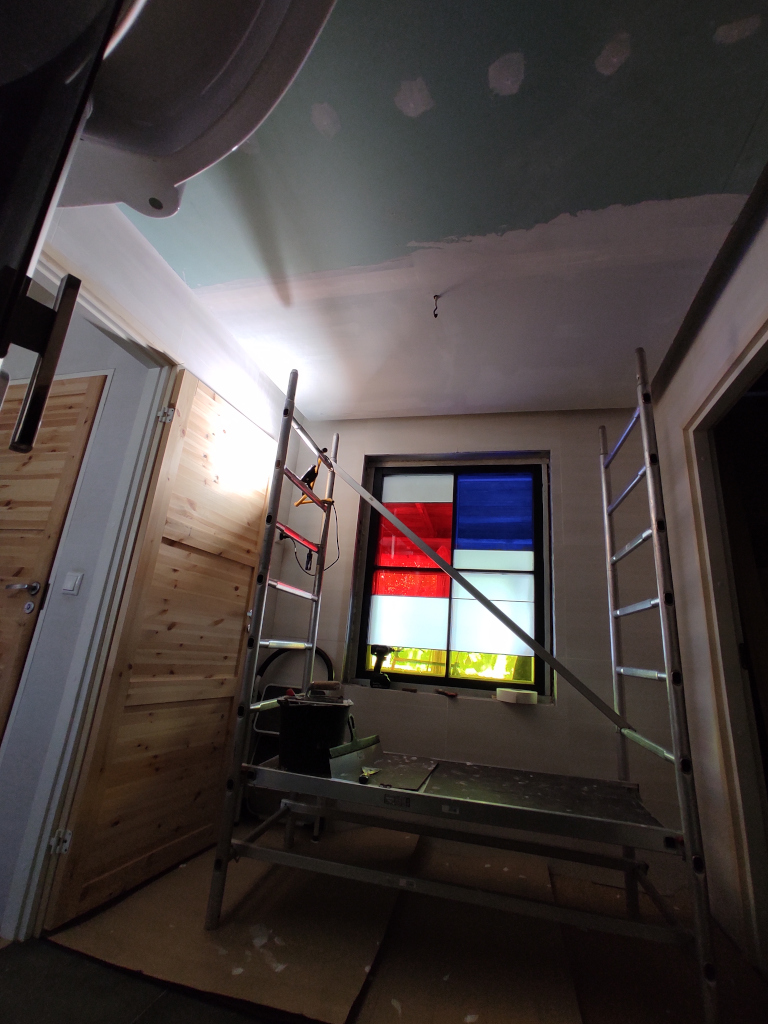
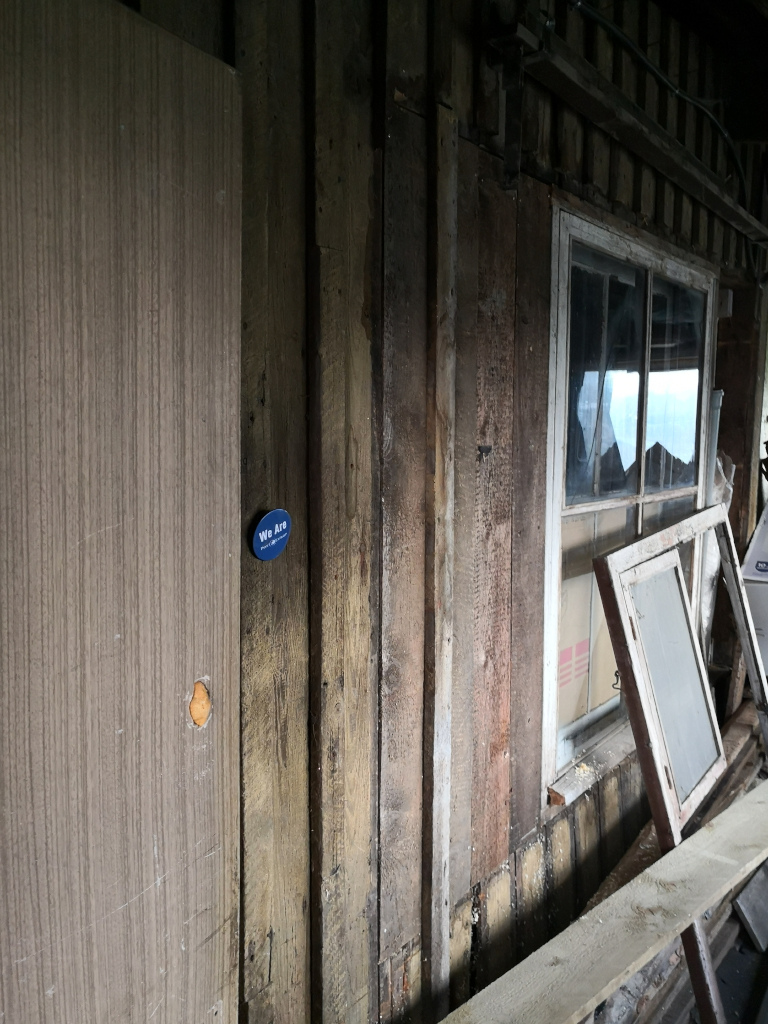
This also was a good excuse to refit the kitchen sink and finally move my standing desk and office chair from Mo’s studio to my office. This involved building up scaffolding so we could move it in there through the window.
For the party I spend a day in the kitchen making beautiful and tasty snacks for the party, which gave me nice memories to the time I worked in the big kitchen of Amsterdam Rai.
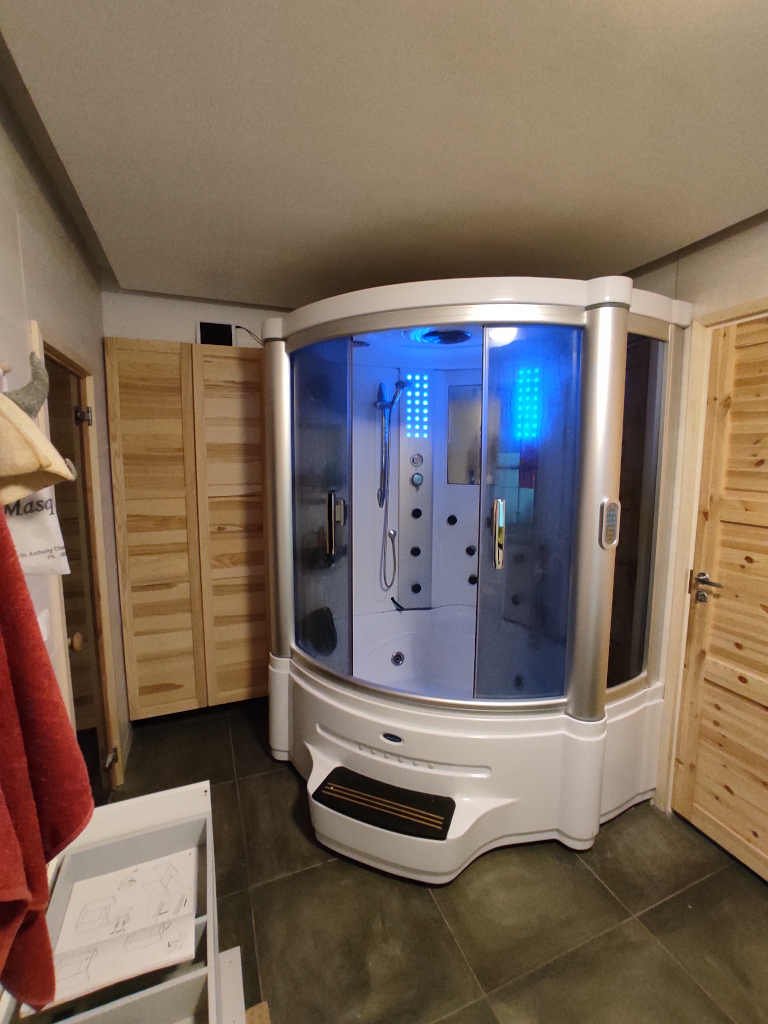
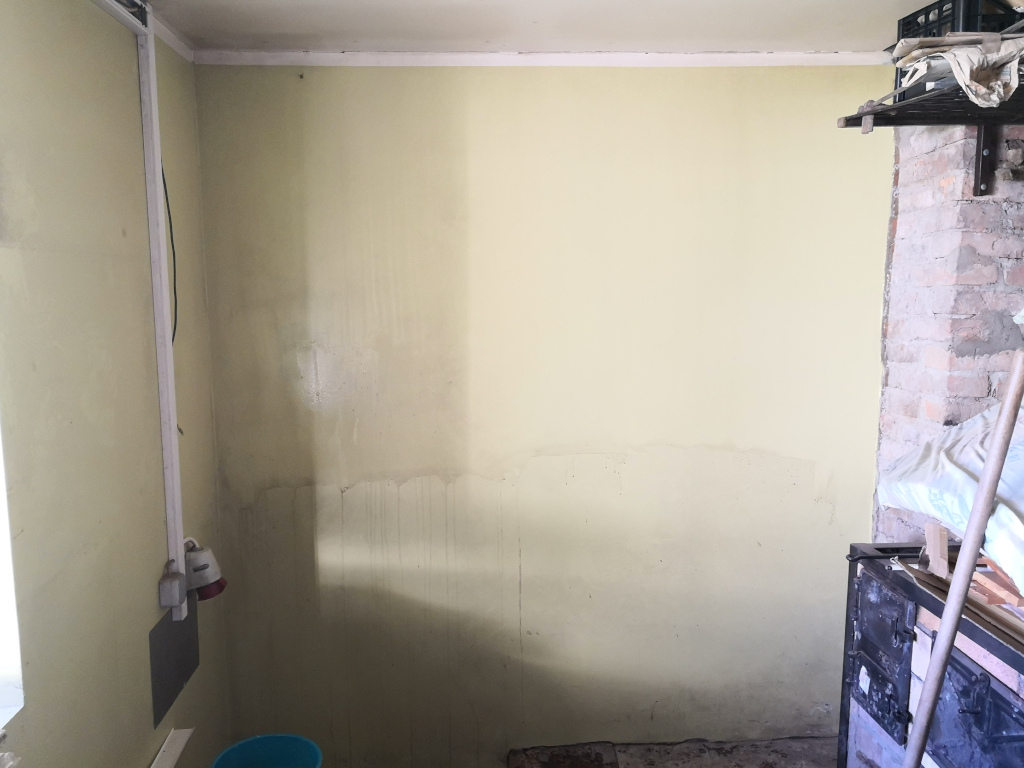
We also visited Mo’s mother, who had an issue with a toilet pot that was leaking. It turned out to be an easy fix by replacing the bold that connects the water reservoir and the pot.


Spelling error report
The following text will be sent to our editors: