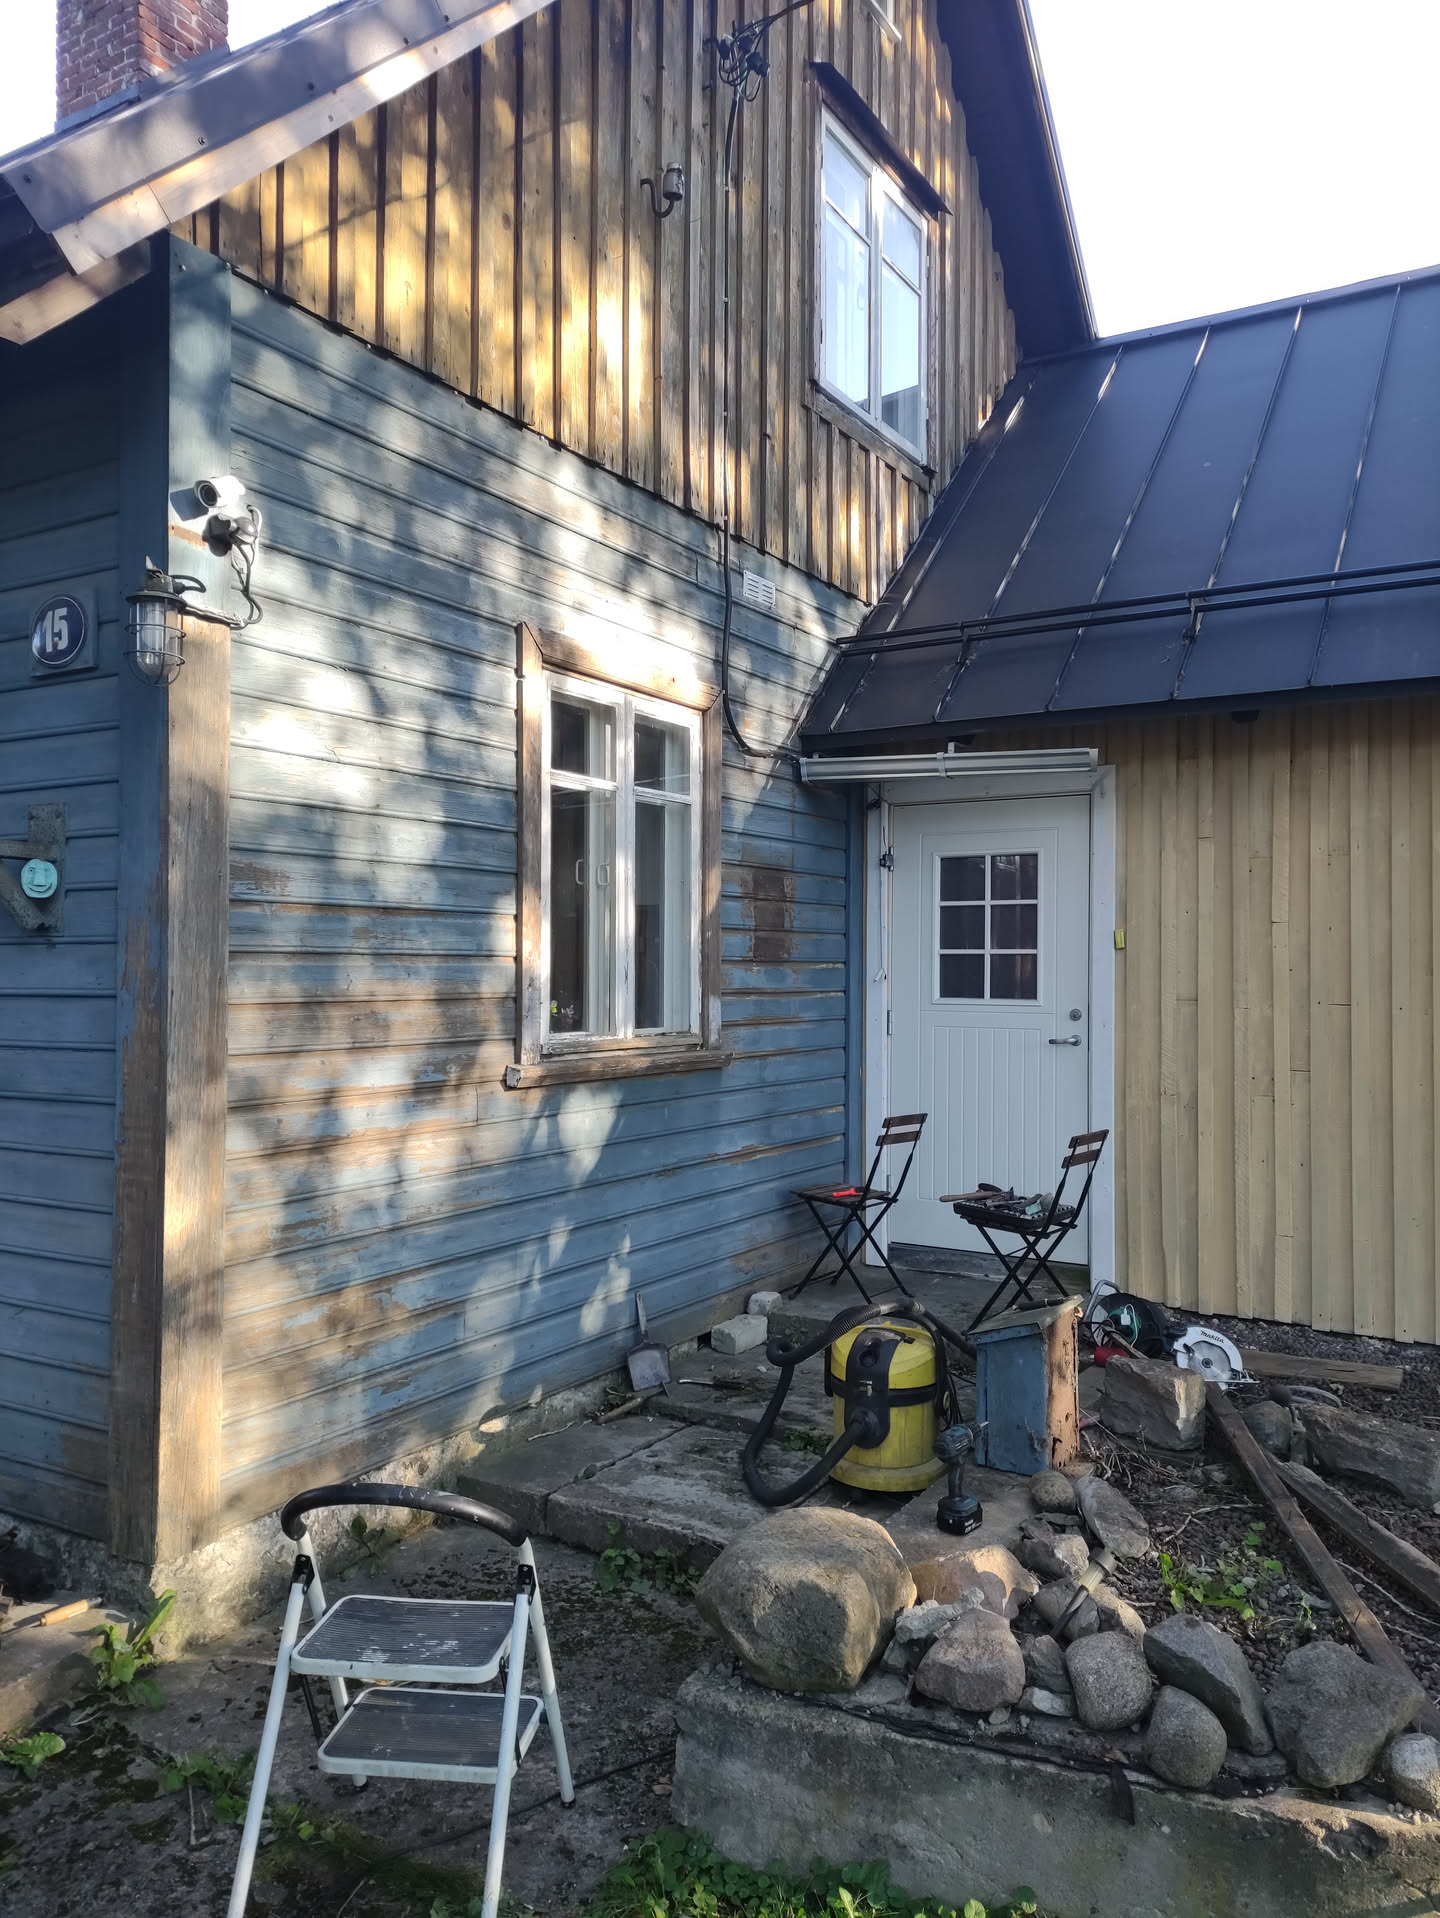
As the paint on the north side is way less worn then on the west and south, so I got some paint stripper to speed up the process, that sure was worth the investment, it was way easier to get the paint of and after washing it, the wood was ready for oil and paint.
Once the window sills where painted while it looked amazing, like an entire different house.
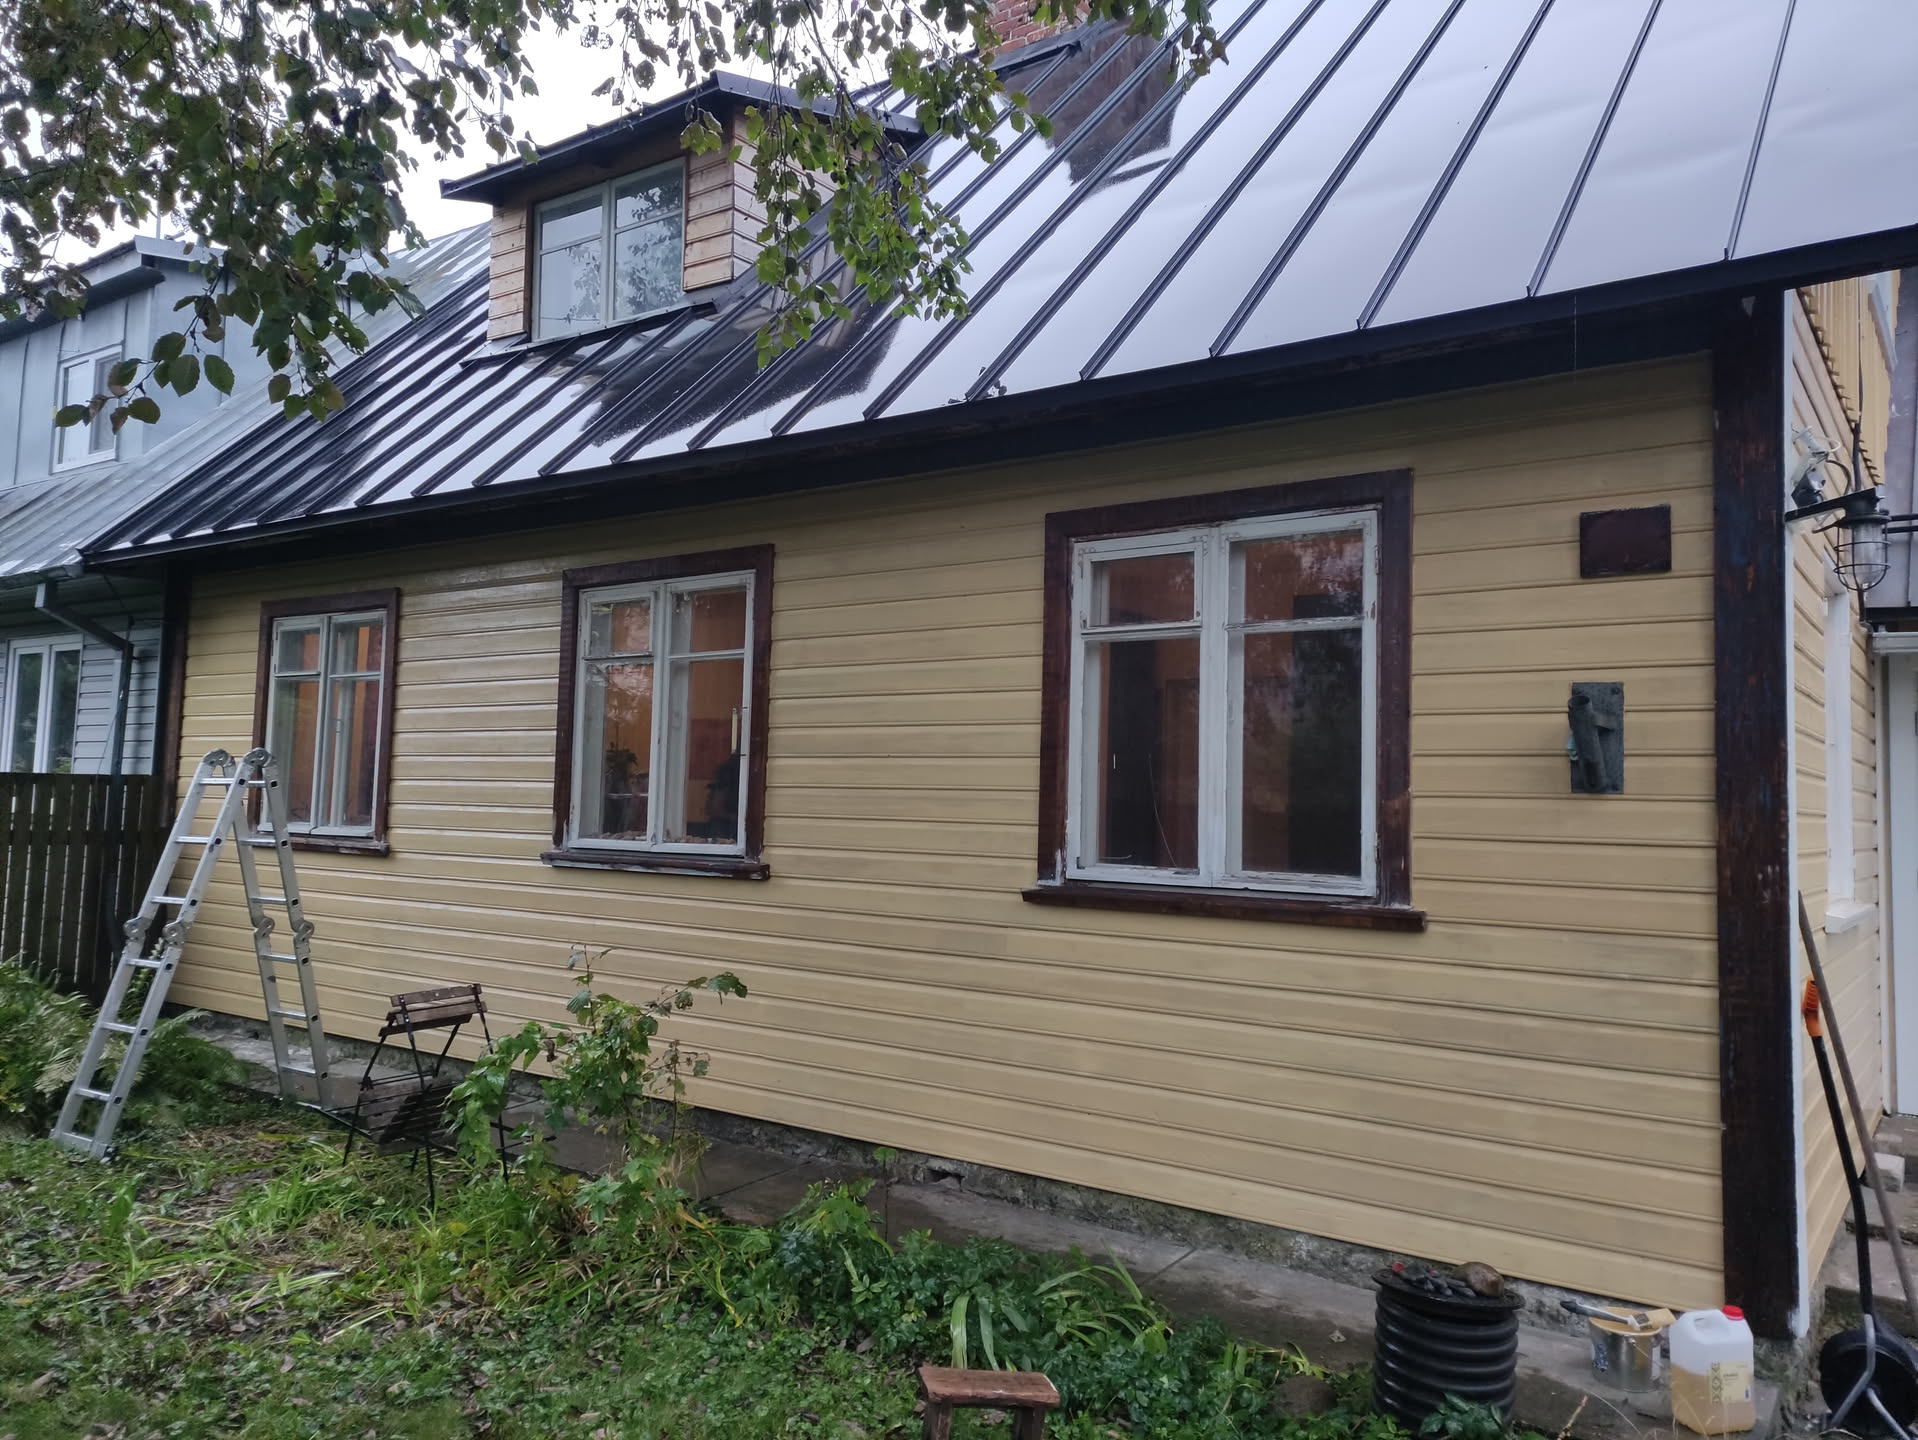
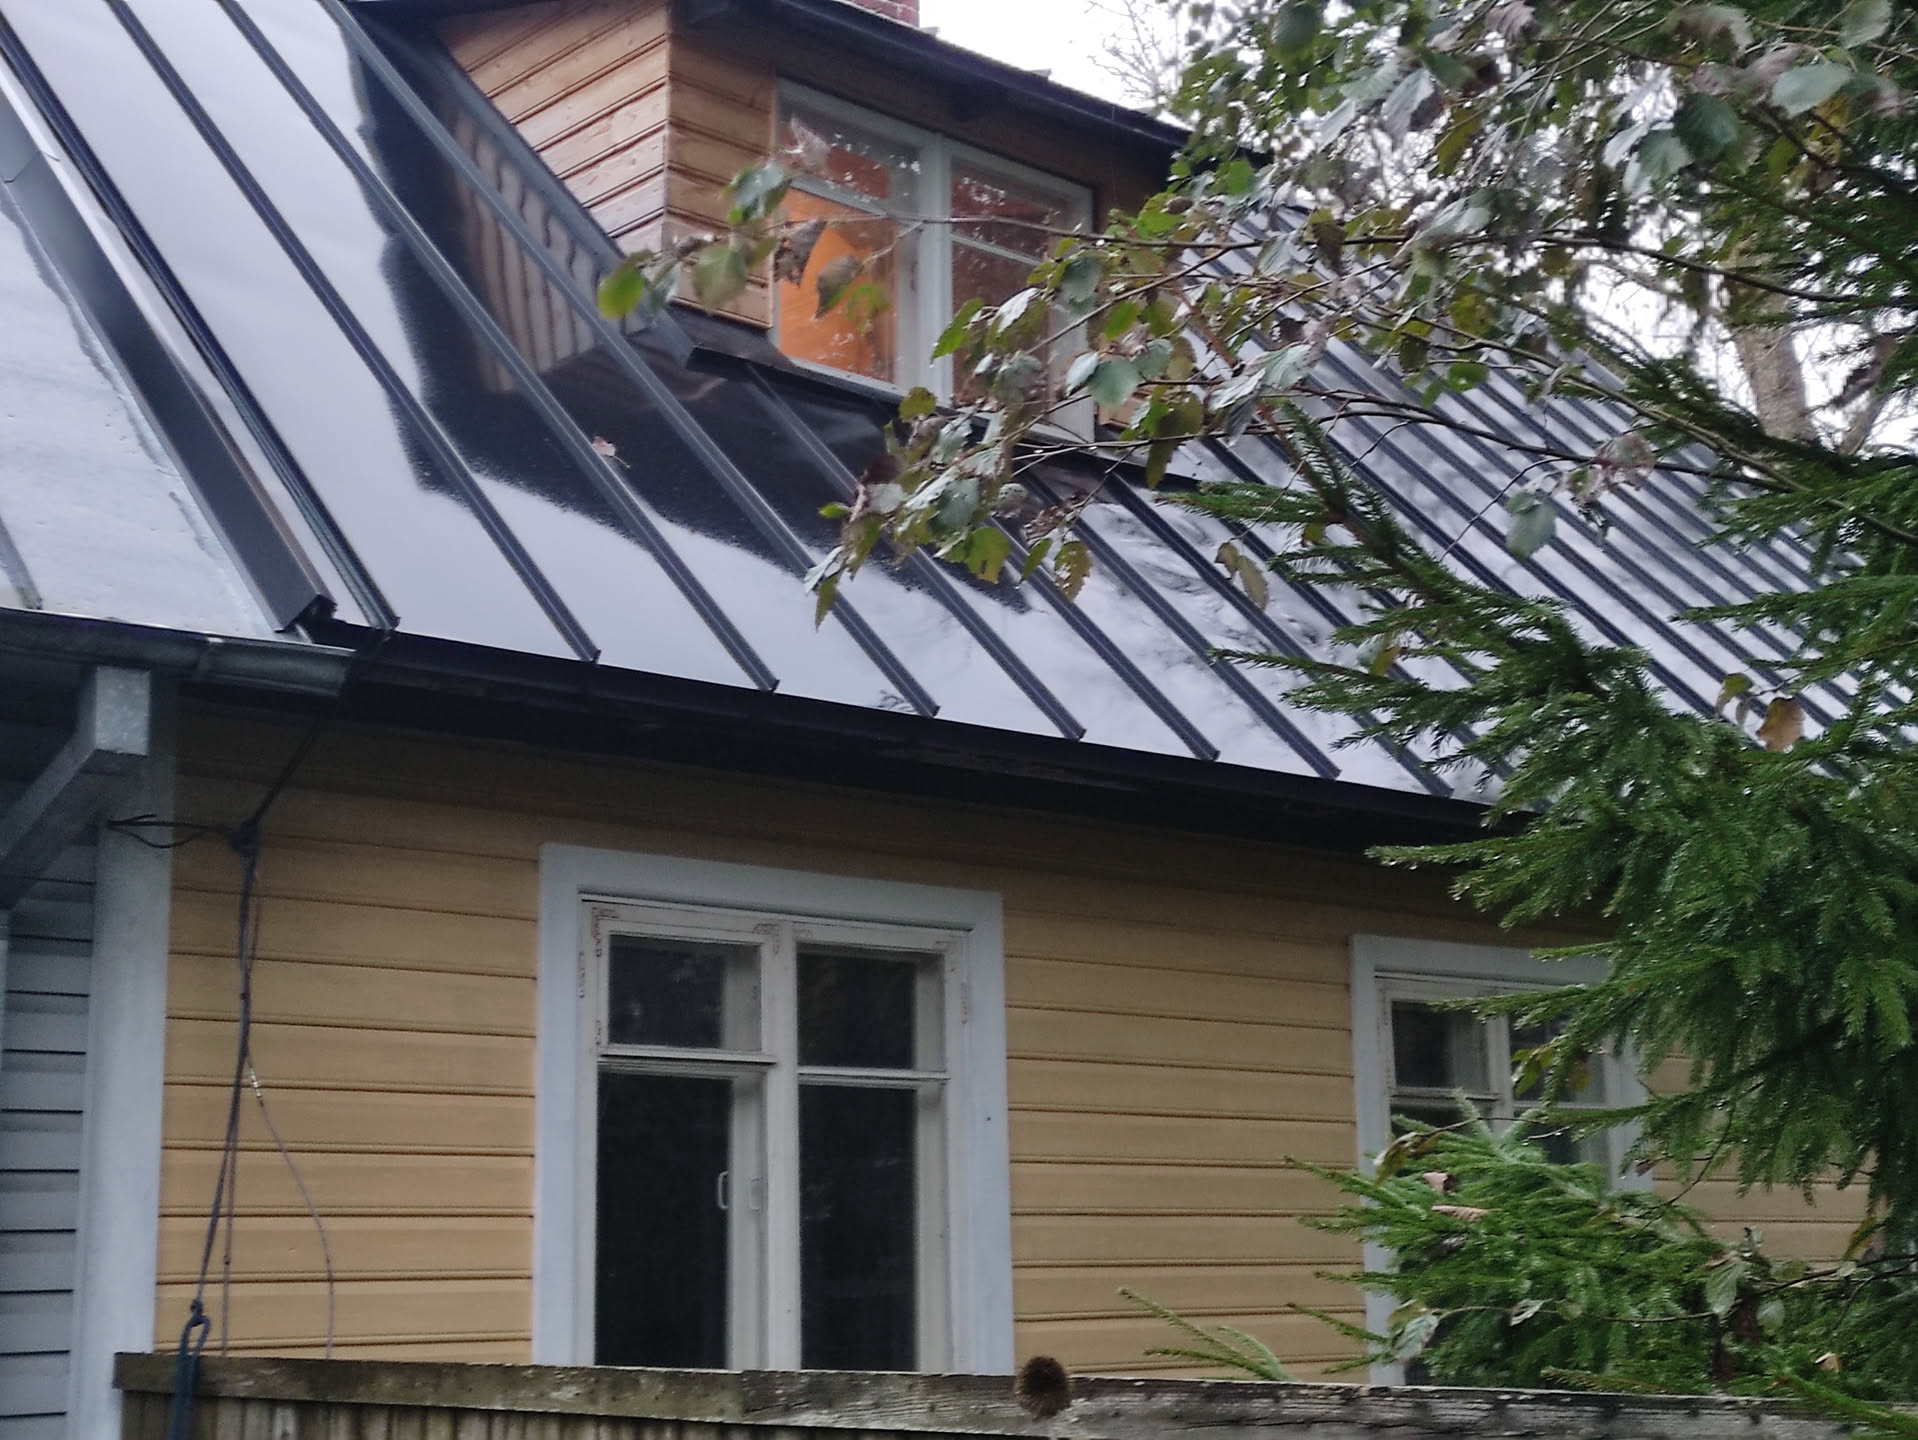
Last but not least the dormer needed finished and painted, which really was the cherry on the cake. The house looks absolutely amazing from the outside as well now. Just in time before the first family members came to visit.
Loeke and Carla took an extra week, so we showed them around starting on Hiiumaa. Once the rest of the family arrived, we stayed at a large AirBnB in the city center. The building was constructed in the 13th century
September was filled with scraping, oiling the wood and painting.
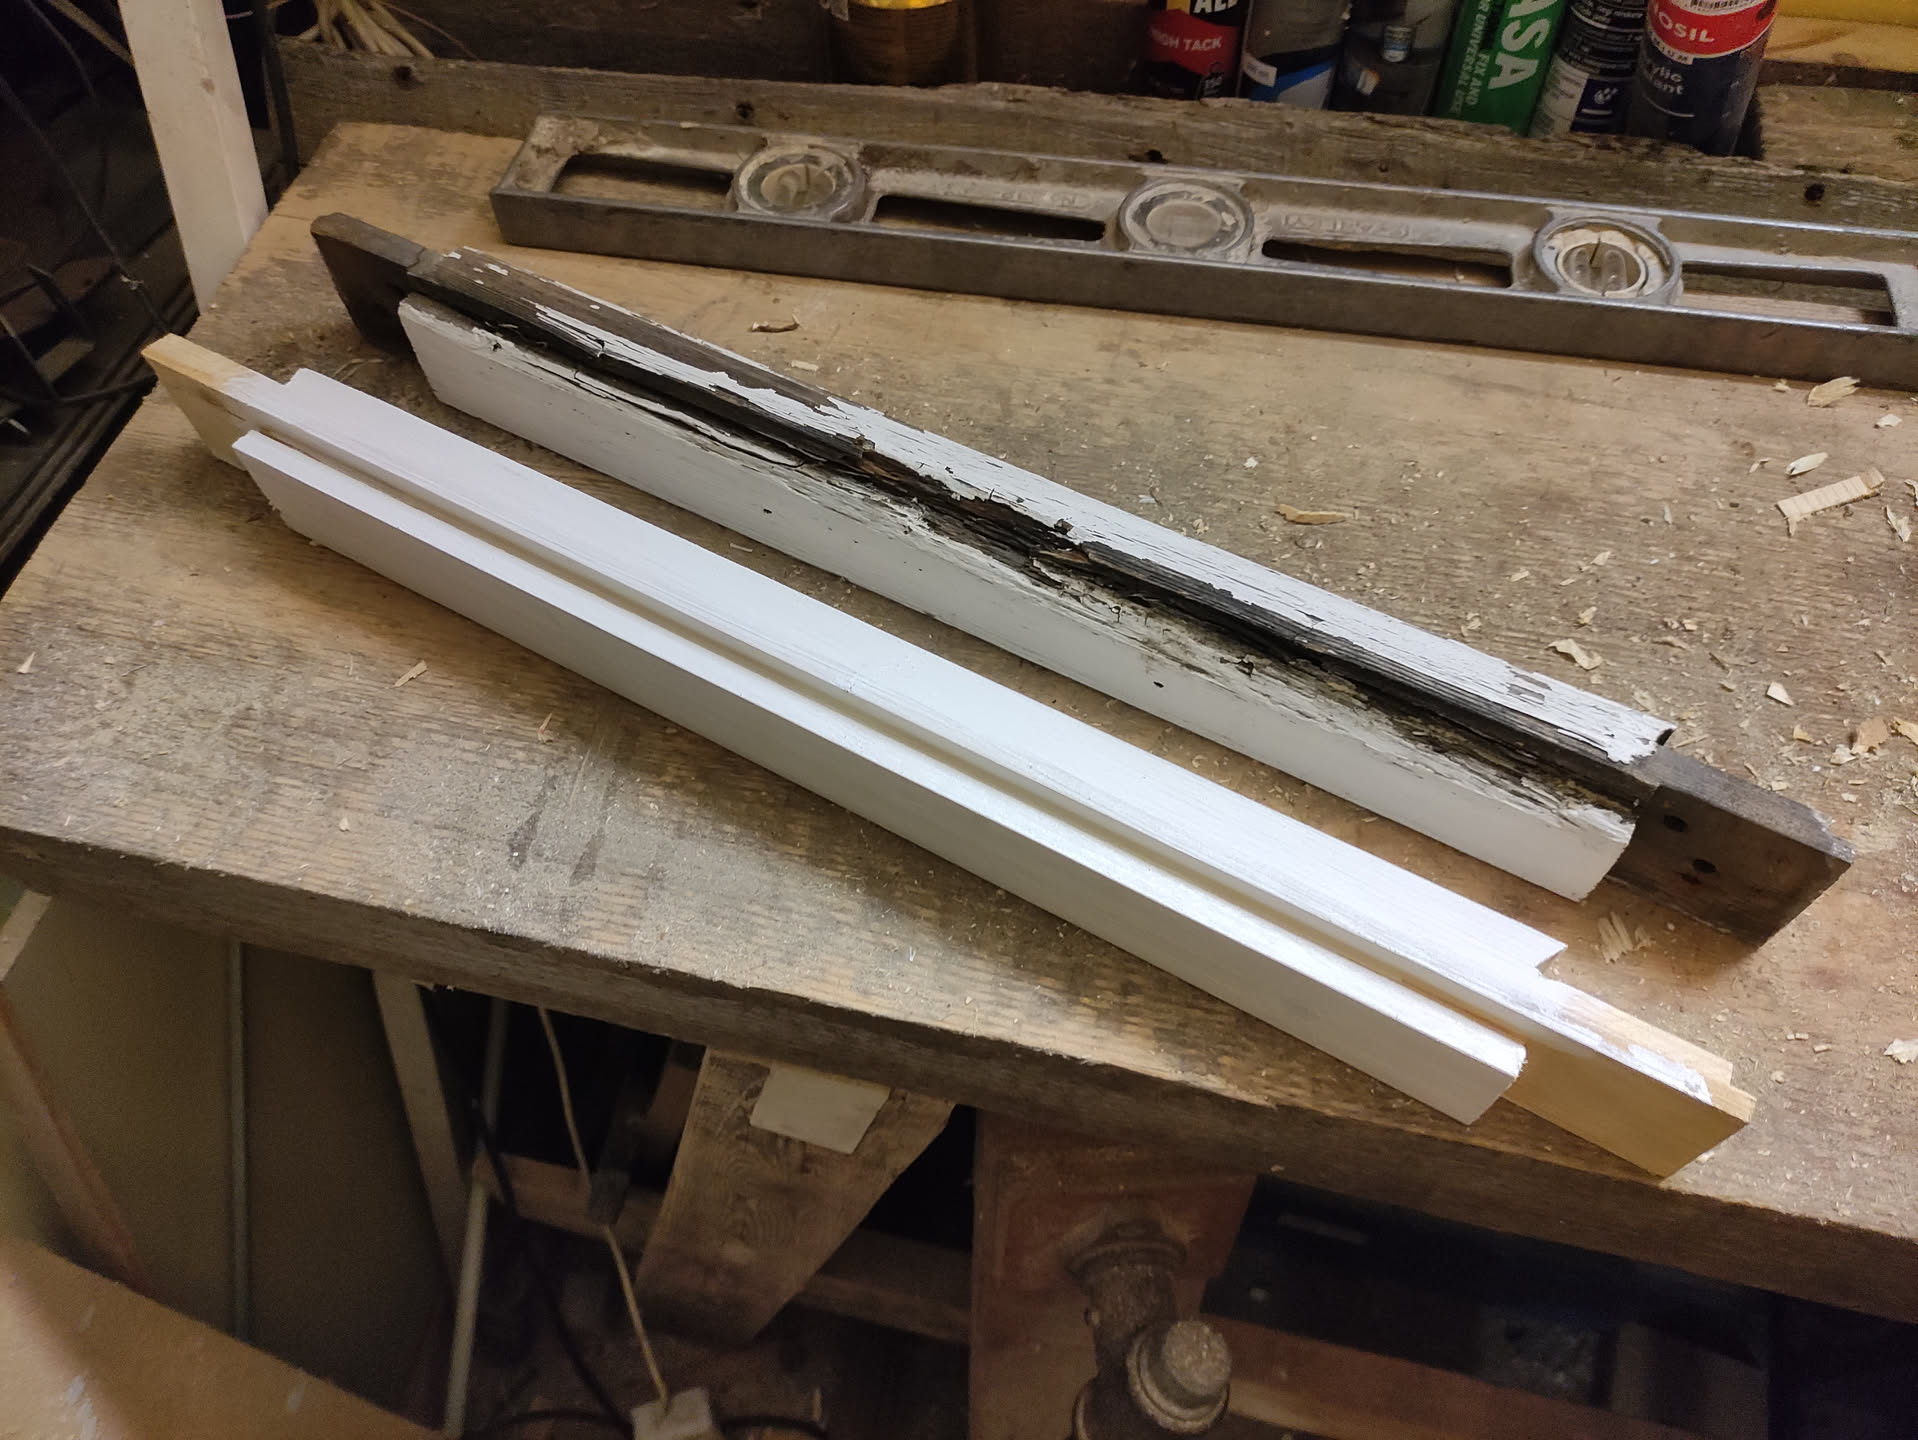
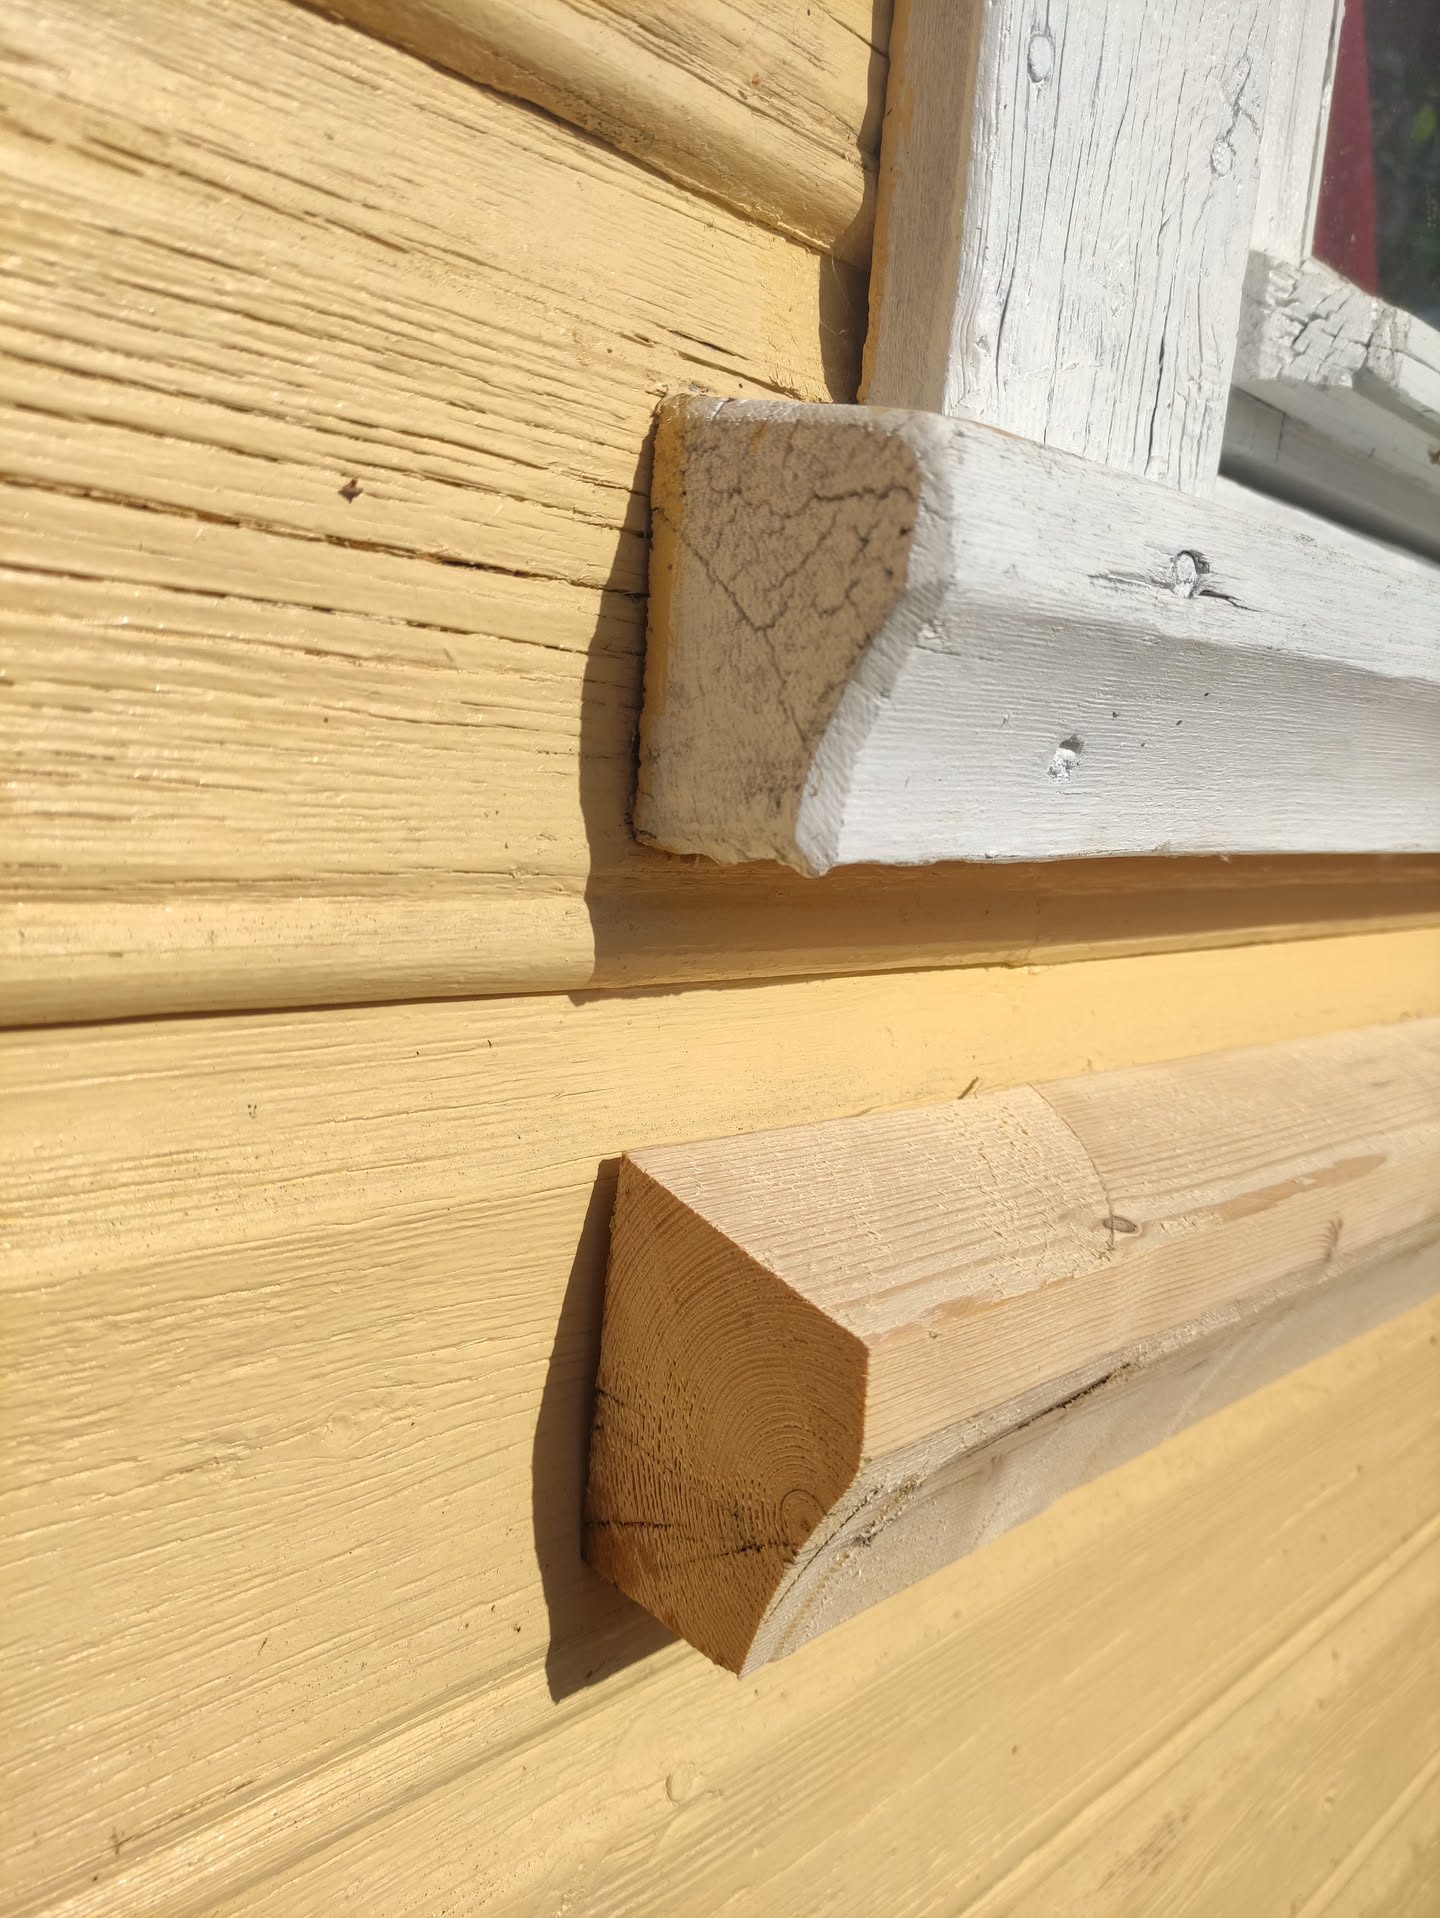
Besides that I also had to do some woodworking, the lower sill of one of the windows of Mattias’ room was in need of replacement and under the window a windowsill was completely missing, so after creating a little test piece, I as able to recreate on as they are used on the rest of the house. Thanks to a YouTube video I had seen at some point were they moved a piece of wood under an angle over a table saw I as able to recreate the curve very close to the original.
While I was playing with wood, i also made an air windows for one of Mattias’ windows.
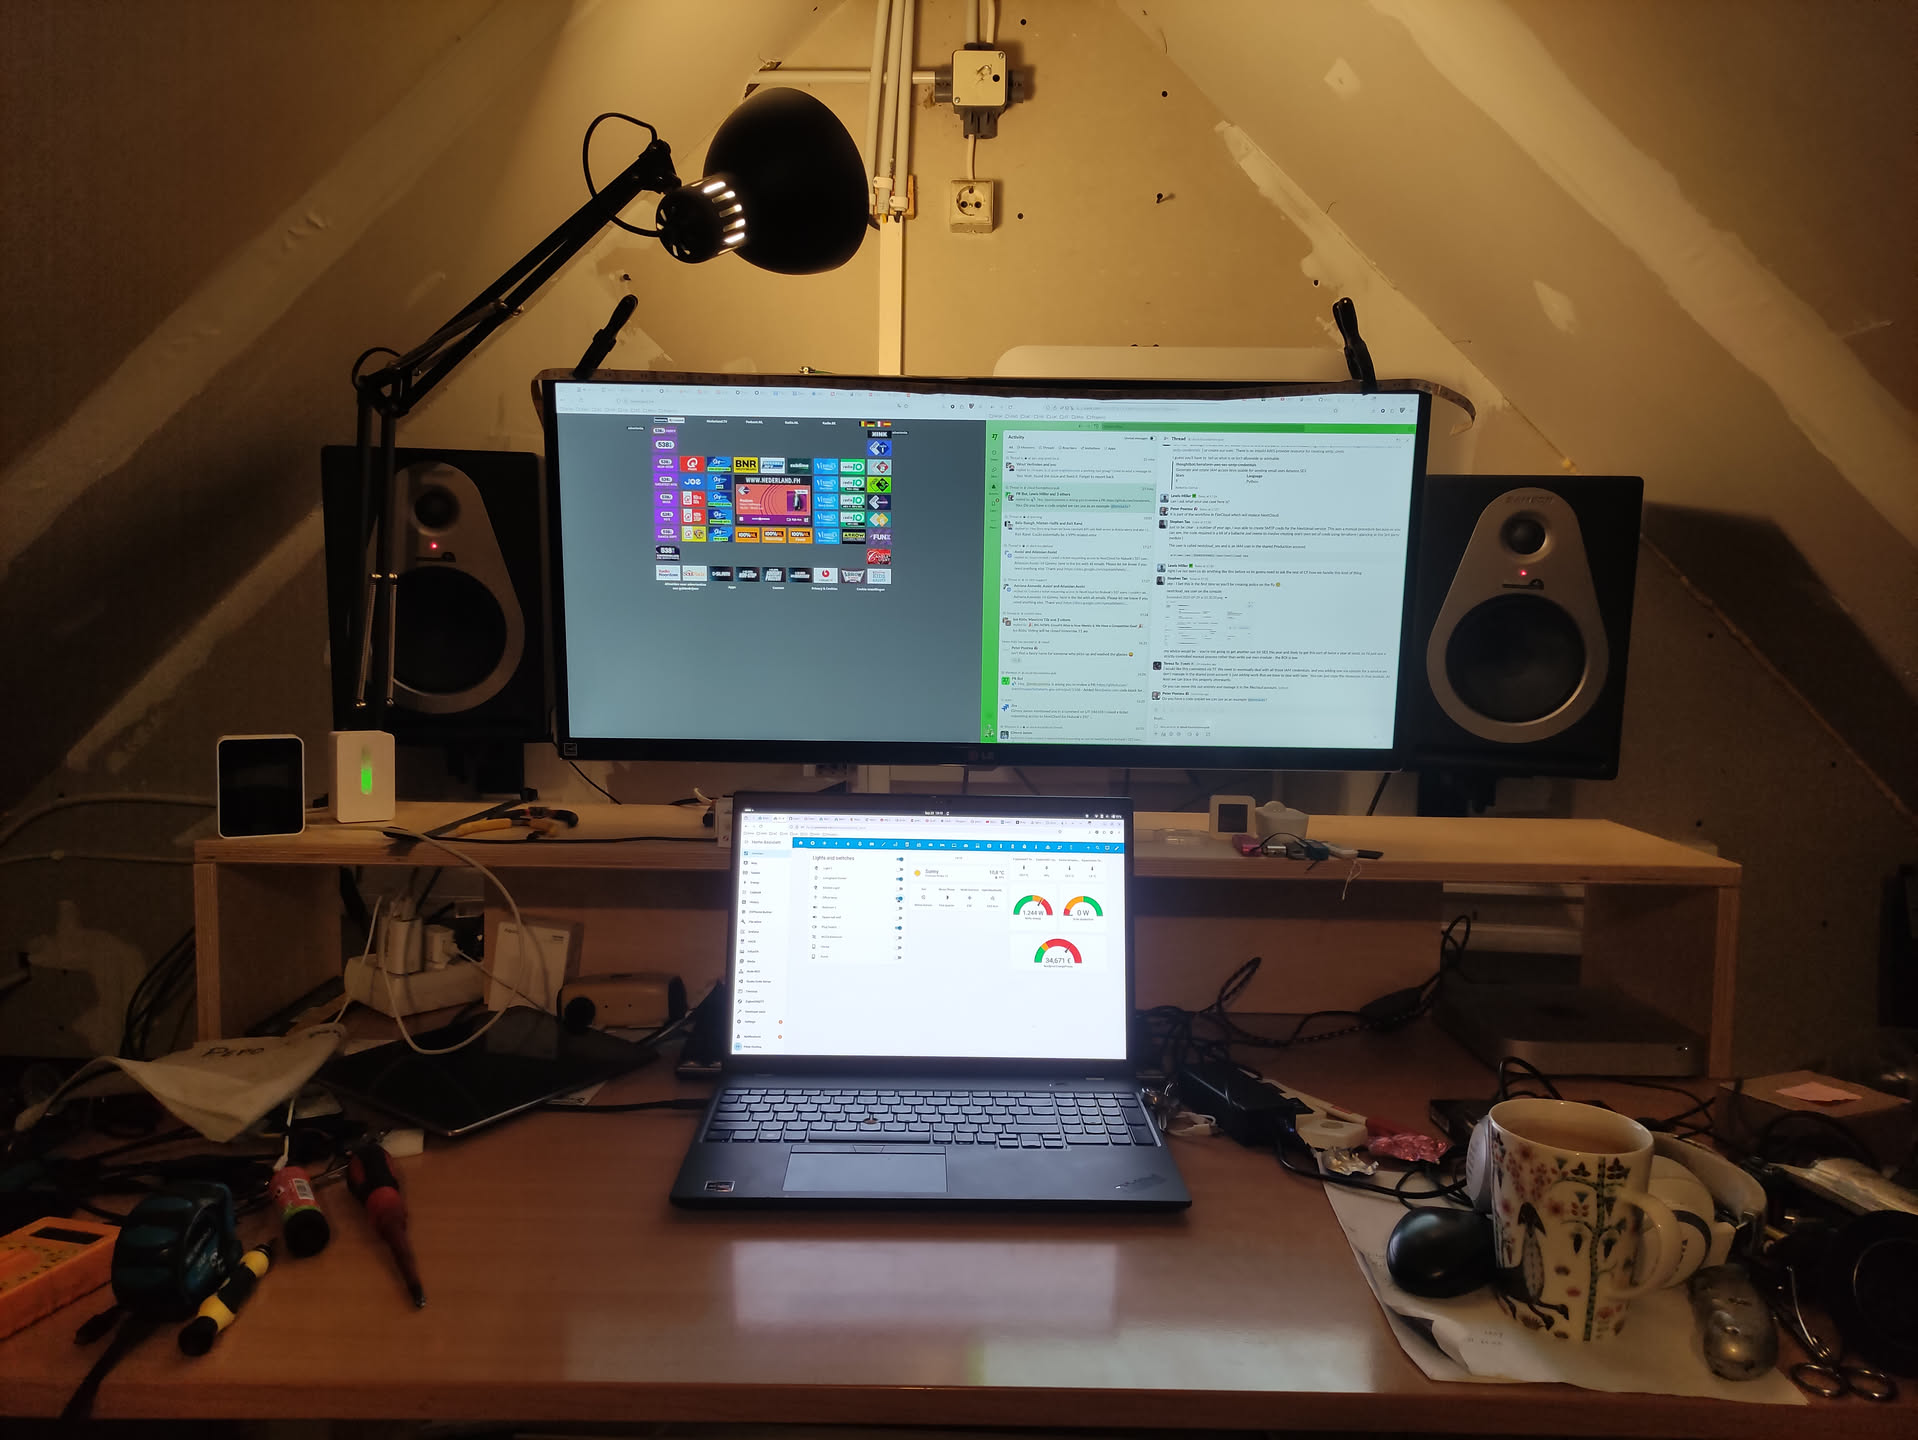
I also set up a nice addition to my office. I bought a set of active speaker (and earlier, separately some wall mount). So now I also have good sound in my office
By the end of month we where down to the front of the main house.
The top in the linseed oilAnd the west side paintedReplacement sillRecreated window sillAdding the white detailsGreat setup for computer work
As often, sometimes if you have a good reason, you are more dedicated to finsih a project and work will go easier.
In October we will have our family reunion in Tallinn, which I am looking forward to, but this also gives me a nice deadline to finally paint the rest of the house.
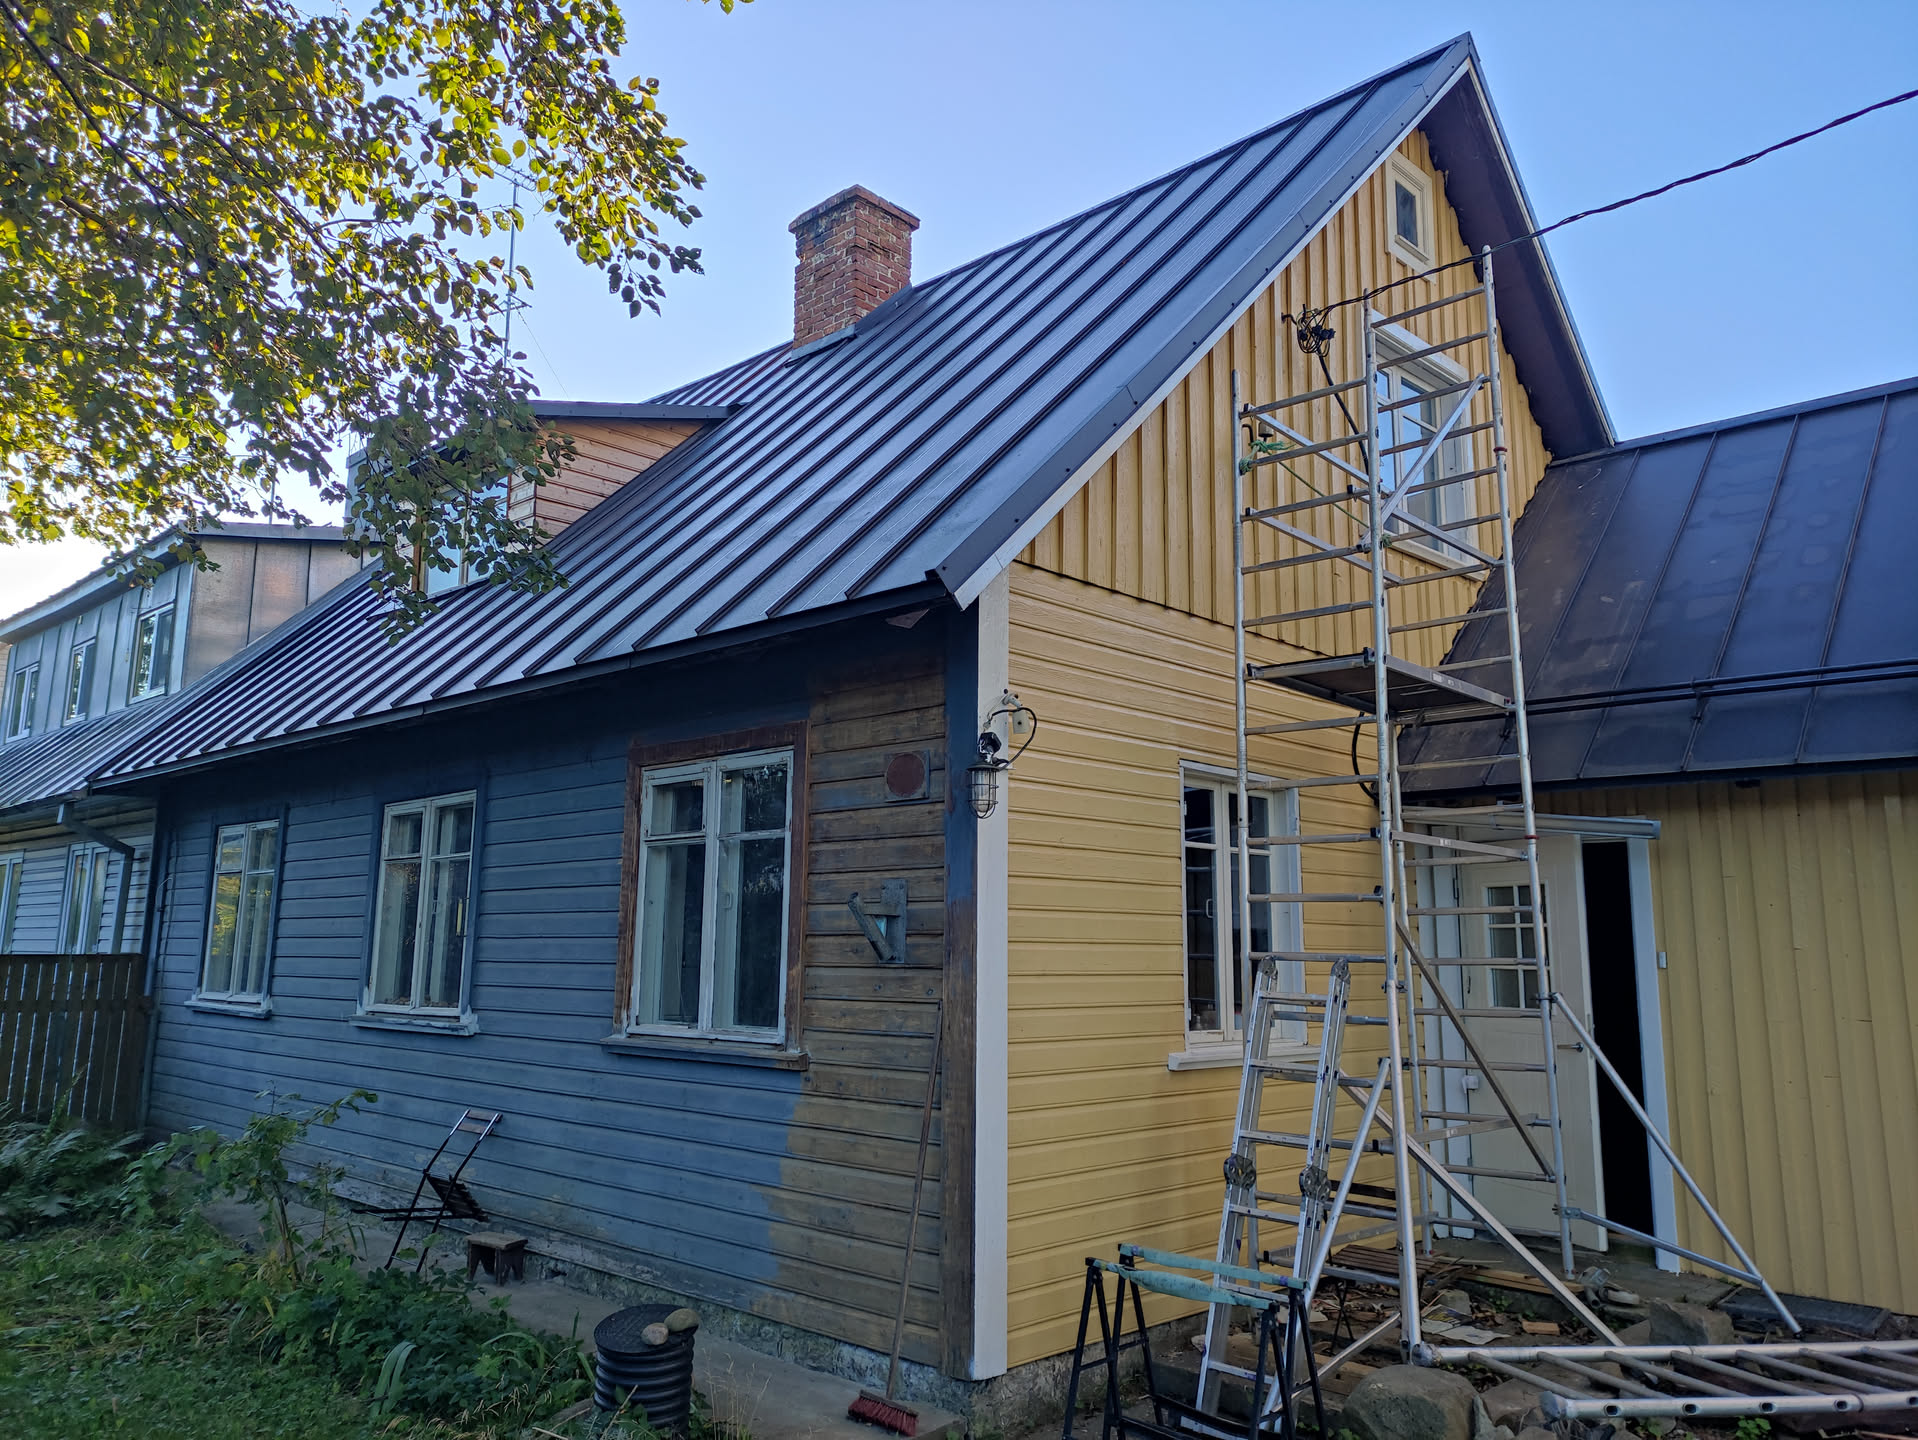
I started with scraping the wood, adding some missing pieces of wood an add some window and door frames. Then we could start painting. Just like the wall on the back of the house, the wood soaked up a lot of paint. So once the side was done, I changed strategy, I bought a 5 liter canister of linseed oil and primed the wood with that.
Just as with the paint, the wood soaked up the oil like it was thirsty. But then when putting the paint on we got a much better yield for the paint.
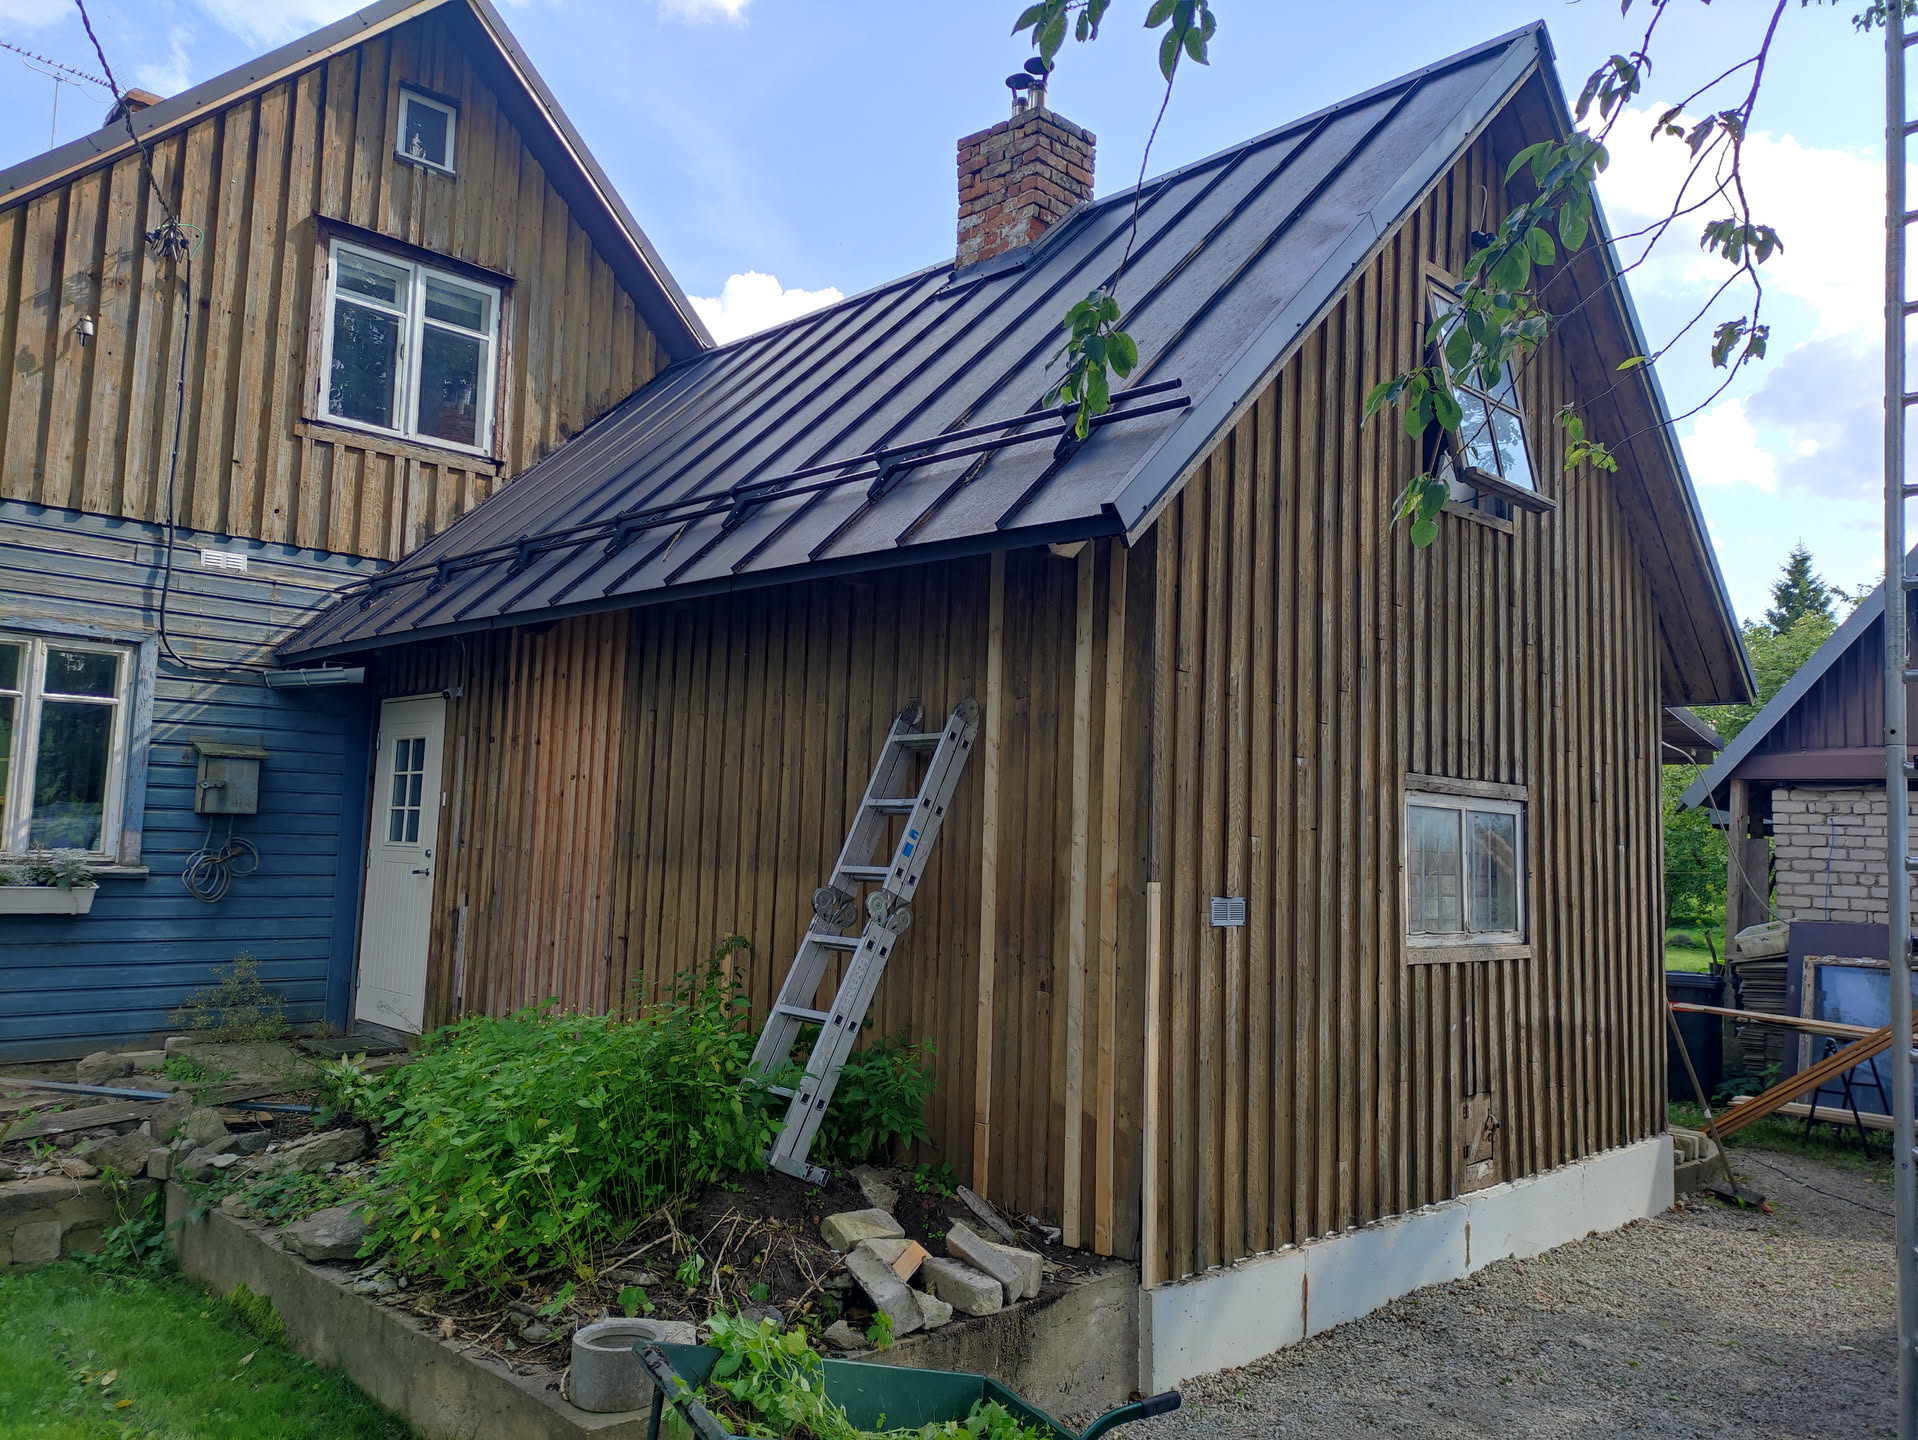
Aft er the side house was done, we started scraping the side of the main house, and I added last wooden shell to the shed, hiding the rough building blocks they used to build it. And after some paint, everything started to beome a whole.
Towards the end of the month, we travelled to the Netherlands for another party. This time a combination of my dad’s 80th birthday, Tine’s 75th birthday and their 5th wedding anniversary.
Replacing some old and missing wood stripsStarting on the west wallLinseed oil on the north wallAnd a layer of paintStarting the stripping of the paingIn the back of the house
October is often a month for finishing of things outside and start with inside things again. This year was no difference. After another trip to Ikea, I put the blackout curtains in the bedroom. Nice in time for the dark months ahead.
On the roof I did some finishing touches around the chimneys, screwing the finishing profiles to the chimney and applying sealant for a water tight connection.
On the west wall of the house, I dug a trance next to the wall as deep as the gravel would let me to put some foundation insulation there. Once I have this put up around all the walls I will need to put some finish on it to make it look better then it does now, but for now it will be insulating.
Inspired by cleaning up the corner of the garage for the home gym I finally changed around the work bench and cabinets and made a start on a french cleat tool wall, which was on my wish list for a few years already. It really helped to get things organized. I guess this wall will fill up one tool (rack) at a time.
The curtains can be open to the top and to the bottomFinishing touch on the roofThe west side insulatedWork bench on its new placeStart of the tool wall
The 3D-printer was standing on the floor in my office. That had to change, online I saw a lot of people use Ikea’s Lack table to put it on and there are plenty of little hacks you can print for it as well. So of to Ikea.
While there I found the Hornvallmo blackout curtains, which would likely be a good solution for the bedroom, as the support rails guide it nicely next to the glass so no movement through a draft and to be opened from the top and/or the bottom. At home I measured and we decided we should take them on a next trip to Ikea.
The second layer of paint on the house took way less effort. It was a joy to paint and the result was amazing. It seems 2 layers will be enough.
Toward the end of the month Marc had ordered an olympic barbell and 177,5 kg of weights. I had seen a squatting and bench press rack on the Wise marked place and after consulting with Mo, we decided this would be nice birthday present for the boys, as it is always hard to find something for them. But where to place the rack…
A good reason to clean up the garage and create a little gym area in the back. For now we put a leftover piece of linoleum, but I guess at some point some rubber mats would be better.
3D printer on lackThe second layerStart of a home gym
August was the month that broke the odd months only work on the house trend.
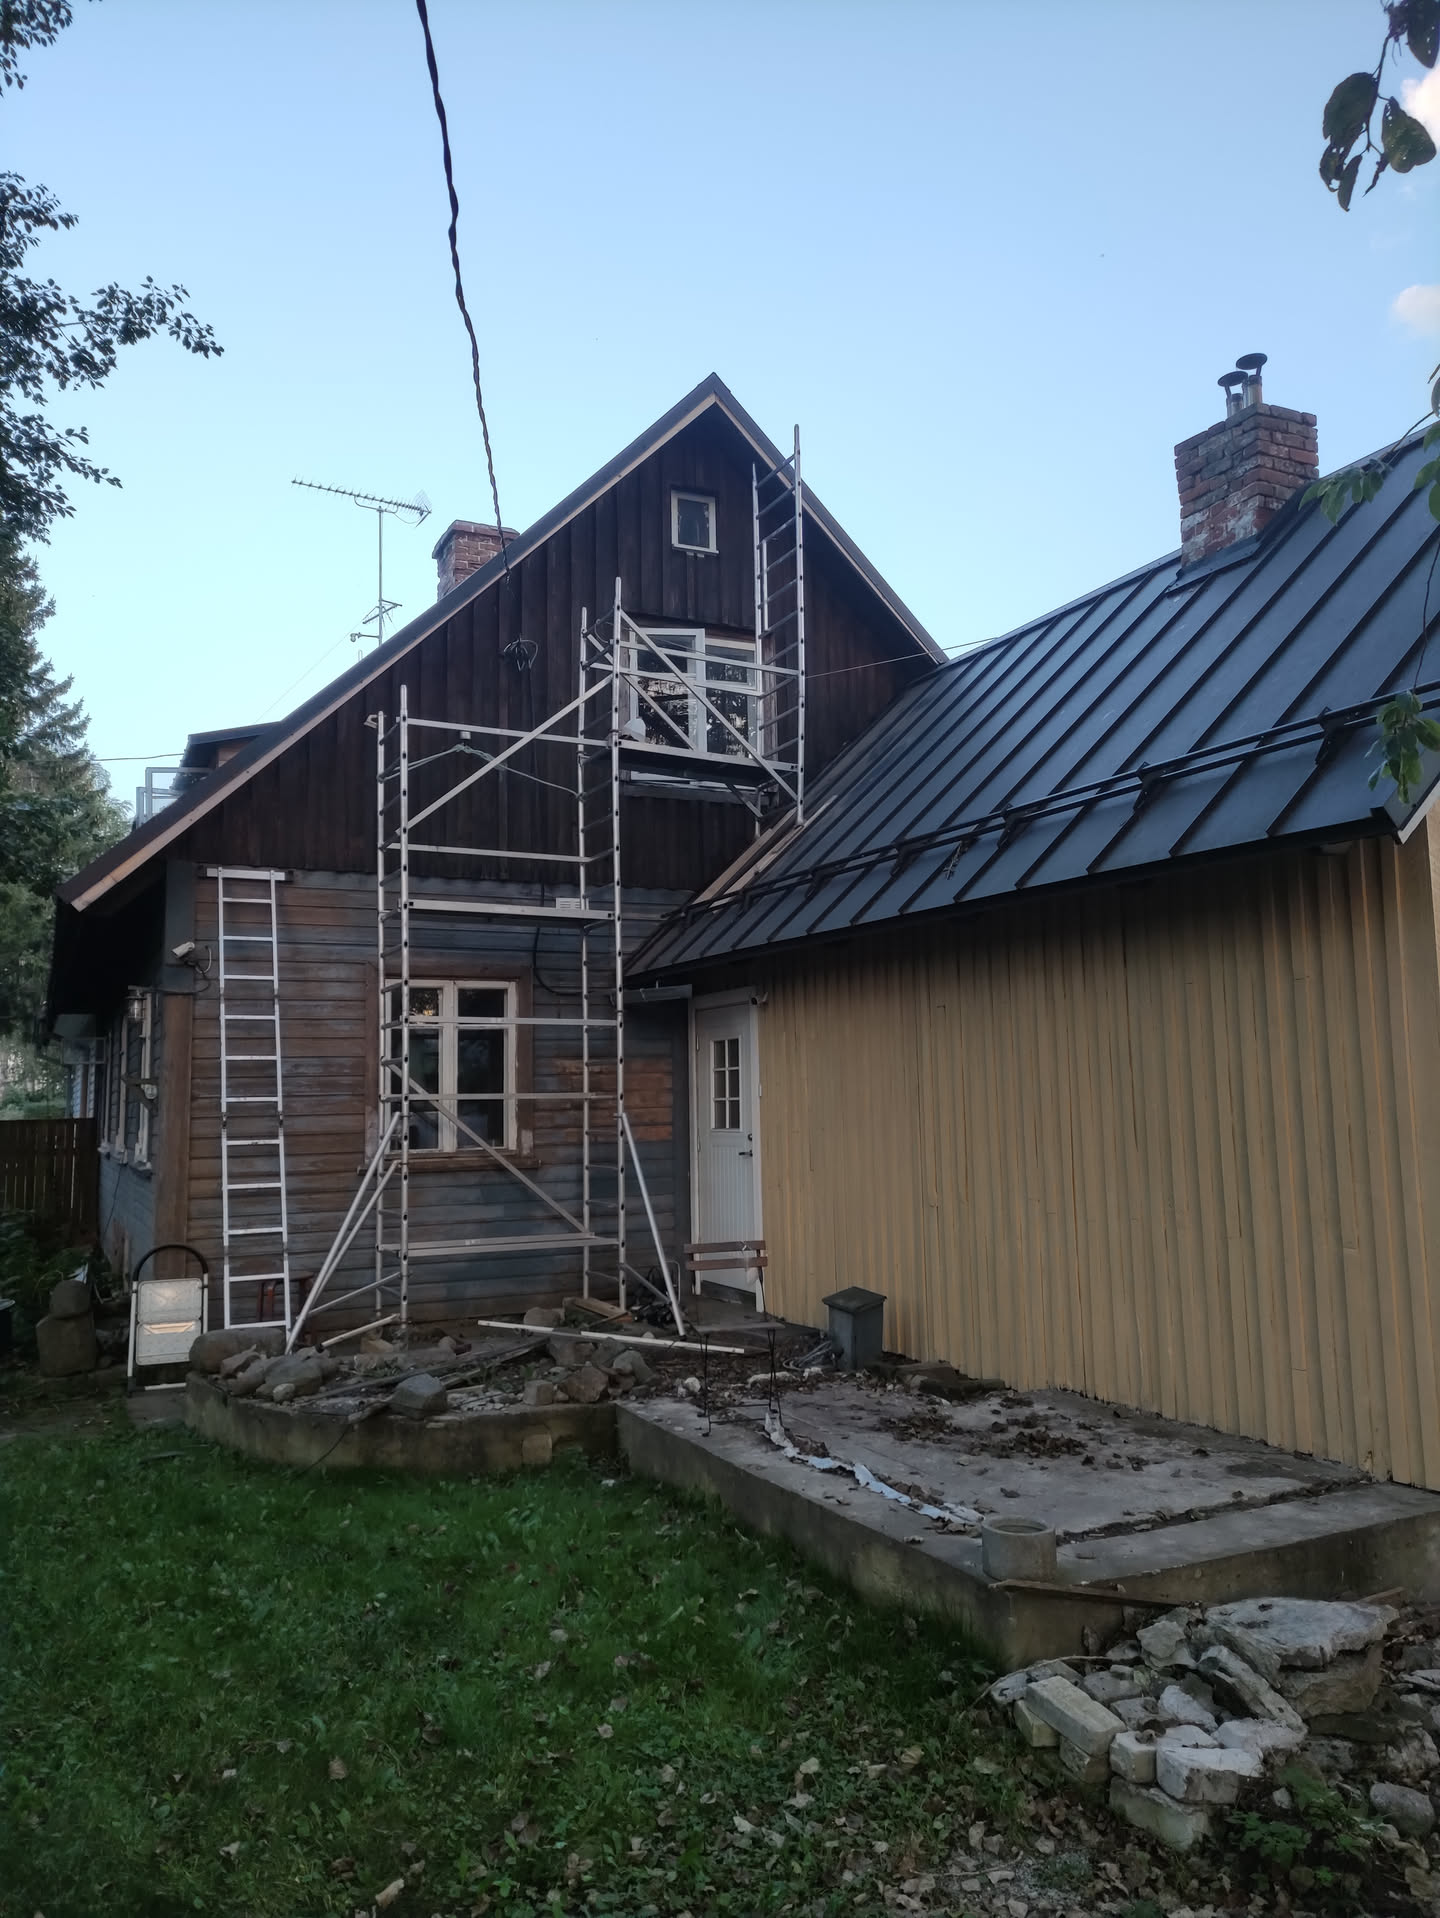
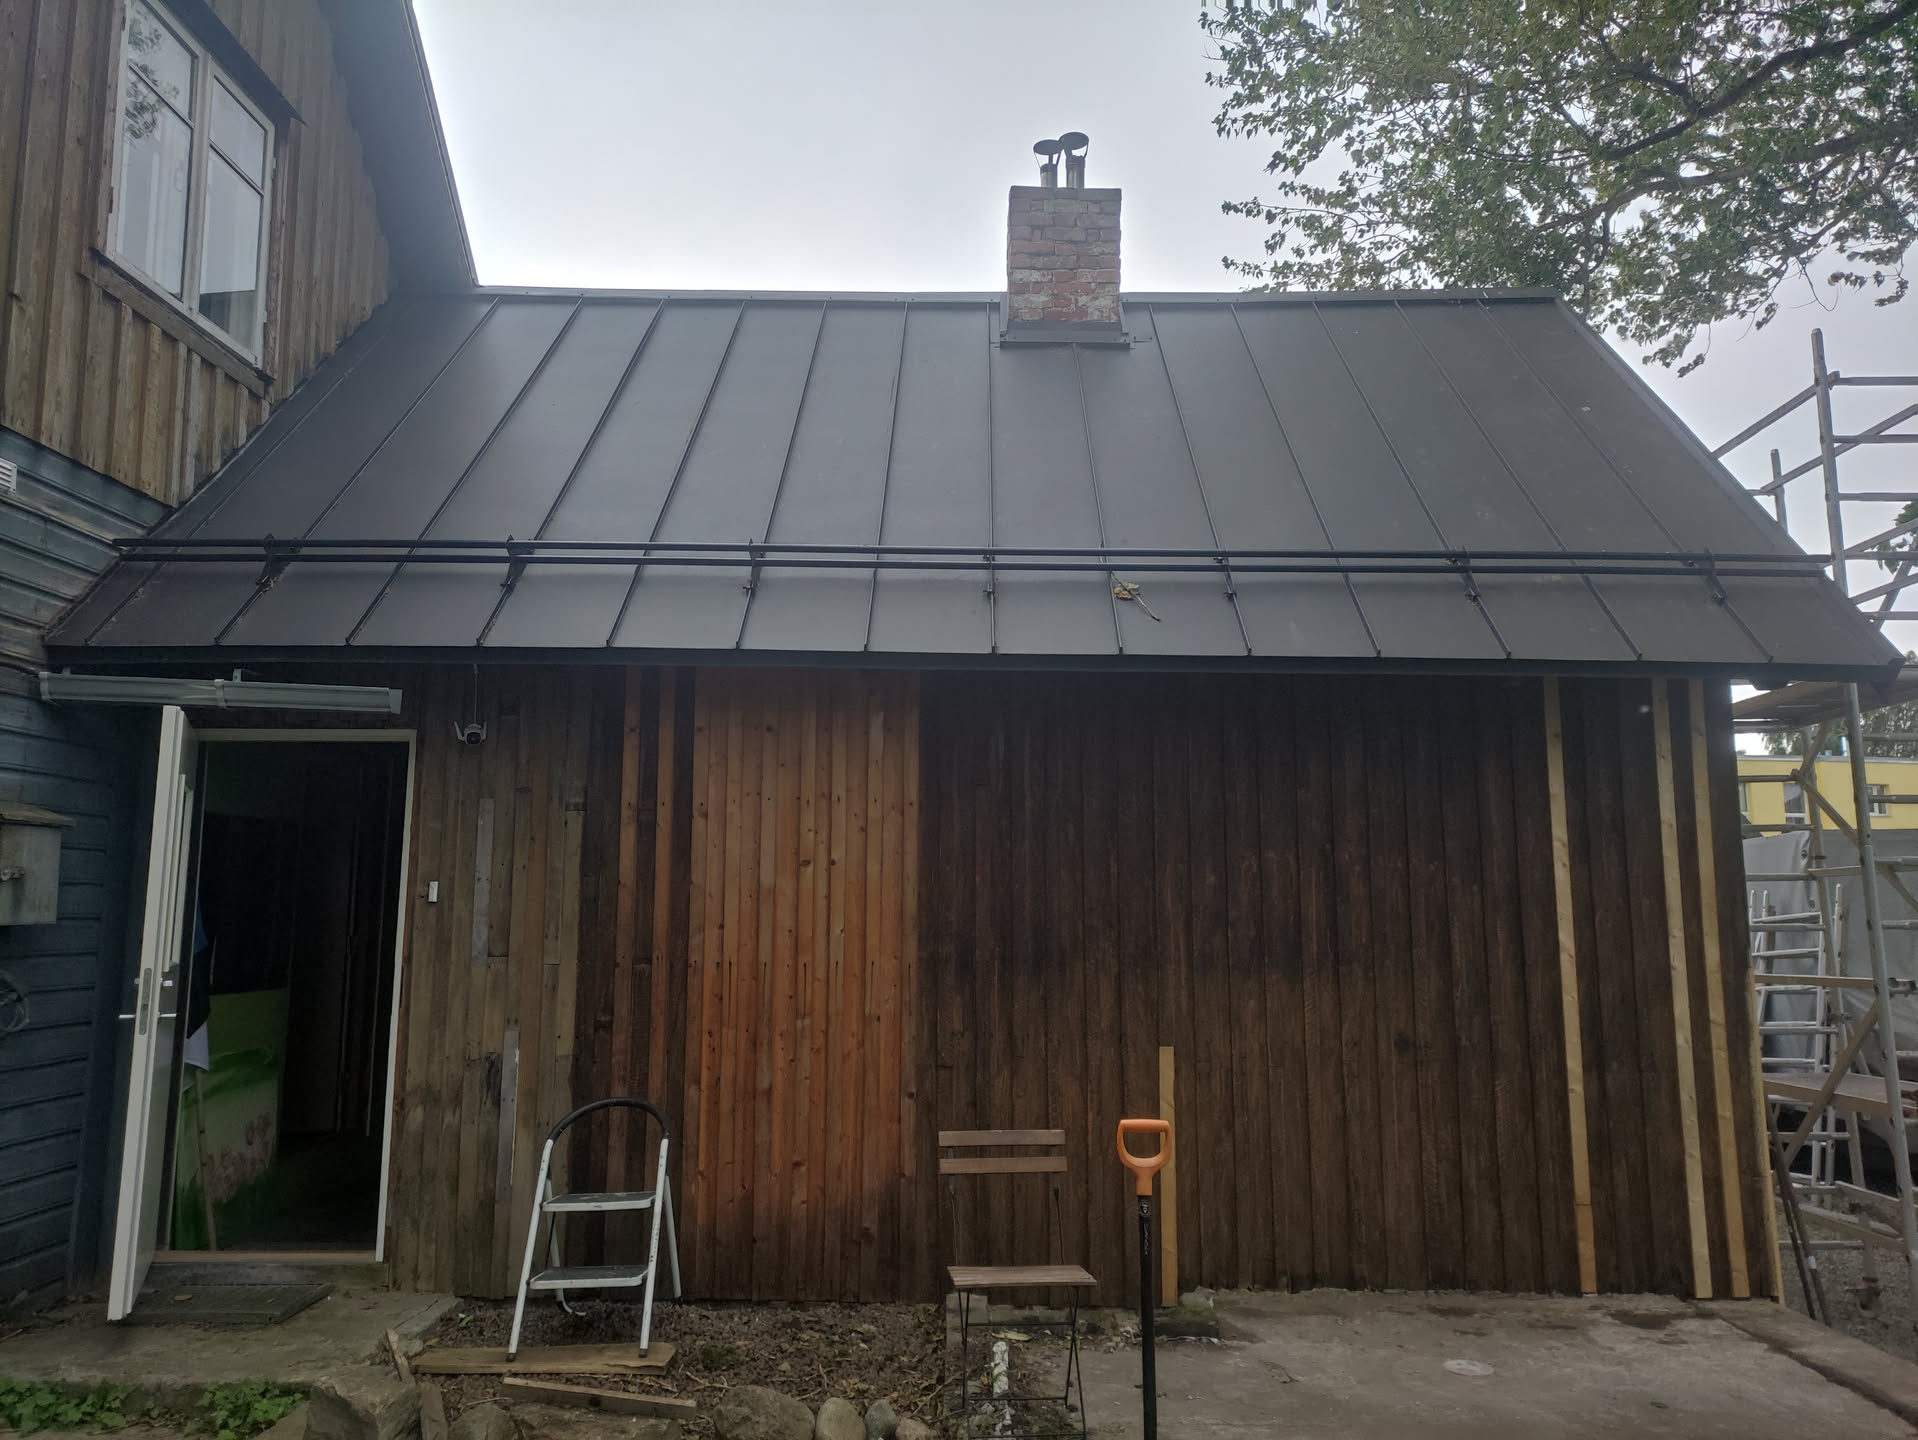
First I finished the wooden shell of the front dormer. But then the exciting part started. Well exciting for the anticipated result, not the work. We started scraping off the paint from the back of the house. It went pretty easy, as the paint had been weathered more then good for it, but surprisingly on the entire wall there were no bad spots except for one small edge at the bottom, although there the wood was still hard, so it seems the damage had a different cause.
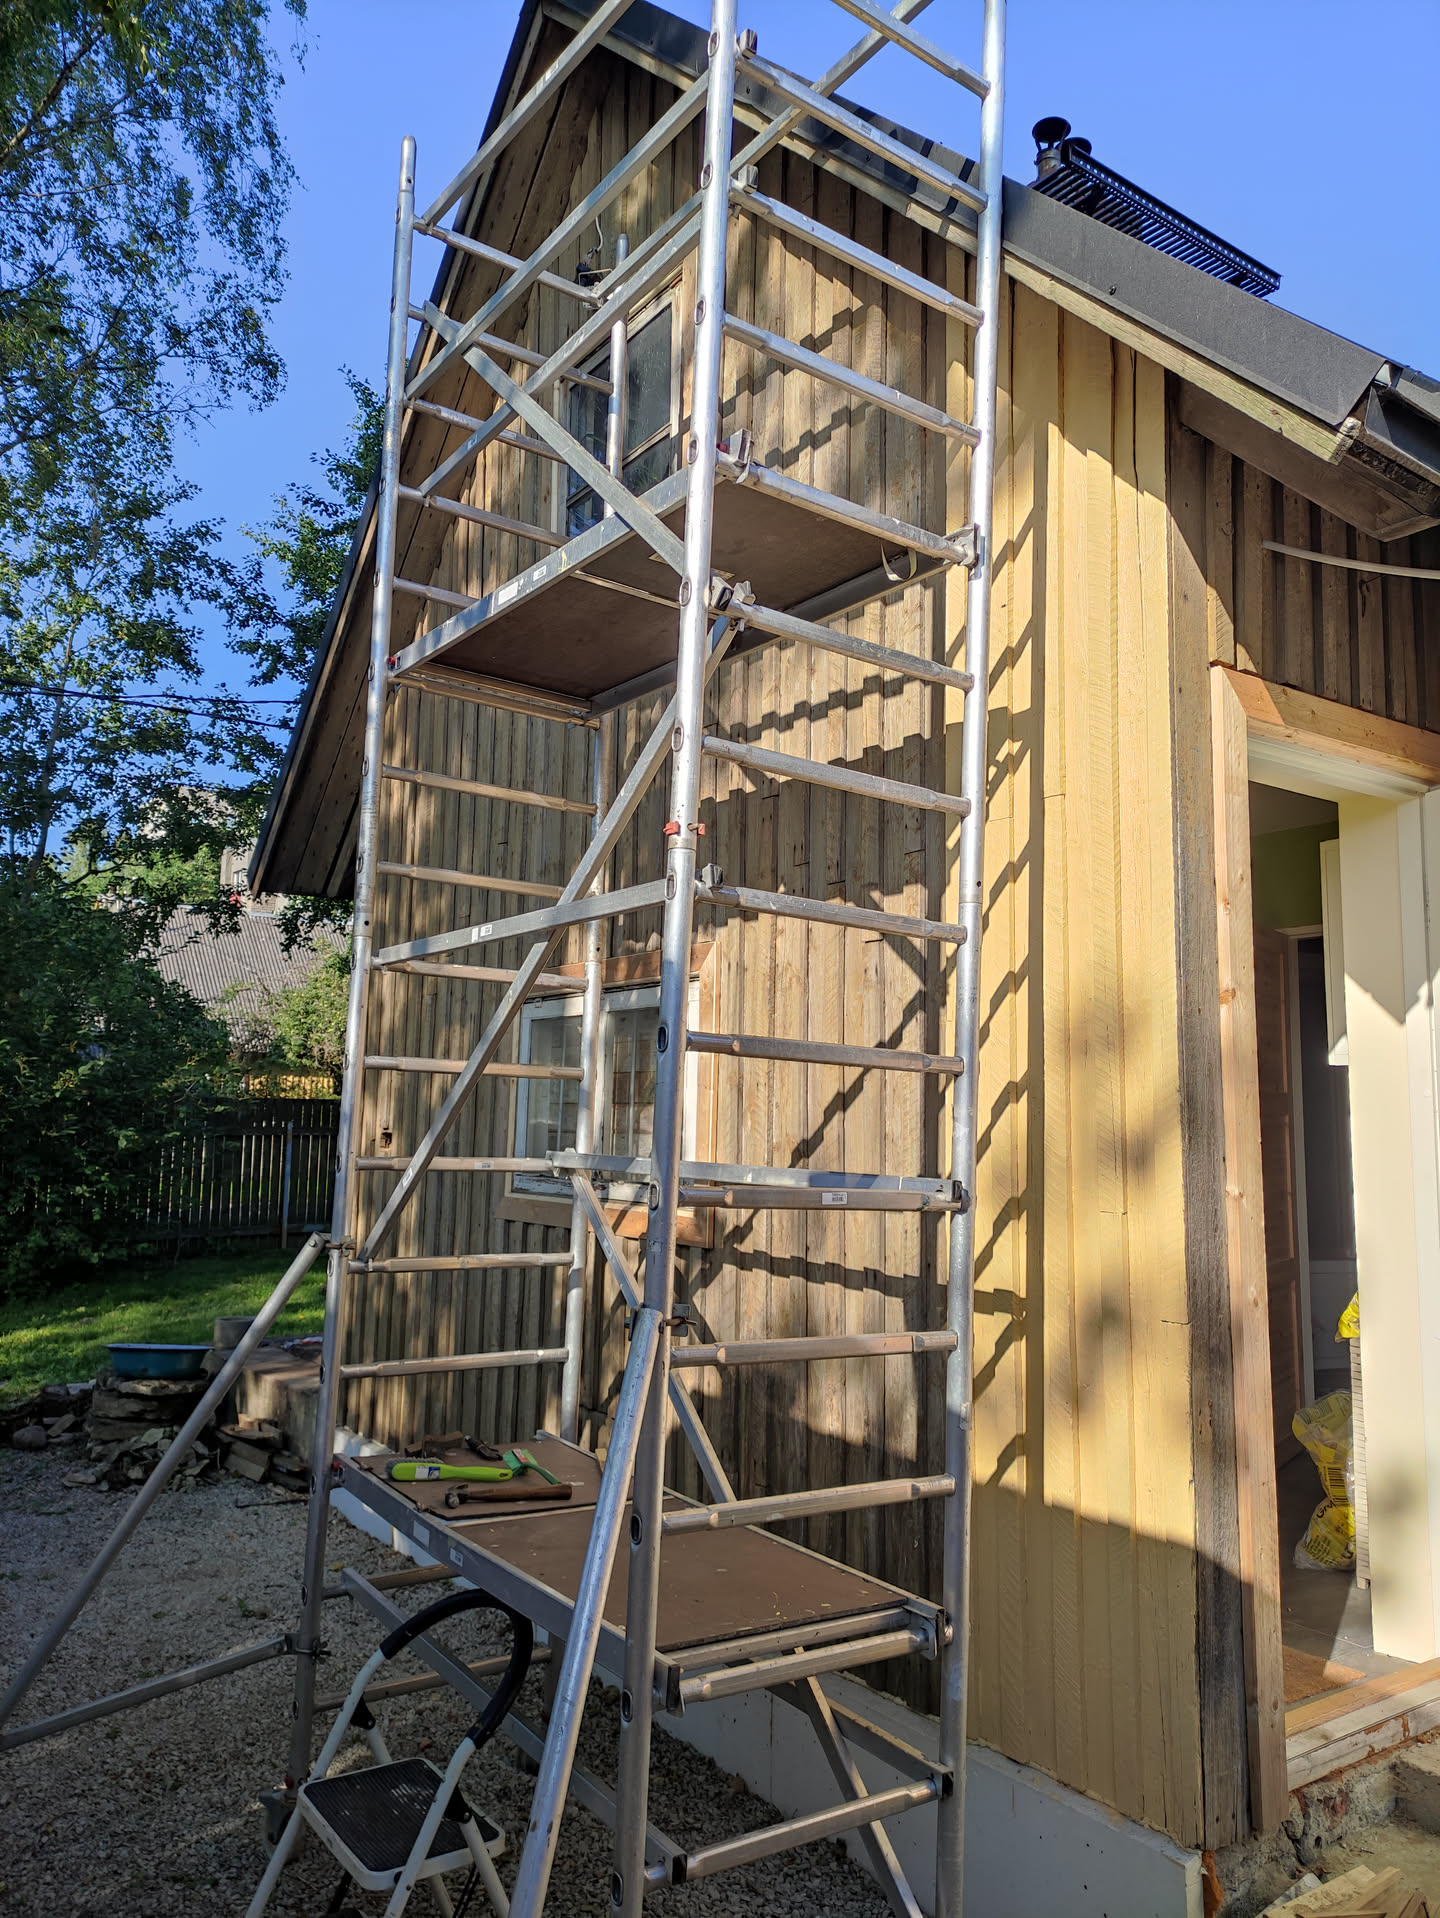
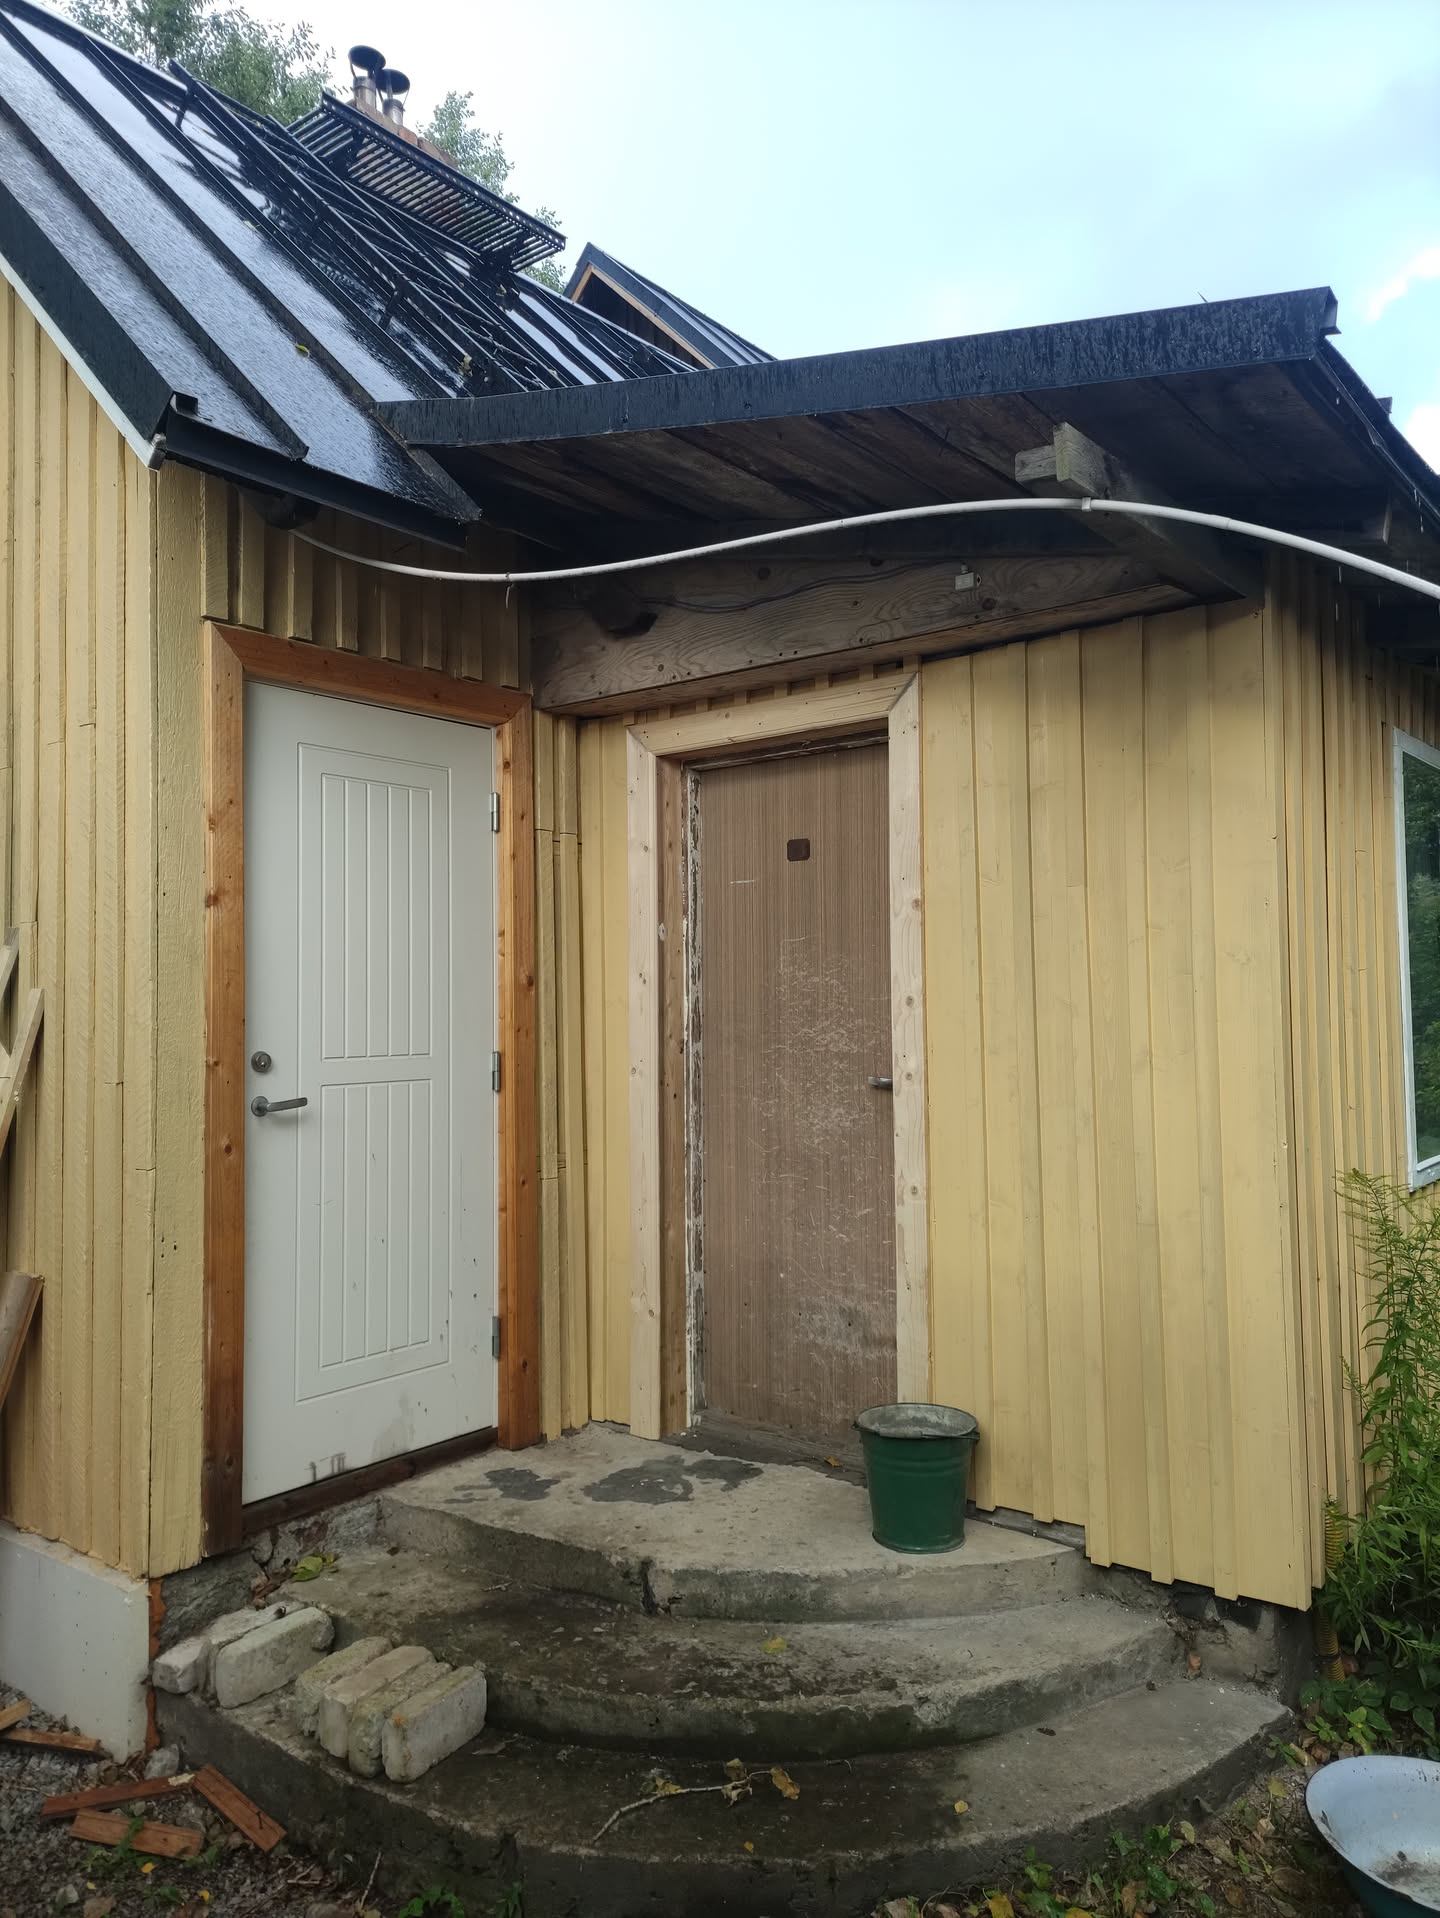
With the paint off the house already looked better, but it also showed the need for some finishing touches like the frame around the doors. I did the back door and the utility room door and then came to moment to get the paint. I went to see Majatochter to check out their linseed oil based paints. The paint is significantly more expensive, but it should use much less and unlike the modern paint who seal off the wood, this paint lets the wood breath. Something to consider. But first the dormer on the back needed a finishing cover. I used the scaffolding as a long ladder, which made it easy to work on the dormer. Another one of these amazing finishing touches.
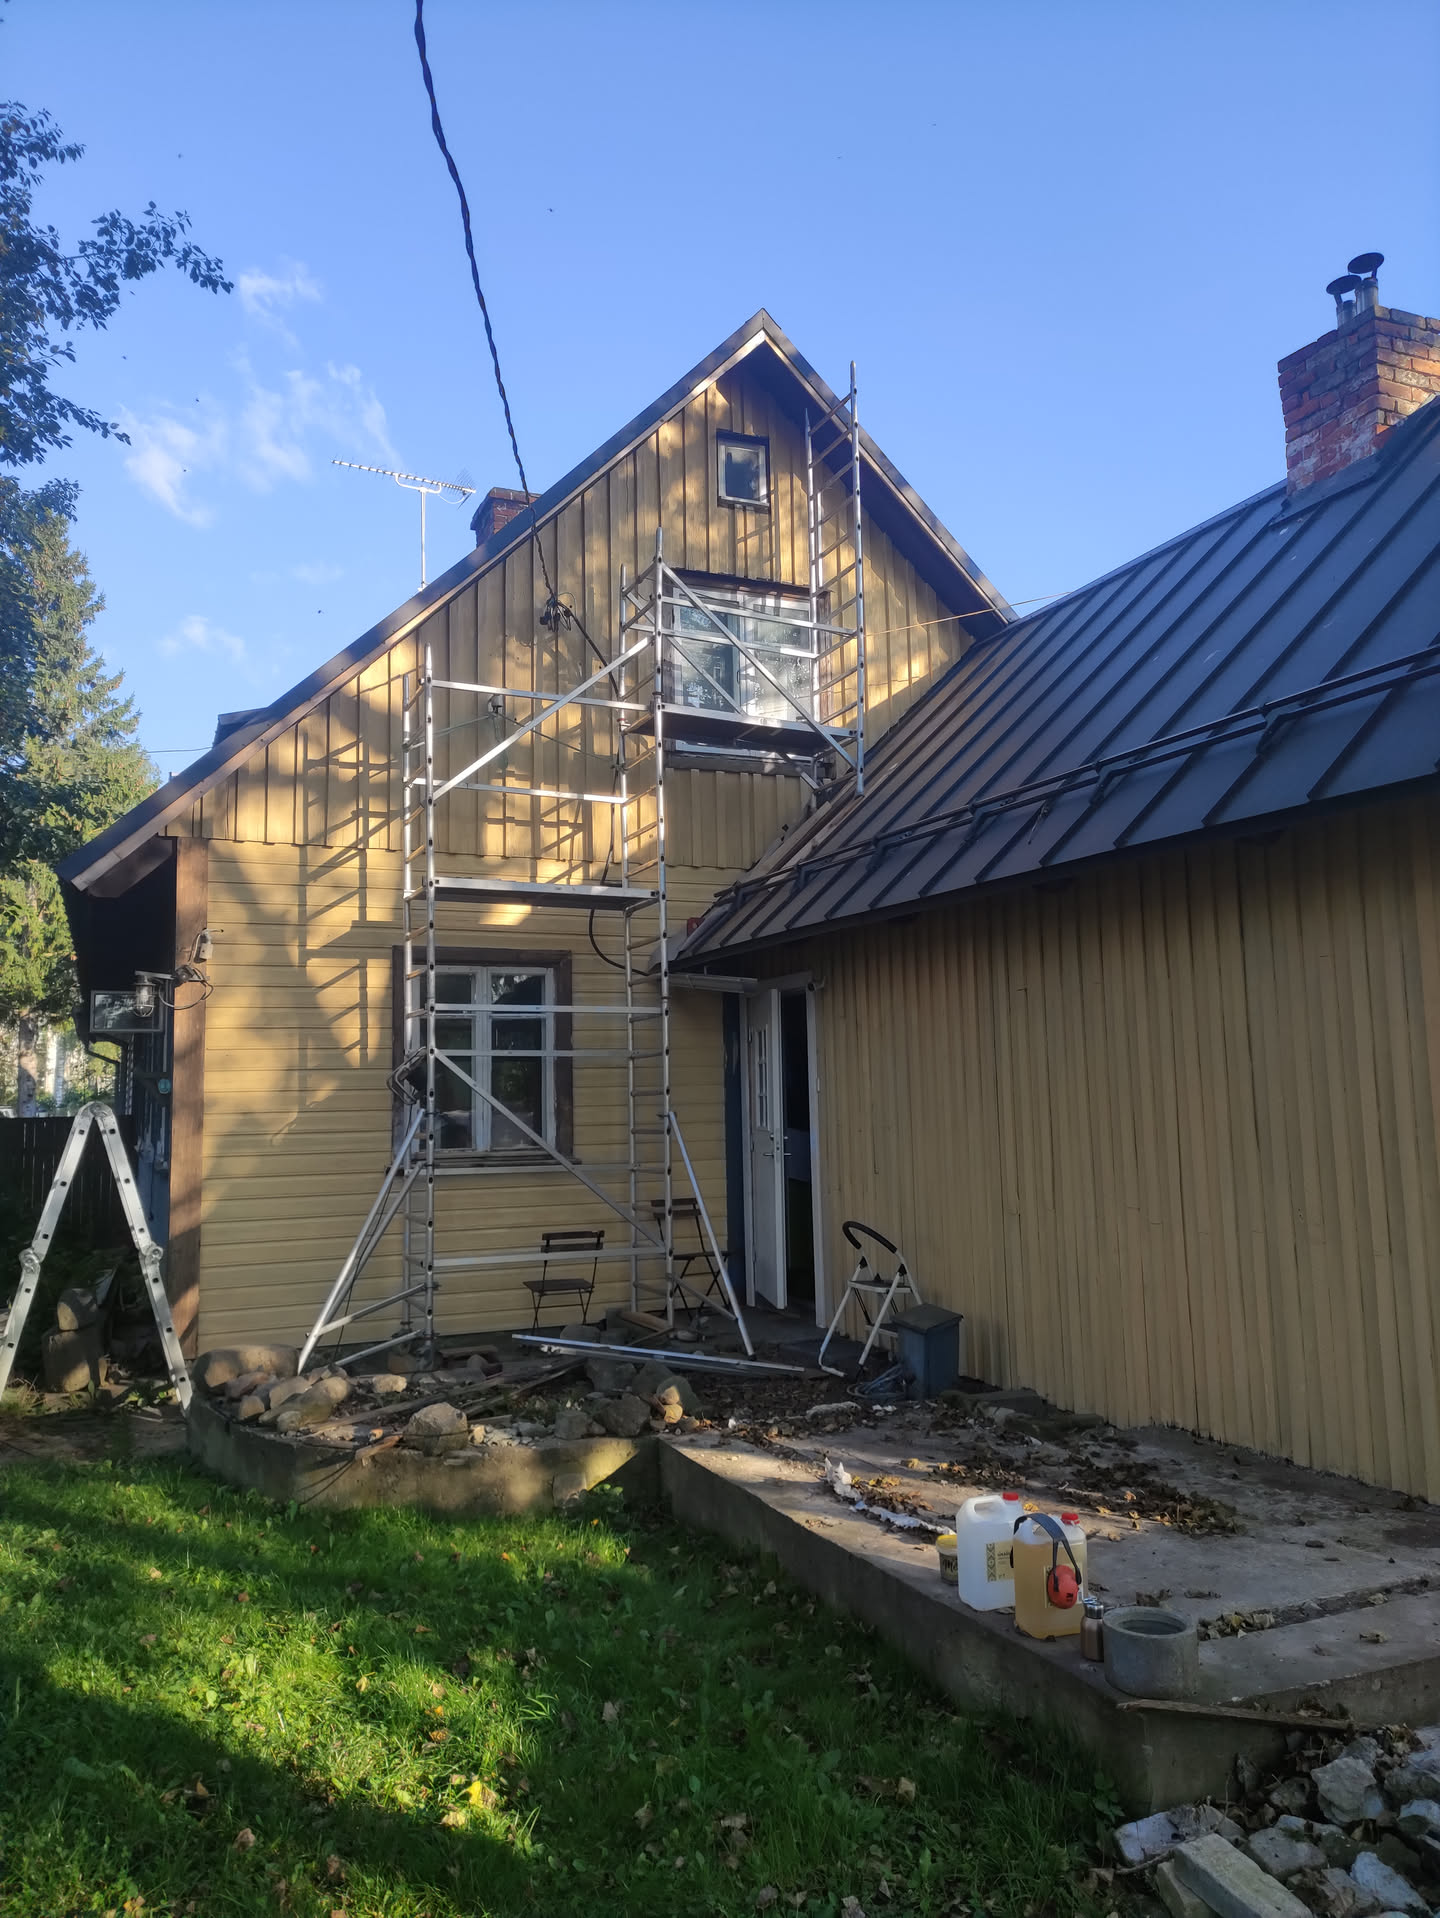
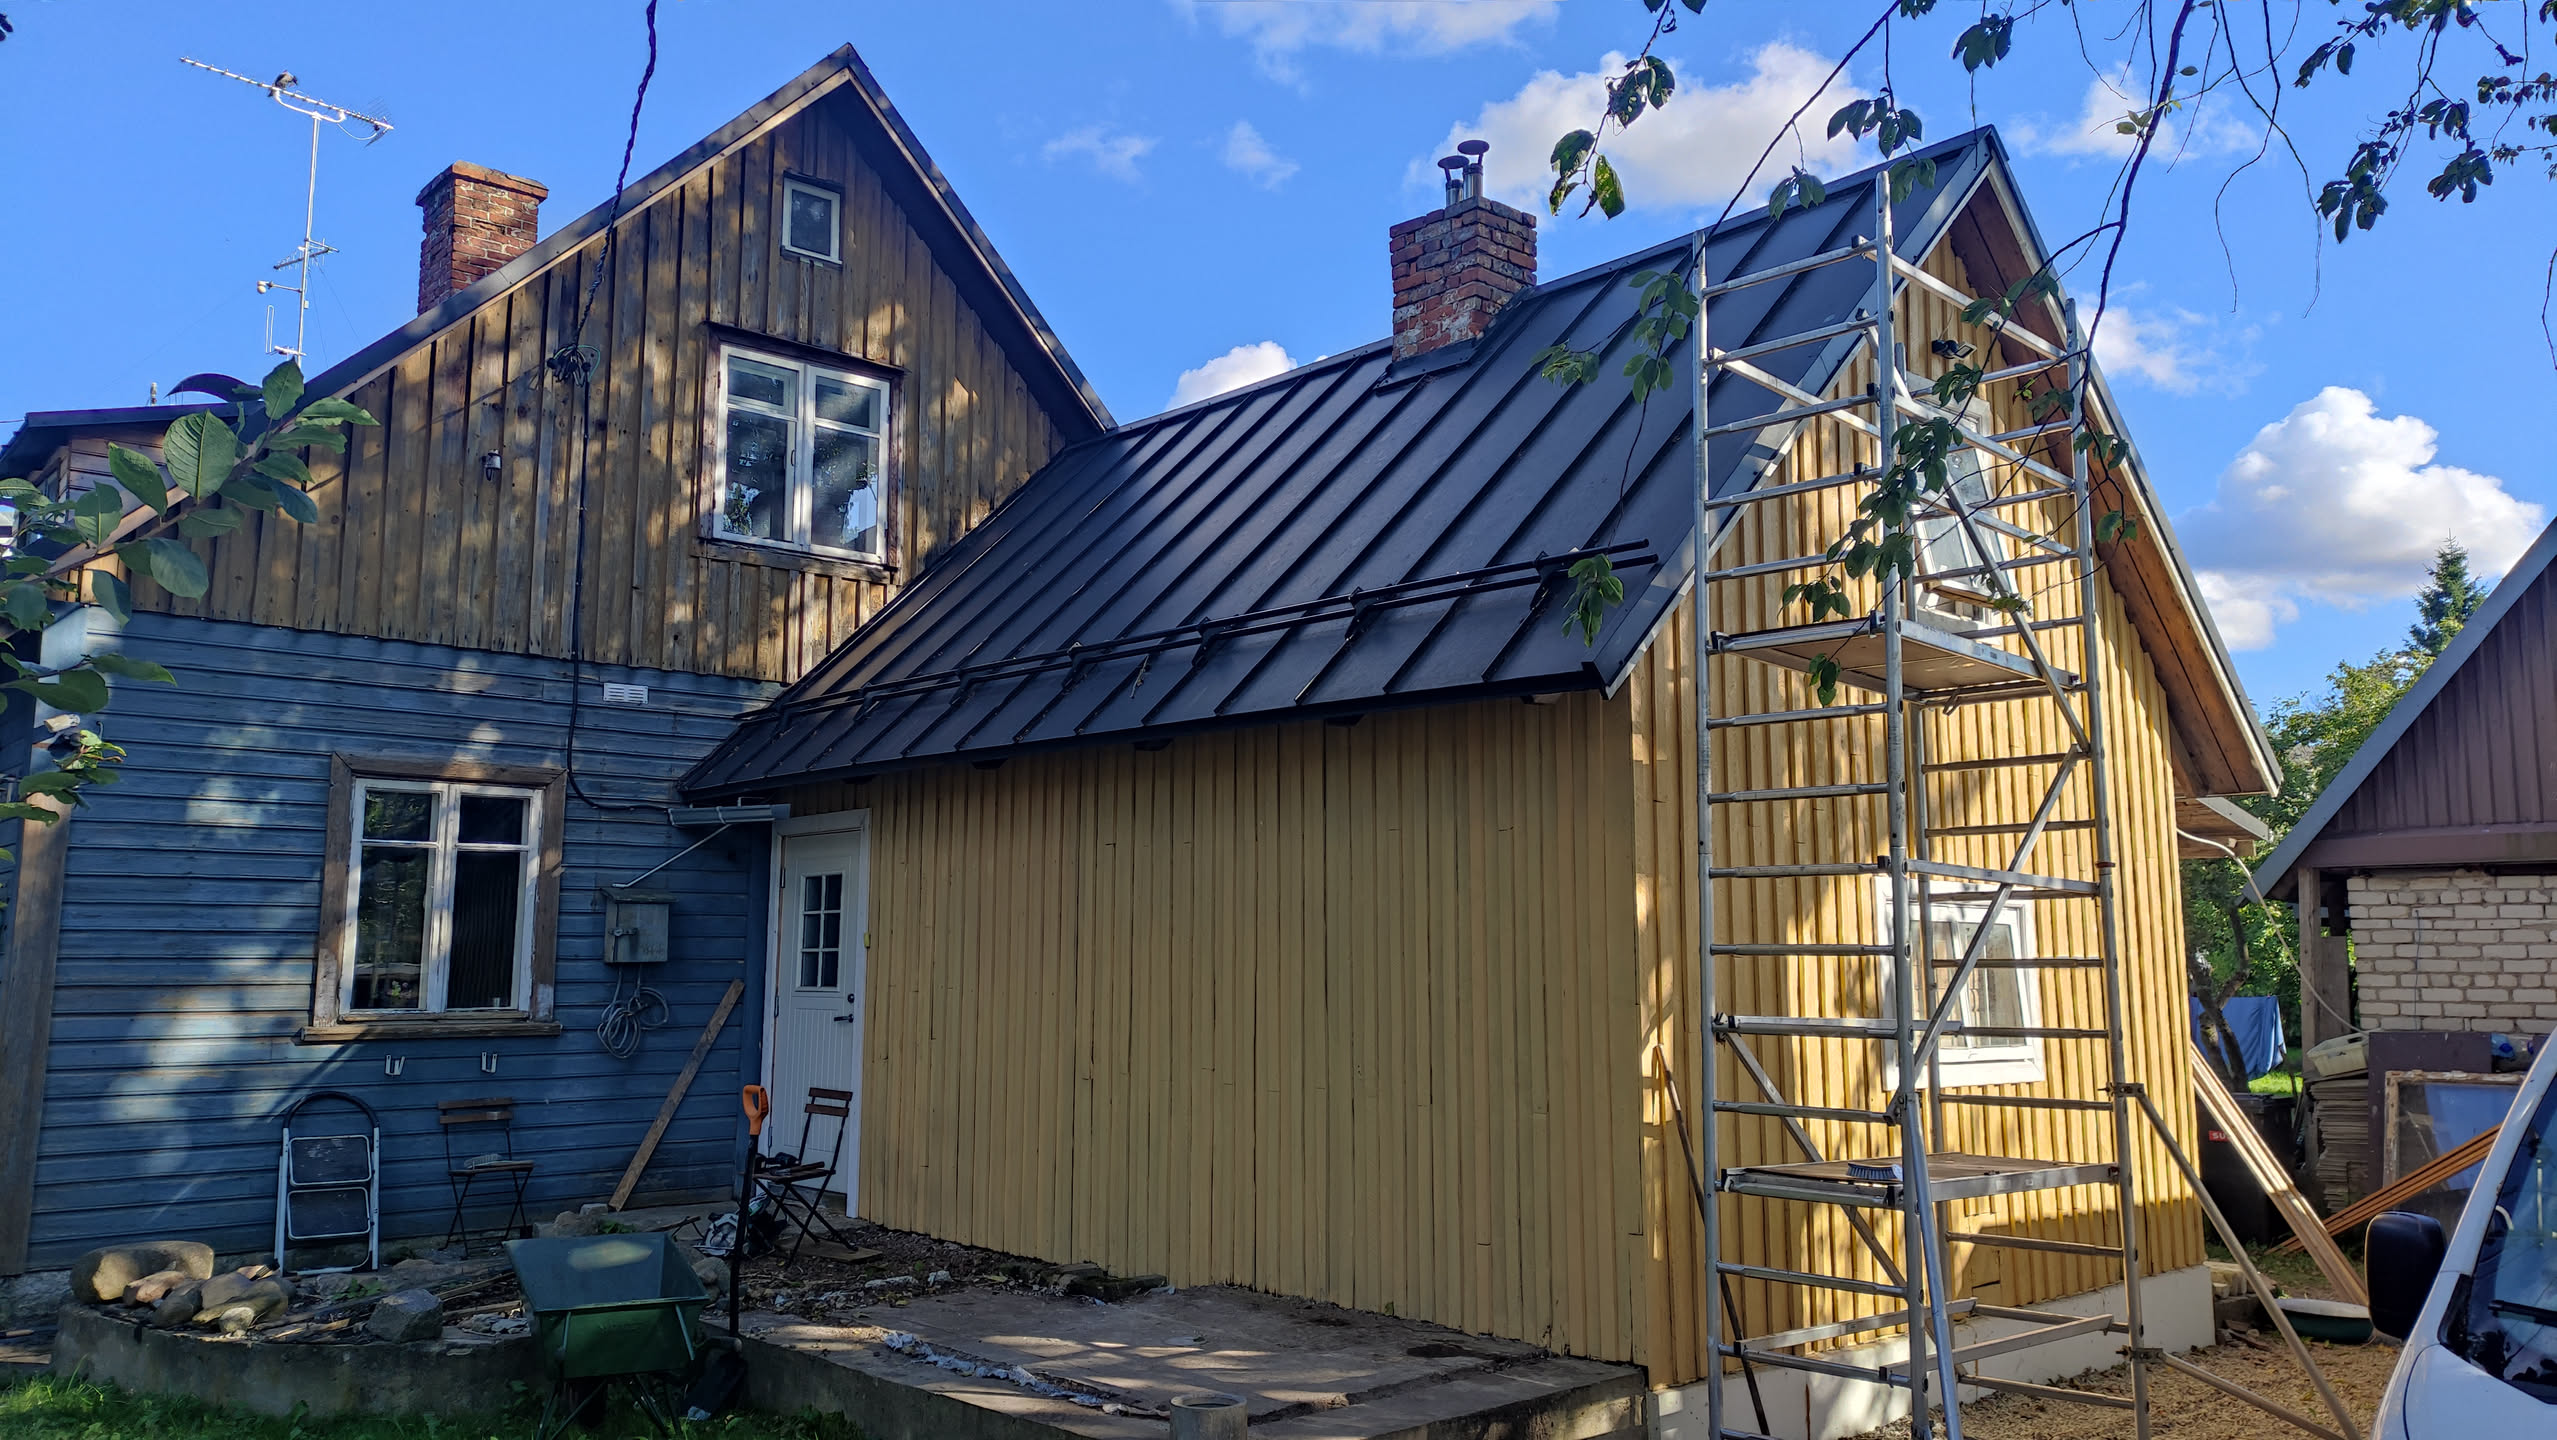
And then the weekend came where we would start painting. We did decide on the Allback paint. The first layer took more effort then expected. The wood was so dry, it seemed to suck up the paint as soon as the brush touched it. But the result of the first day was amazing. The next day I also painted the veranda and it started to become a unity, this new wood painted a lot easier.
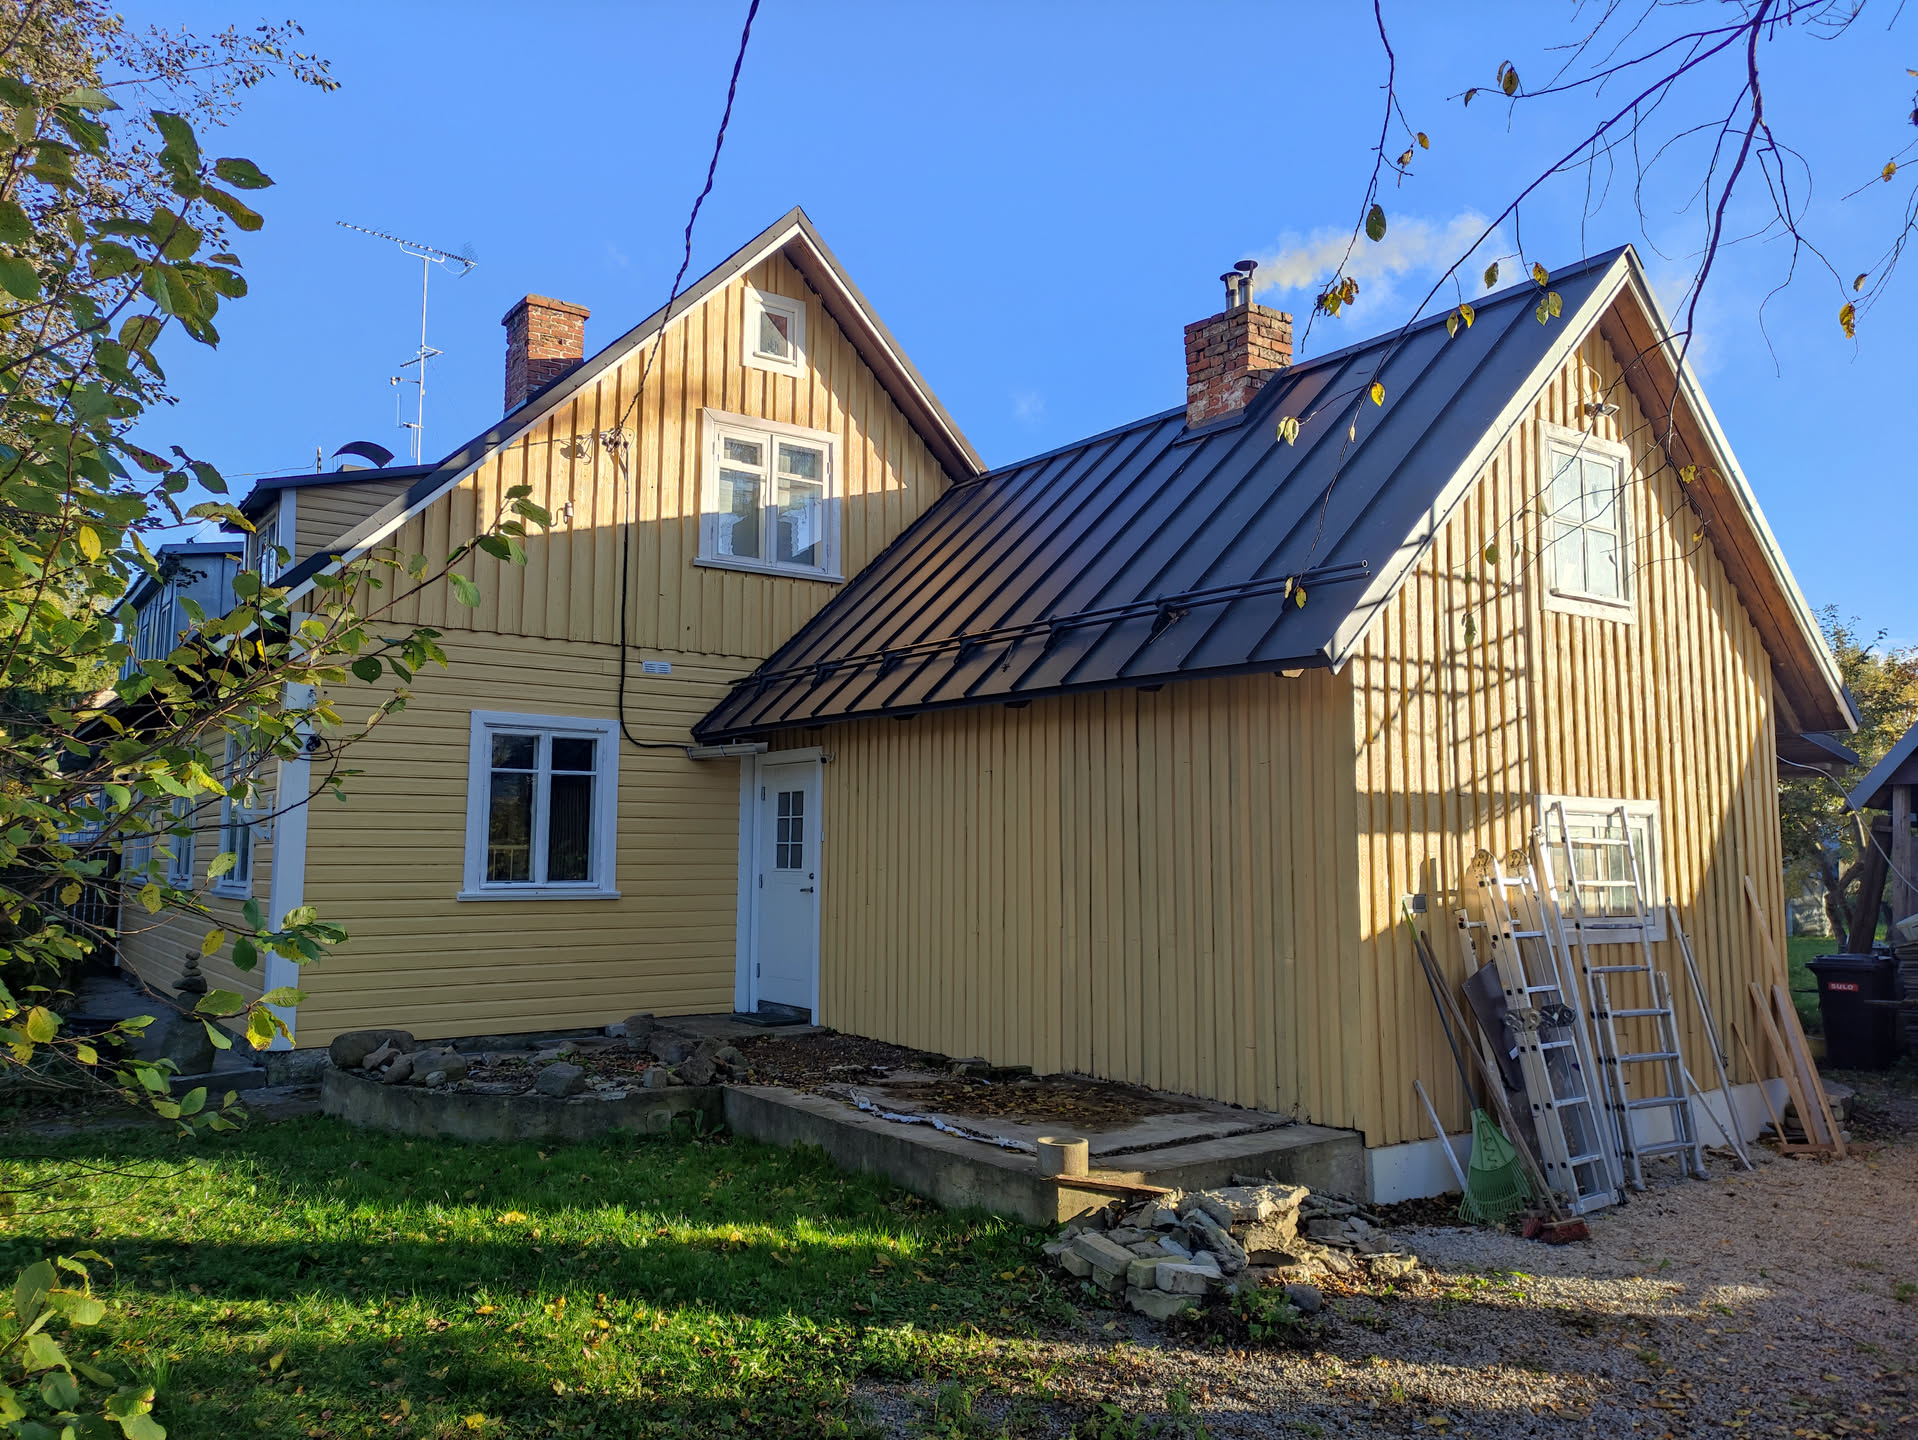
The weekend after we put on the white paint for the frames and windows. This was the change that made an even bigger difference. The contrast between the yellow and white and the black roof over it. Wow, just wow! We looked up an old picture of the back of the house and the transformation is just amazing!
At the end of the month I bought a 3D-printer. It was on my wish list for already 10 years and now I found a heavily upgraded one on the company marketplace. Let’s see what I will be using this for in the upcoming months. At least I have a rain measuring device I finally want to finish.
Scraping the paint offWhat a difference already!Door frame in styleThe dormer doneFirst layer on the houseFirst layer on the verandaWhite detailsAlso around the other windowsWhat a difference!


Spelling error report
The following text will be sent to our editors: