
The roof ladder and platform where ready to be picked up, so I put them in place. It seems very convenient to sweep the chimney now. So I did it while I was up there.
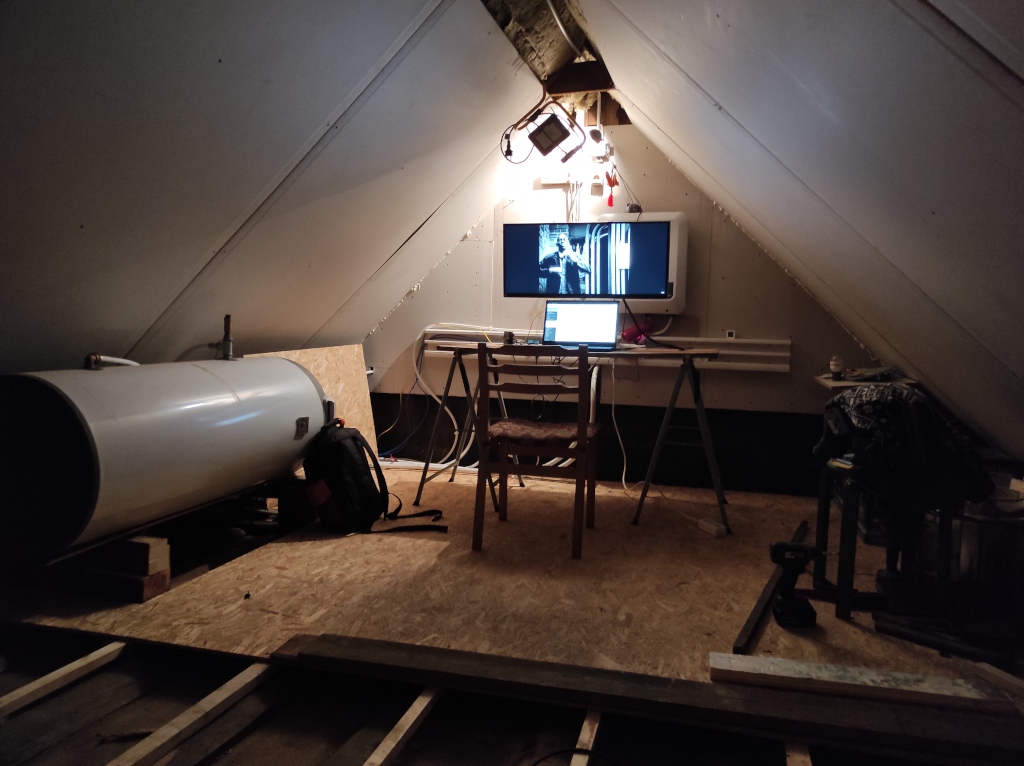
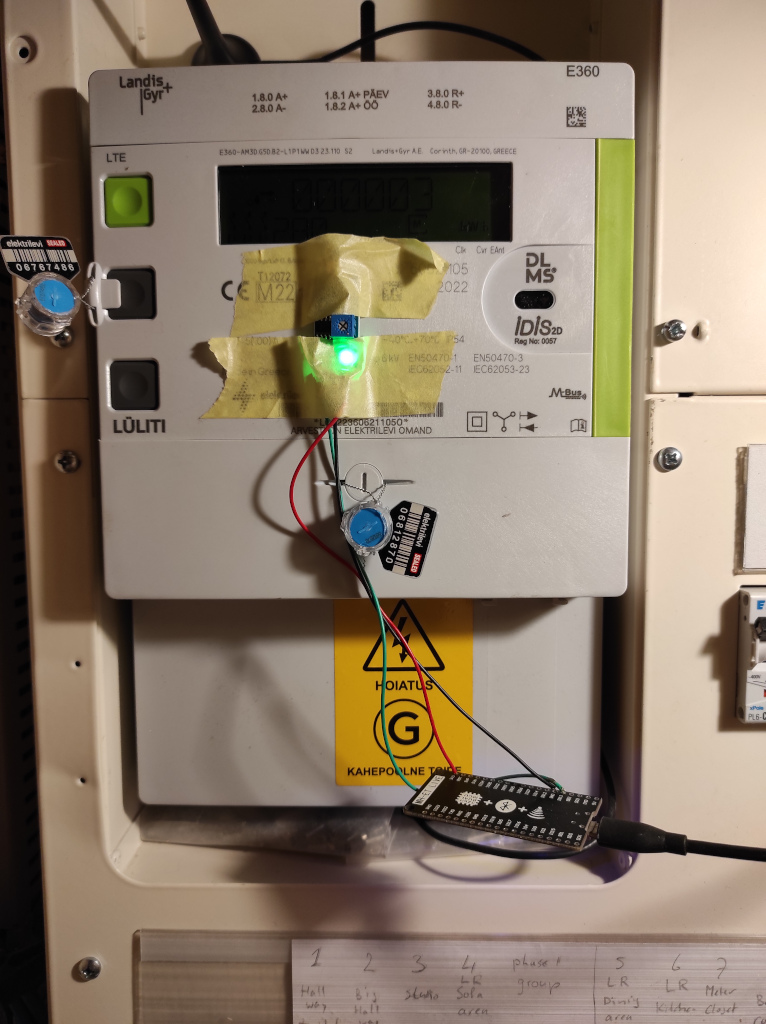
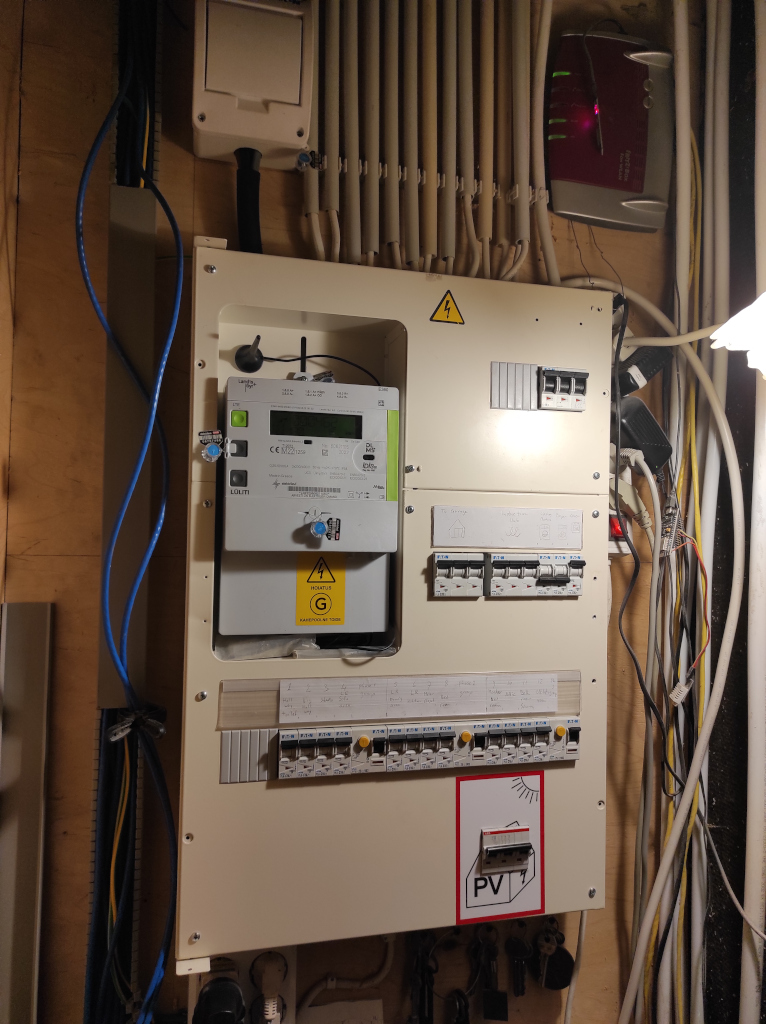
I had ordered a shelf for my 19″ rack in the meter closet and the NAS and ProxMox server fit nice on it. It really is one of those finishing touches.
Then we had a trip to Scotland and after that I found out my dad had a 50 year work anniversary. I wanted to go there, but tickets where very unfriendly priced. While talking to Jan I found out he had the same problem. So we made a plan to combine four trips in one. The Volvo of Toon that was still stored in my back yard, had been sold to the Netherlands and had to be transported there. I still had my RX-7 in the Netherlands, so we decided to drive there with the Volvo to drop it off, pick up the RX-7 and drive back.
It was a great surprise for my dad and I am glad I got there. Minor detail I had an RX-7 in Estonia a bit ahead of plan. Luckily Mo’s mother has a garage where it could be stored for the winter.


Spelling error report
The following text will be sent to our editors: