Floor in the hallway and roof ahead

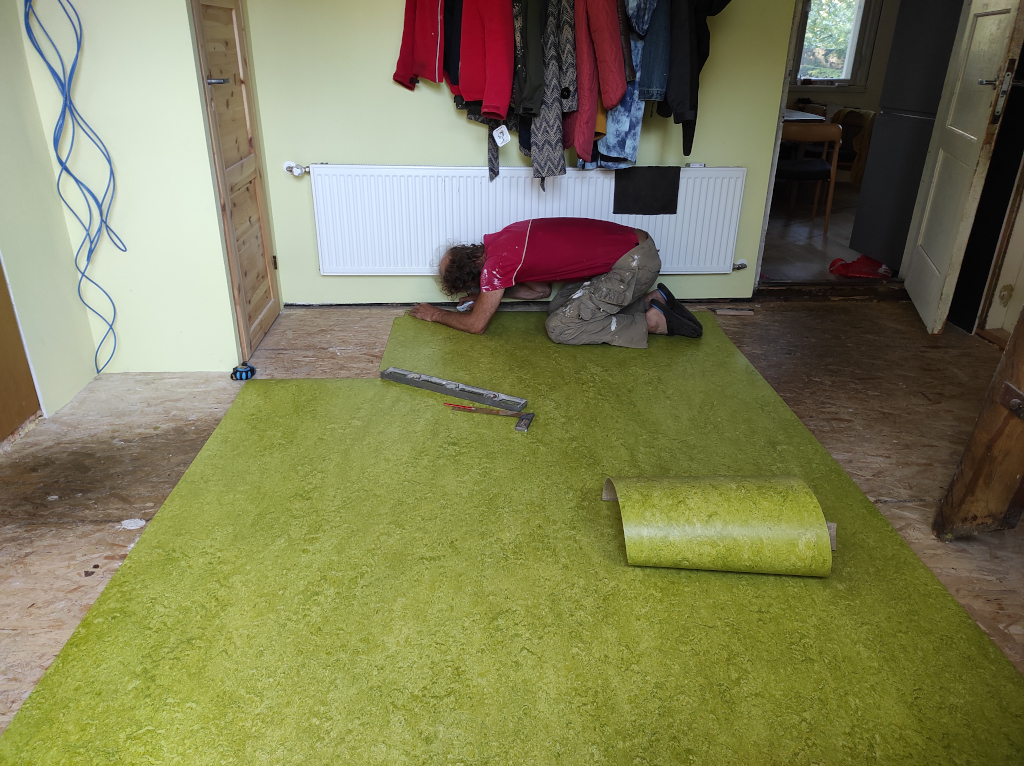
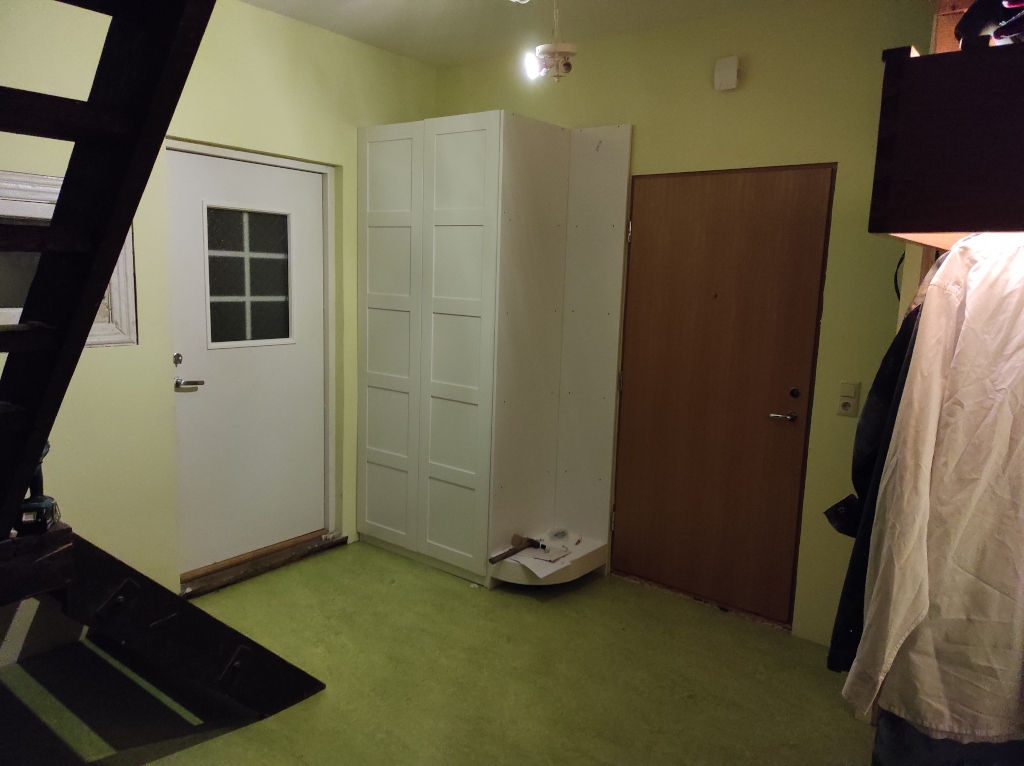
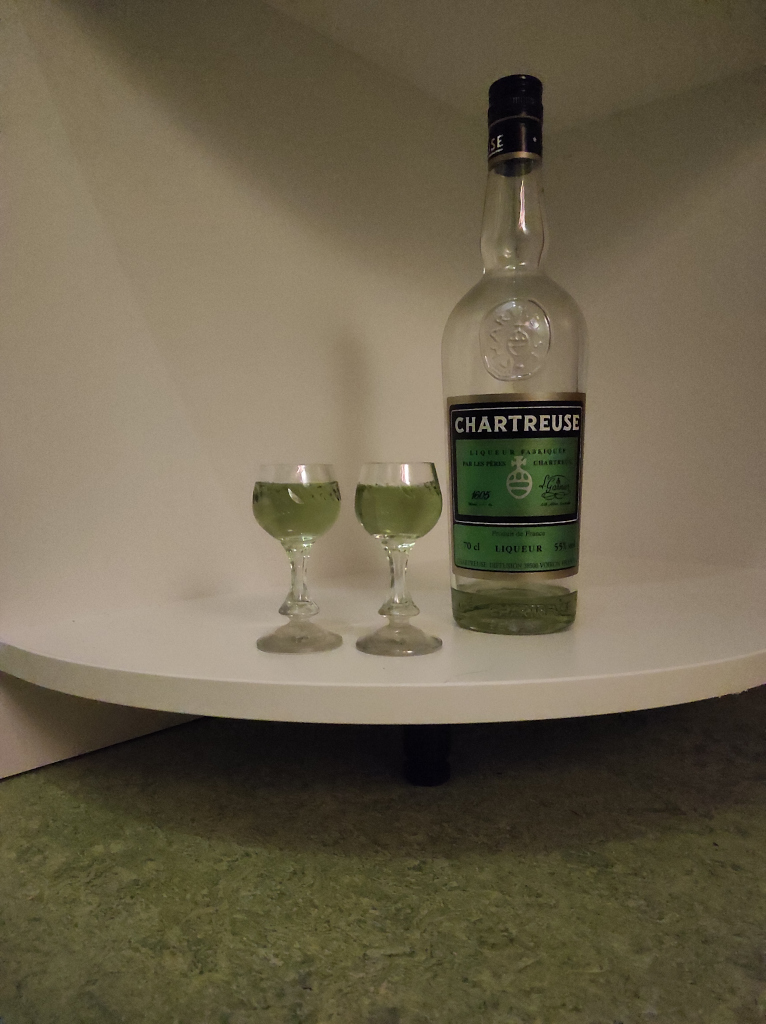
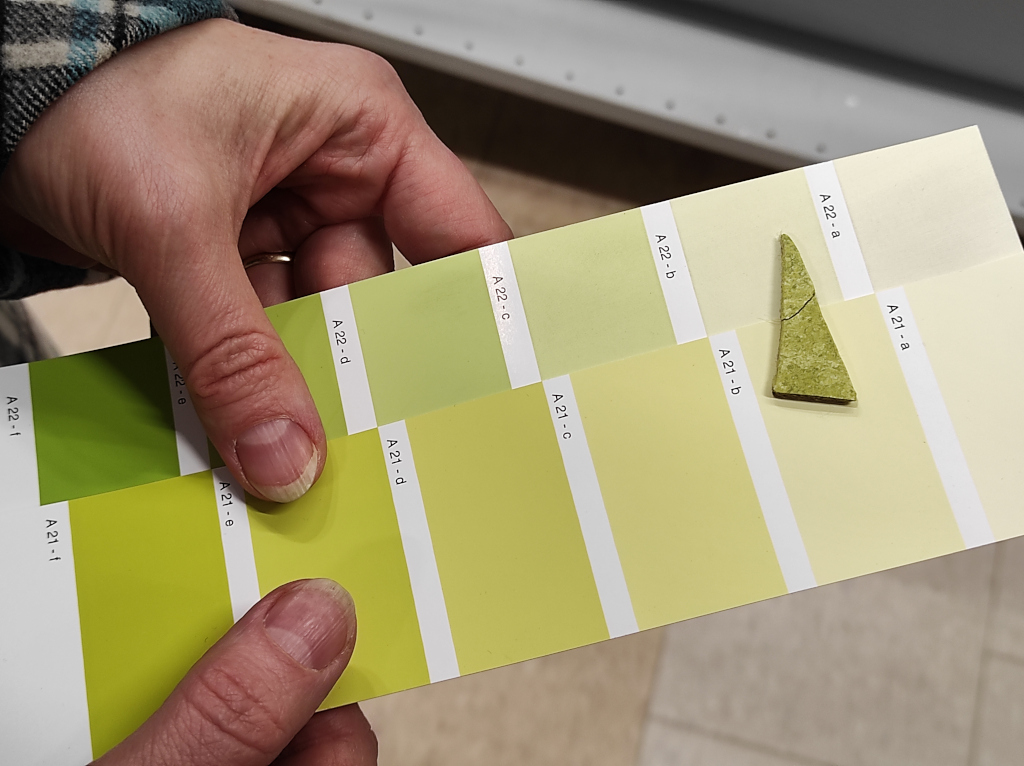
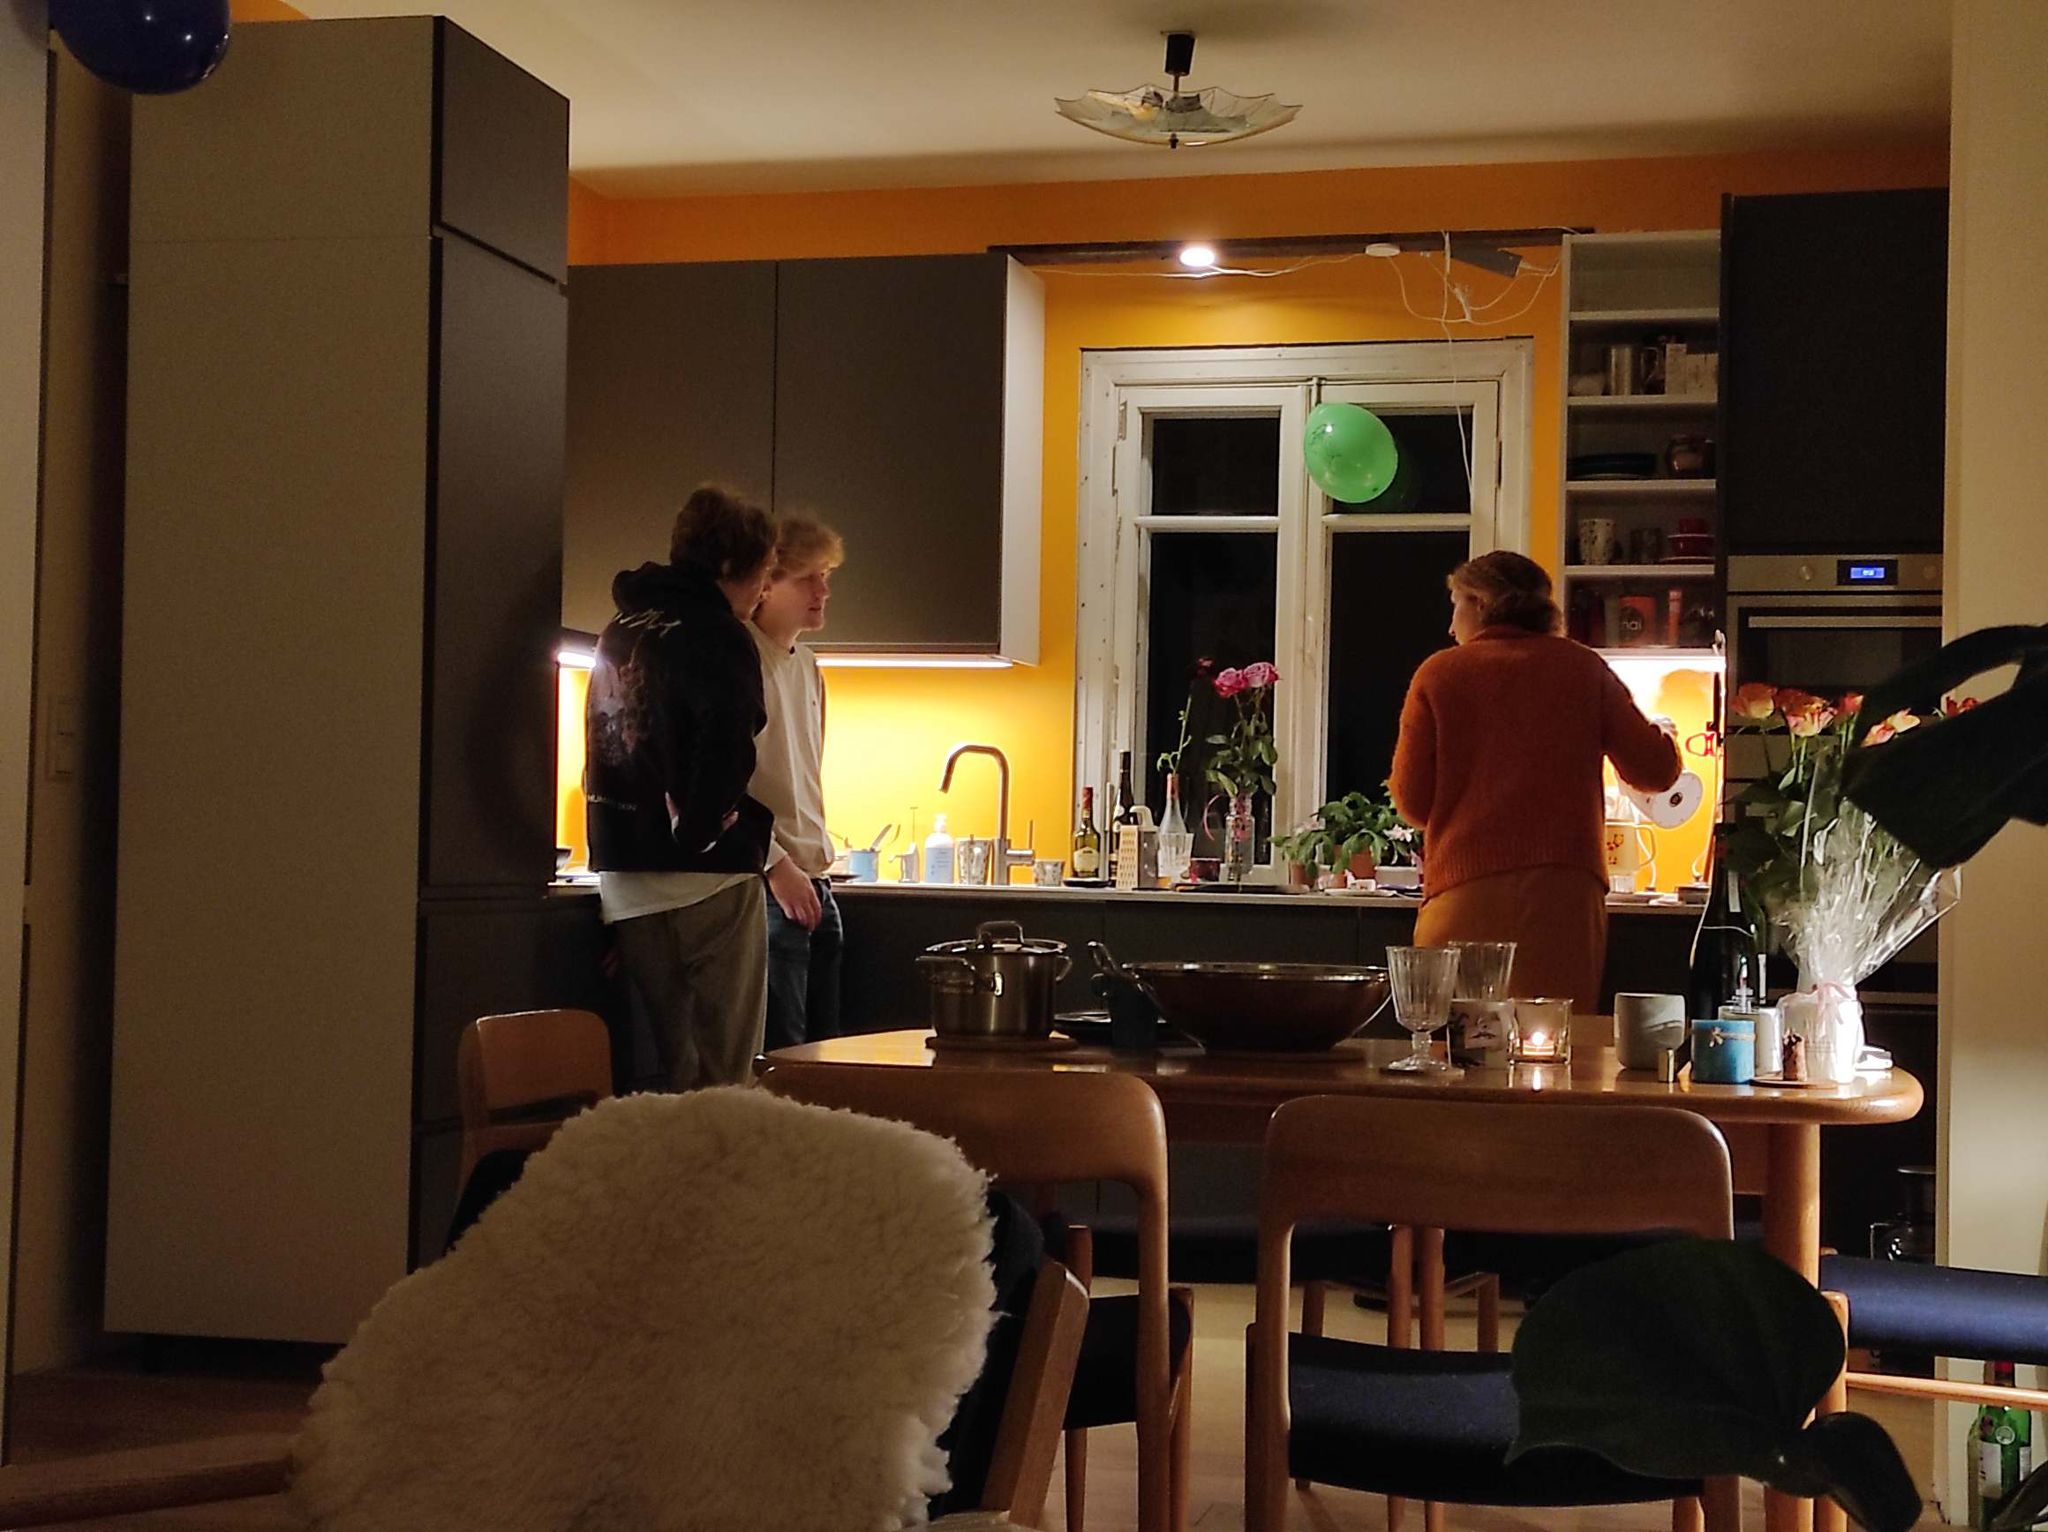
Now that all the dust in the studio is settles it is more then time to put the linoleum in the hallway. When the floor was in, it was time to build the cabinet we got at Ikea and once that was in we toasted with a glass of chartreuse to the good use of our chartreuse coloured floor.

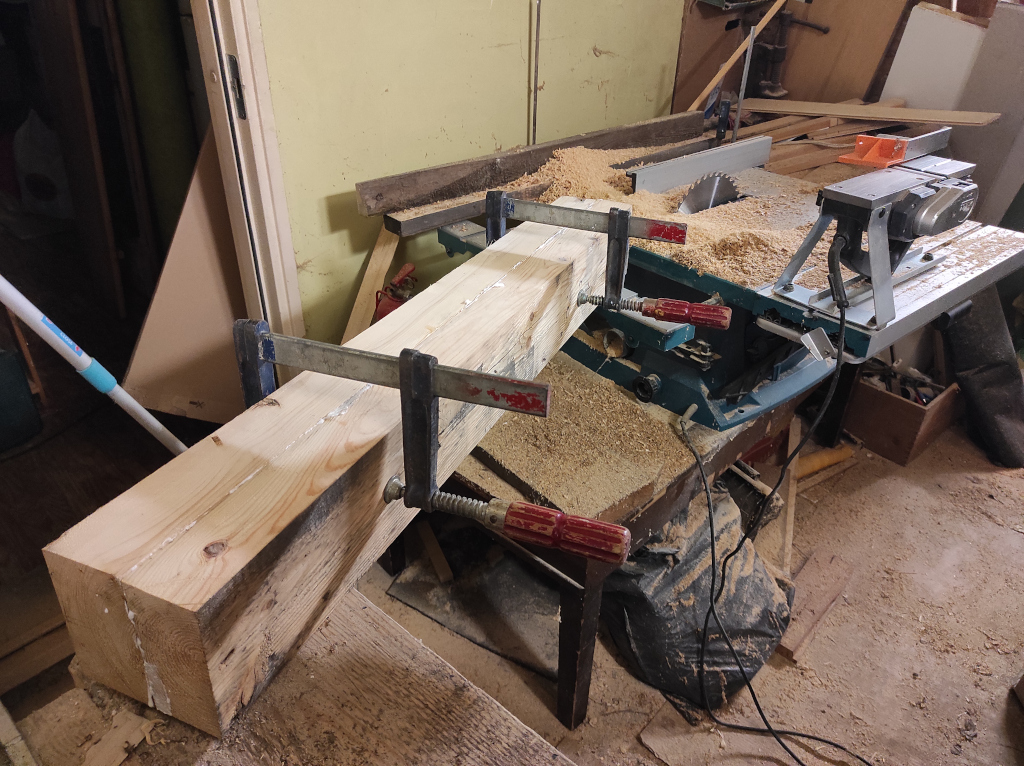
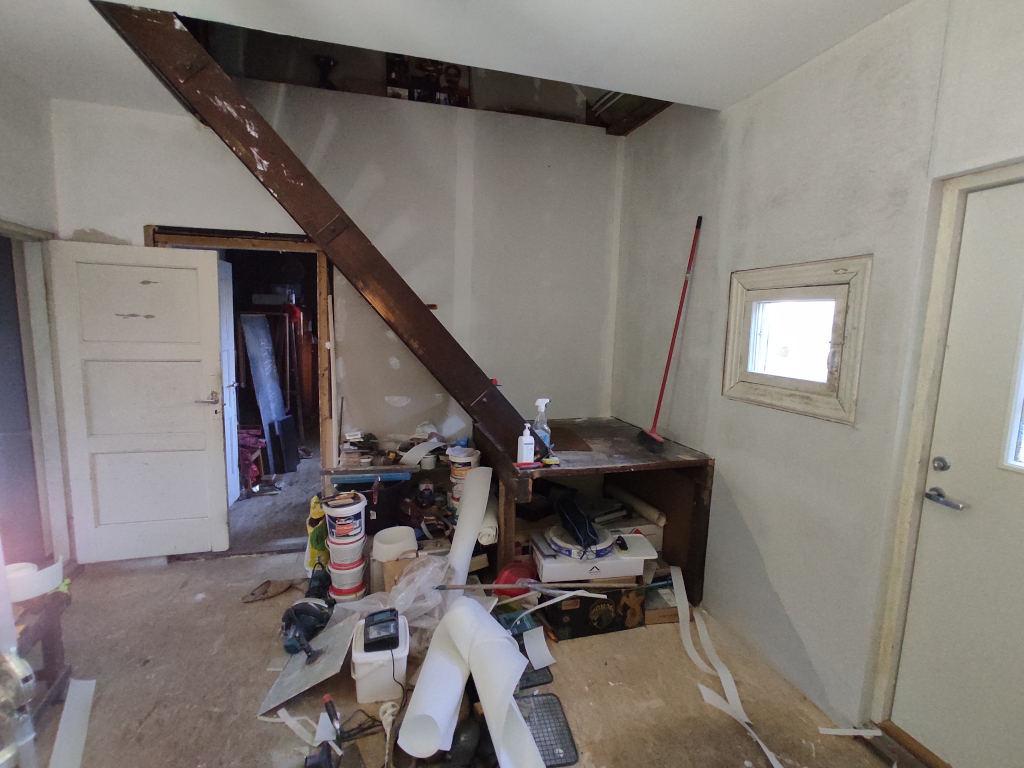
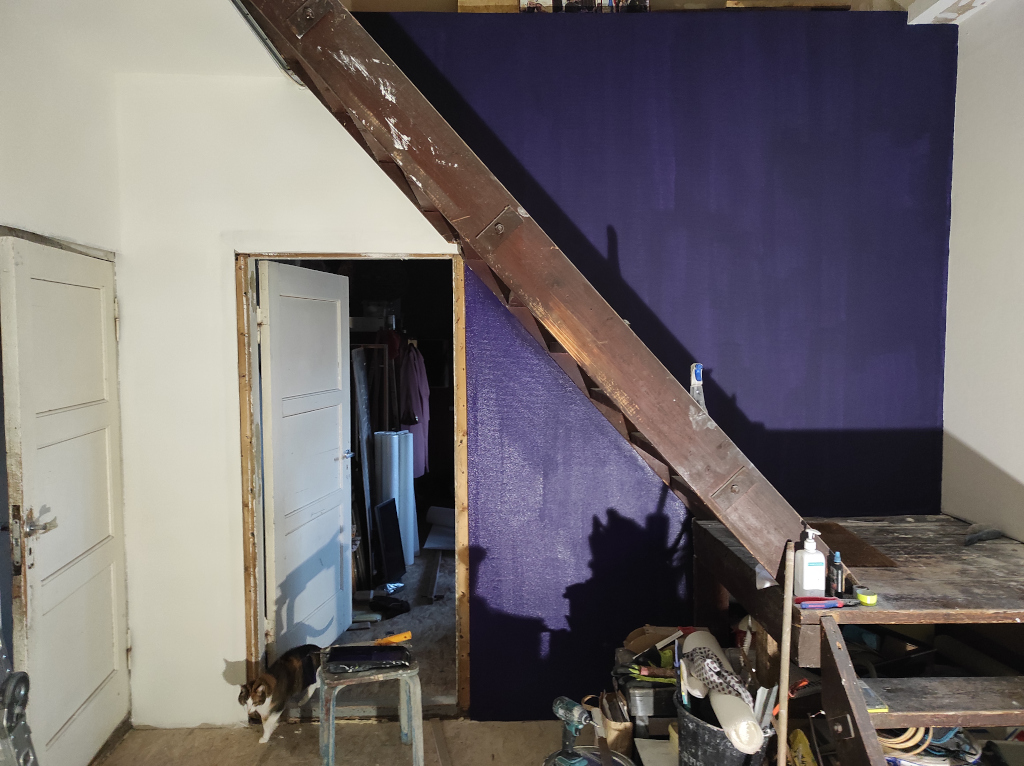
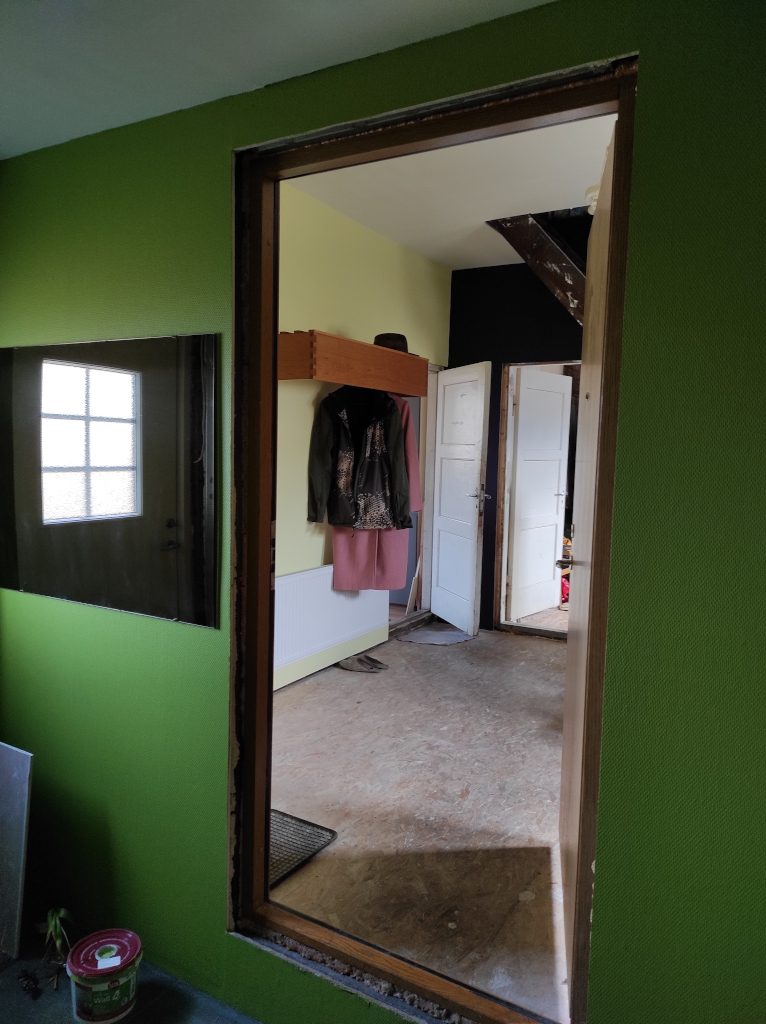
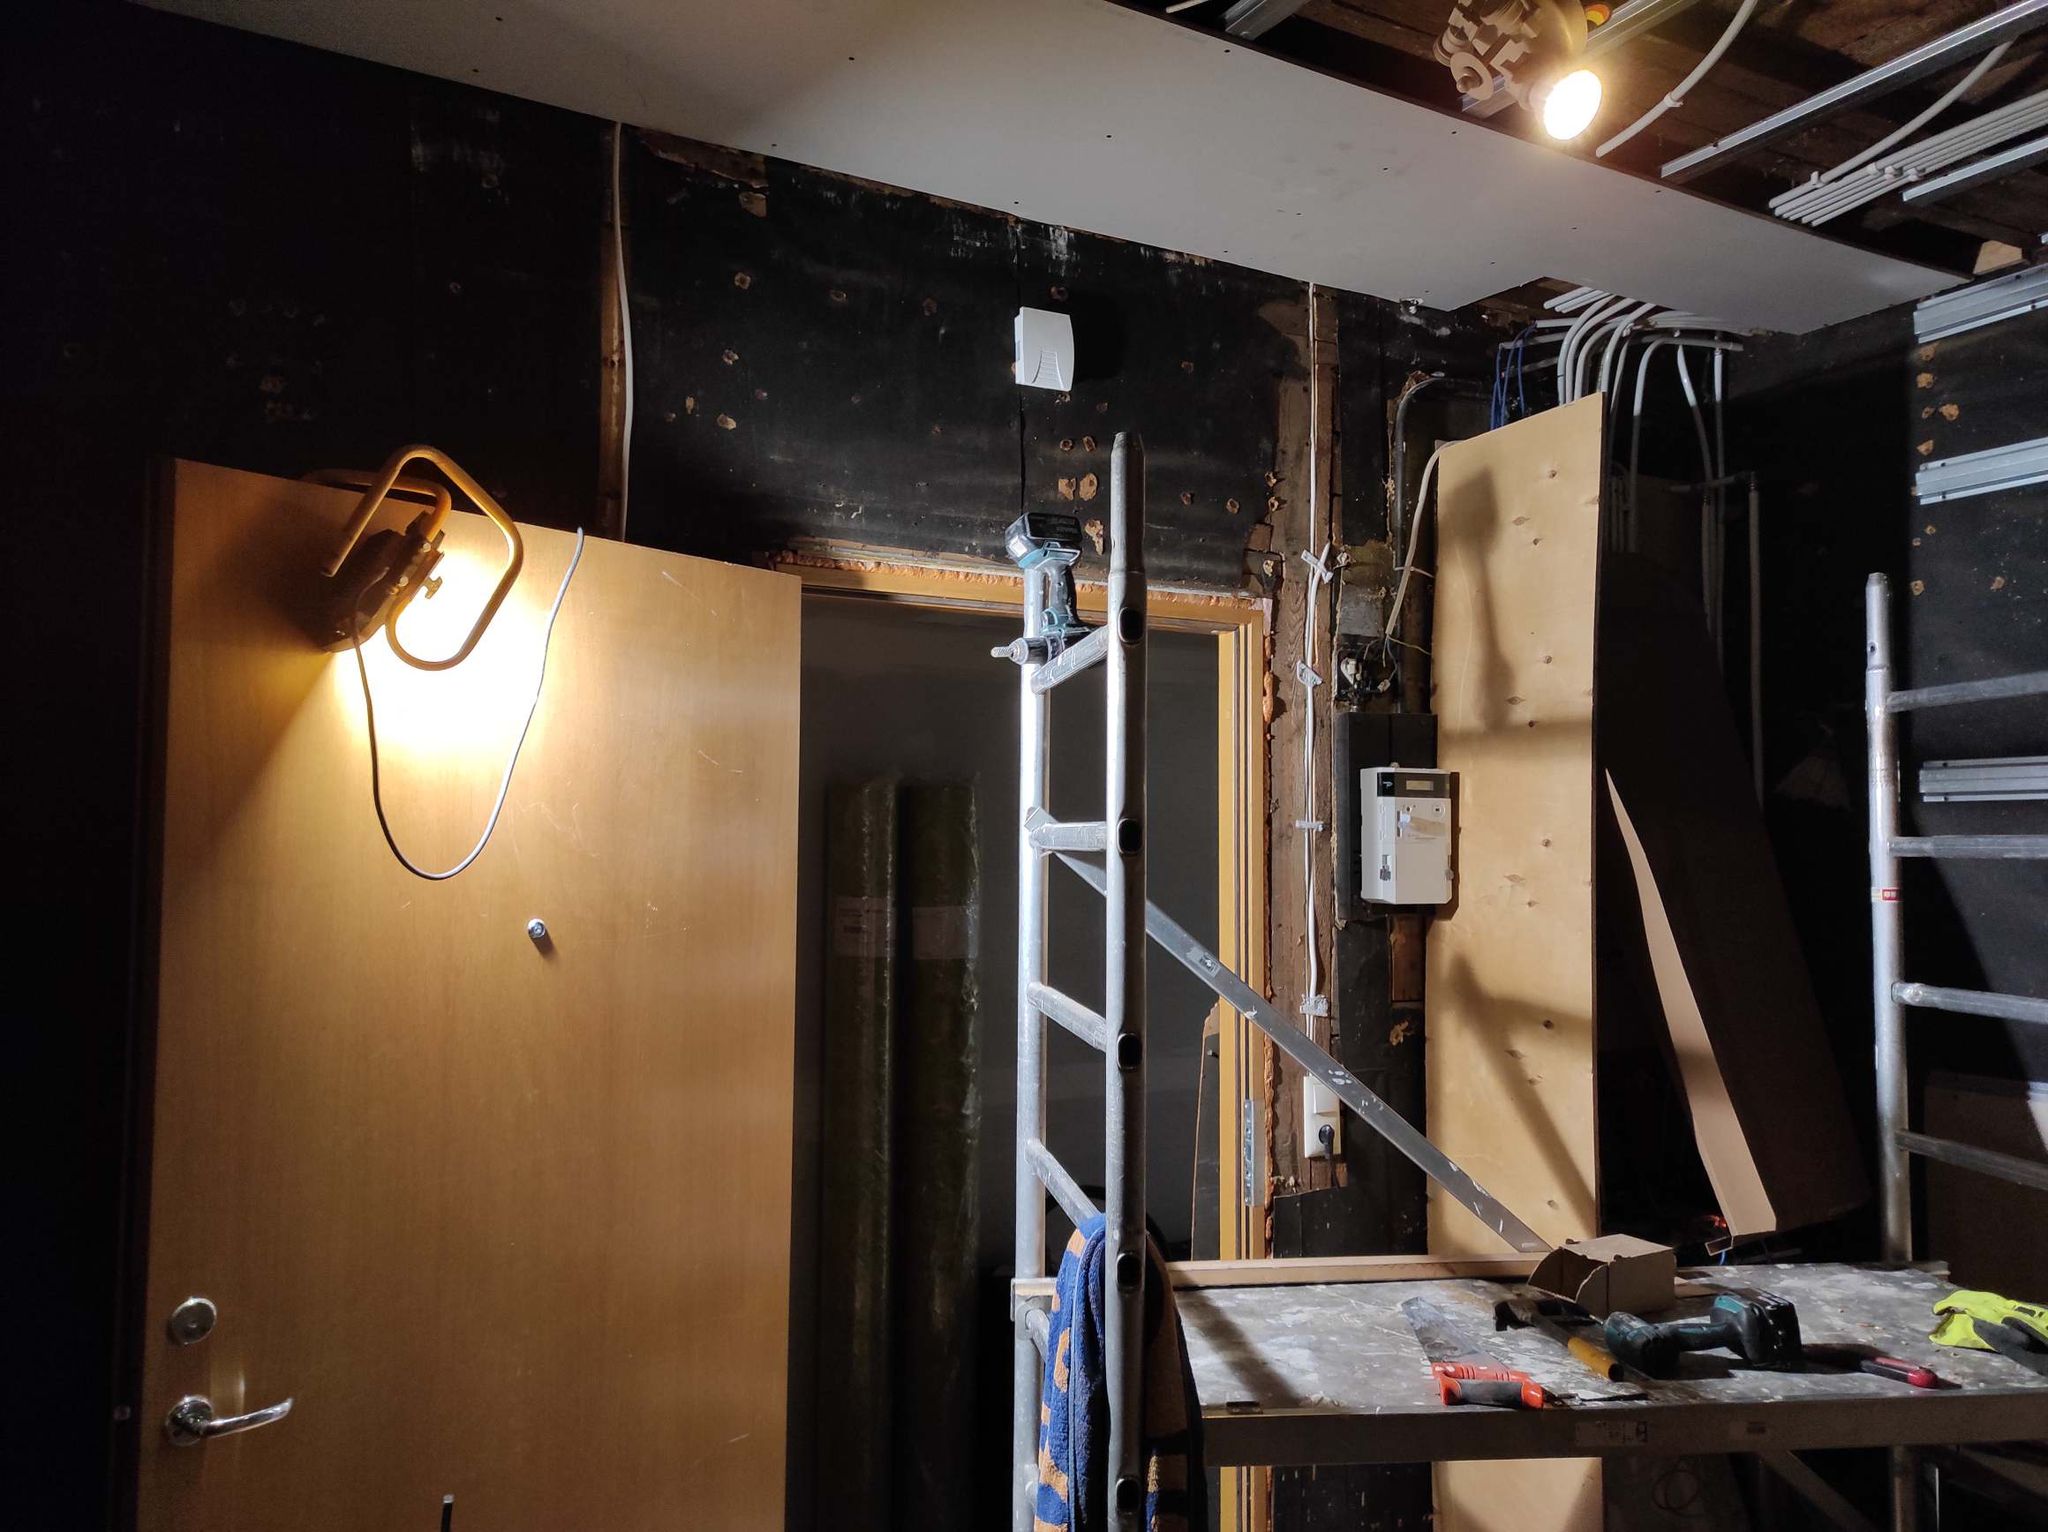
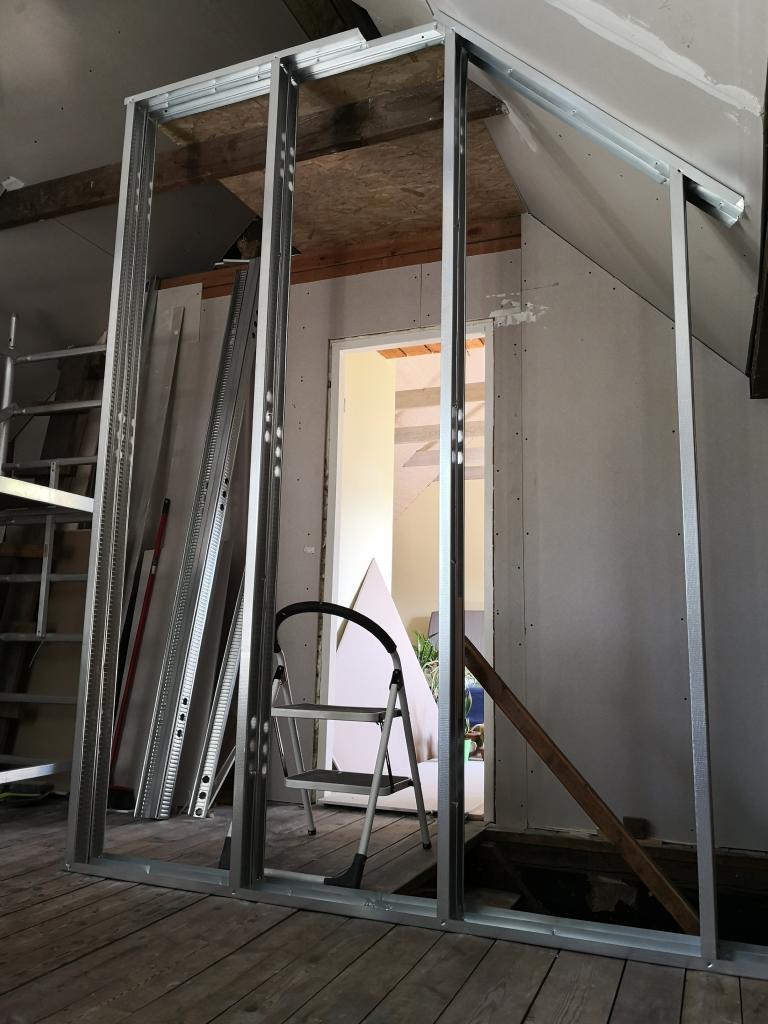
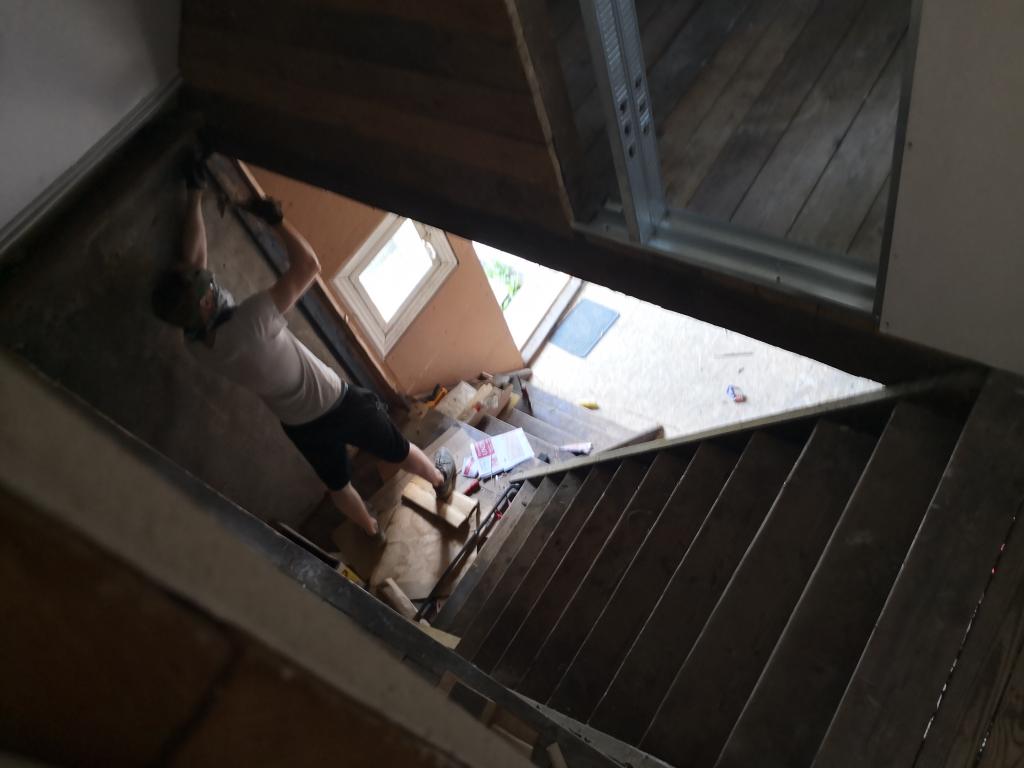
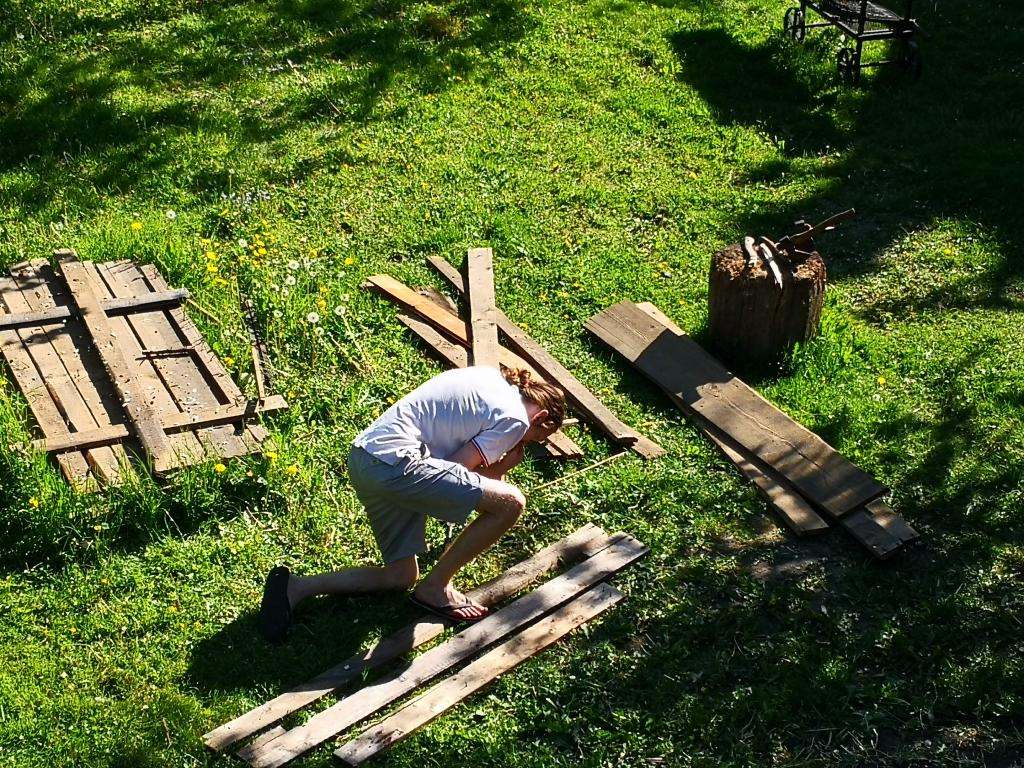
One of the last upcoming projects will be to finish the utility room. There I have to replace part of a beam. After some measuring I looked through the old wood and found some pieces that could be glued together to create the required beam.

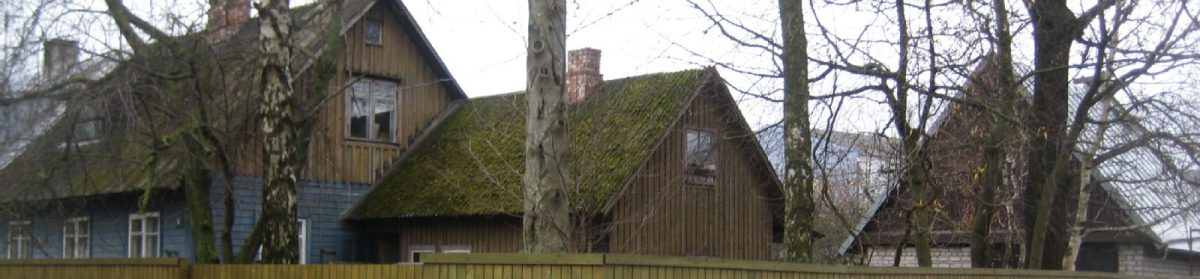
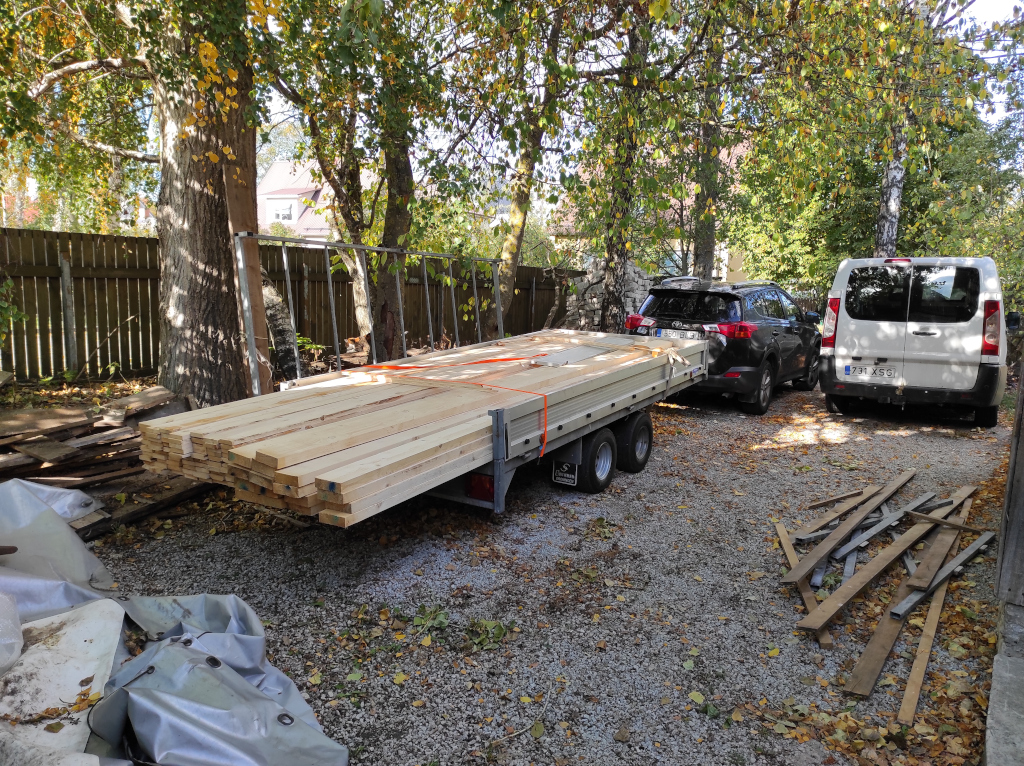
Meanwhile exciting times ahead. The new roof and solar panels have been ordered. It is always good to check prices. The wood Roofit had put on their estimate was much more expensive then i could get it ar Puu Market.
When they asked where I would order the rest of the roof and my reply was at the place that offers the best price, that part was also taken of their estimate.
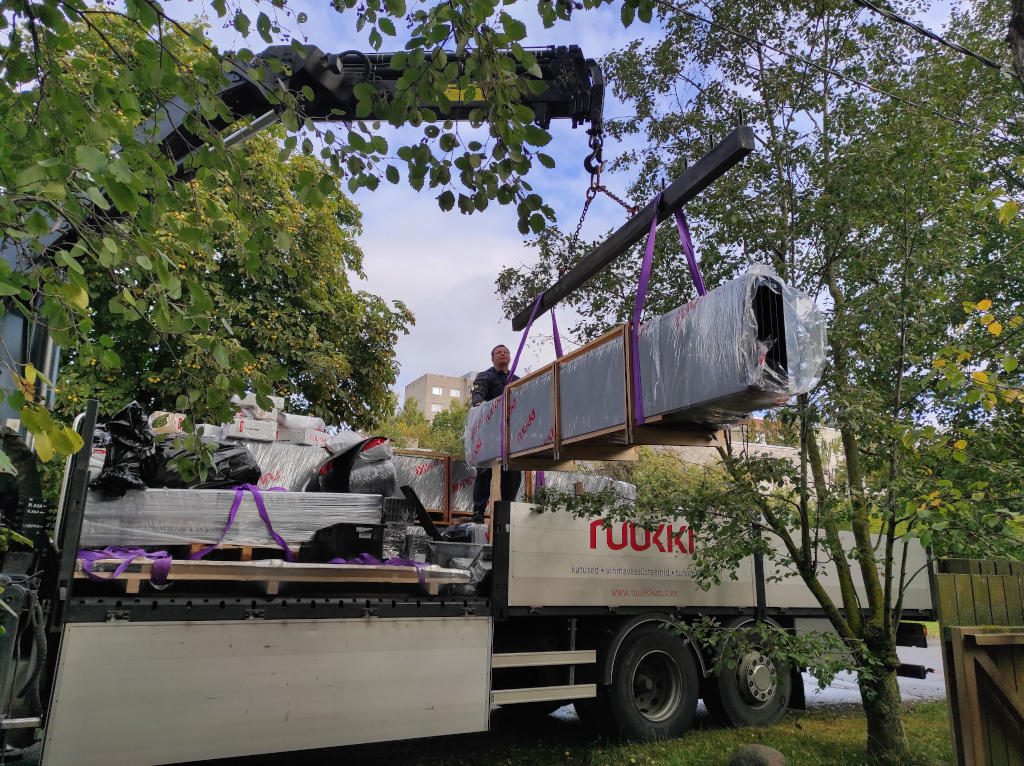
So I ordered the wood at puu market and the roof at Ruukki. I picked up the wood with the help of Martijn en Ruukki came to deliver the roof.
Exciting times!

Finishing the hallway

Finally we start on the wall papering of the hallway. It is always a very rewarding job and this time it is no difference. And with the wall paper in, painting the walls is a logical next step. We start again with the boldest colour. The dark blue completely changes the appearance of the hall way and the light green on the rest of the walls really is a finishing touch.
The cherry on the cake is hanging my grandfathers garderobe. I found a very nice plug for the LED lights my dad added to it.
The final result is catalog worthy.

We decide not to put in the floor yet as we still have some breaking to do in the studio. For this we have the help of Glenn and Anton. Especially Anton seems to enjoy breaking the ceiling out. All breaking is done in one day. So time to create a new ceiling and put in the walls.

Painting the small hallway

To stimulate getting back to work, we decide to paint the small hallway, in the bright green colour we picked. It turns out amazing. Already after the first layer it looks great, and after the second layer it is clear.

We made a very right decision picking this bold colour.

Change of plan

The hallway is about ready for wall paper and paint. Mo asks if there is a way to get a closet in the hallway. The only wall that would fit a closet was reserved for the garderobe my grandfather had made, but after some brainstorming and trying around, we find the garderobe actually fits very nice above the radiator.

This means, I have to make a last minute change in the electrical system for the lights. The fact I have laid all electricity in pipes pays of now and the change is easily done.

Plaster the ceiling and a spotlight

The new year starts with plastering the ceiling. With all the practice I have been getting, I’d say I am getting pretty good at it.

We pick the final colours and decide on a bold accent colour in the form of dark navy blue.

Meanwhile we find a nice spot light for the couch area of the room. Amazing how the right light can improve the atmosphere in the room so much.

Walls in the hallway and colours

With the ceiling in the hallway in, the last walls can be placed. And the the time comes again to find colours. As we have picked a very bright green linoleum floor the hallway should also be bright. Possibly light green. We check some colours at ABC to let it sink in.


Later in the month I spend some time filling the connections between the plaster plates. And I build a rig to sharpen the circular saw blades.

Start on the hallway and some Zigbee

November passed by quickly towards the end of the month I got back to renovating. It was time for the hallway. I pulled some last pipes to the studio where I can later on put data cable through and then we started by putting the ceiling plates in. Since the hallway only needs 3 of those large plates I didn’t rent the lift, but without it, it sure was more effort. Good thing Hendrik showed up at the right time to lend a helping hand.

The next days I finished the walls, what a different view!

In between I also received a CC2531 Zigbee USB Dongle. Since Ikea uses Zigbee for it’s home automation hardware, this would be a better solution to connect the Ikea stuff to my home assistant. The setup was pretty straight forward. Ik updated the firmware of the stick, installed zigbee2mqtt in my home assistant and started discovering the lamps, switches and other tradfri items. I soon got a nice graphical overview of the mesh network formed by the zigbee units. I created an automation for the lamp in the living room to turn on before sunset and turn off at 23:00. Getting the dimming function working will take some more effort, but that will come later. It is nice to see how home assistant lets an Ikea tradfri switch turn on the WLED installation in the bathroom.

Changing around a door and light

Ever since we moved into this house it boggled me how the door of the living room and the studio constantly bumped into each other. With the kitchen and living room mainly done, the hallway would be next. The first thing I picked up was the door of the studio. With a bit of checking out how it was put in, it was pretty easy to take out the frame as well.

When this was done I turned it 180 degrees and put it back in. This sure is one of the things that when it is done you ask yourself why you have not done this before. It made total sense and it felt like it never had been any different.

The last thing missing in the kitchen was the light over the counter. The missing piece was a wire between the adapter and the lights. It has a very specific connector, so it would not be easy to connect the otherwise. After enough patience and checking on several European Ikea stores, I found them in Berlin, so I contacted a friend in Berlin to get a few wires and send them. They finally came in and this really finished the kitchen. Not a week to early as the night are starting early these days.

Walls in and out

In between the insulation I also put PVC pipe in the wall for the electricity cable before closing the wall with plaster plate. Once that was done Mo and decided it would be good to take out the wall under the roof to create more visible and practical space. This went pretty smooth, after that Martijn came to help and put in the plaster plate under the tilted part.
With this in it was time to start building the wall that would divide, the room from the stairway, as part of the wooden wall that would be staying was 13 cm think, I opted for 2×6,5 cm metal studs. This turned out nicely and made a smooth surface with the existing parts. I also put in a little ceiling in the hall ways so the chimney sweeper hatch would be easily accessible.
In the mean time Marc helped to take out the wall that had been closing the stairway from the downstairs wall way. More air and visible rest. Mattias helped taking out the nails and sorting the reusable parts and future firewood.

Spelling error report

The following text will be sent to our editors: