
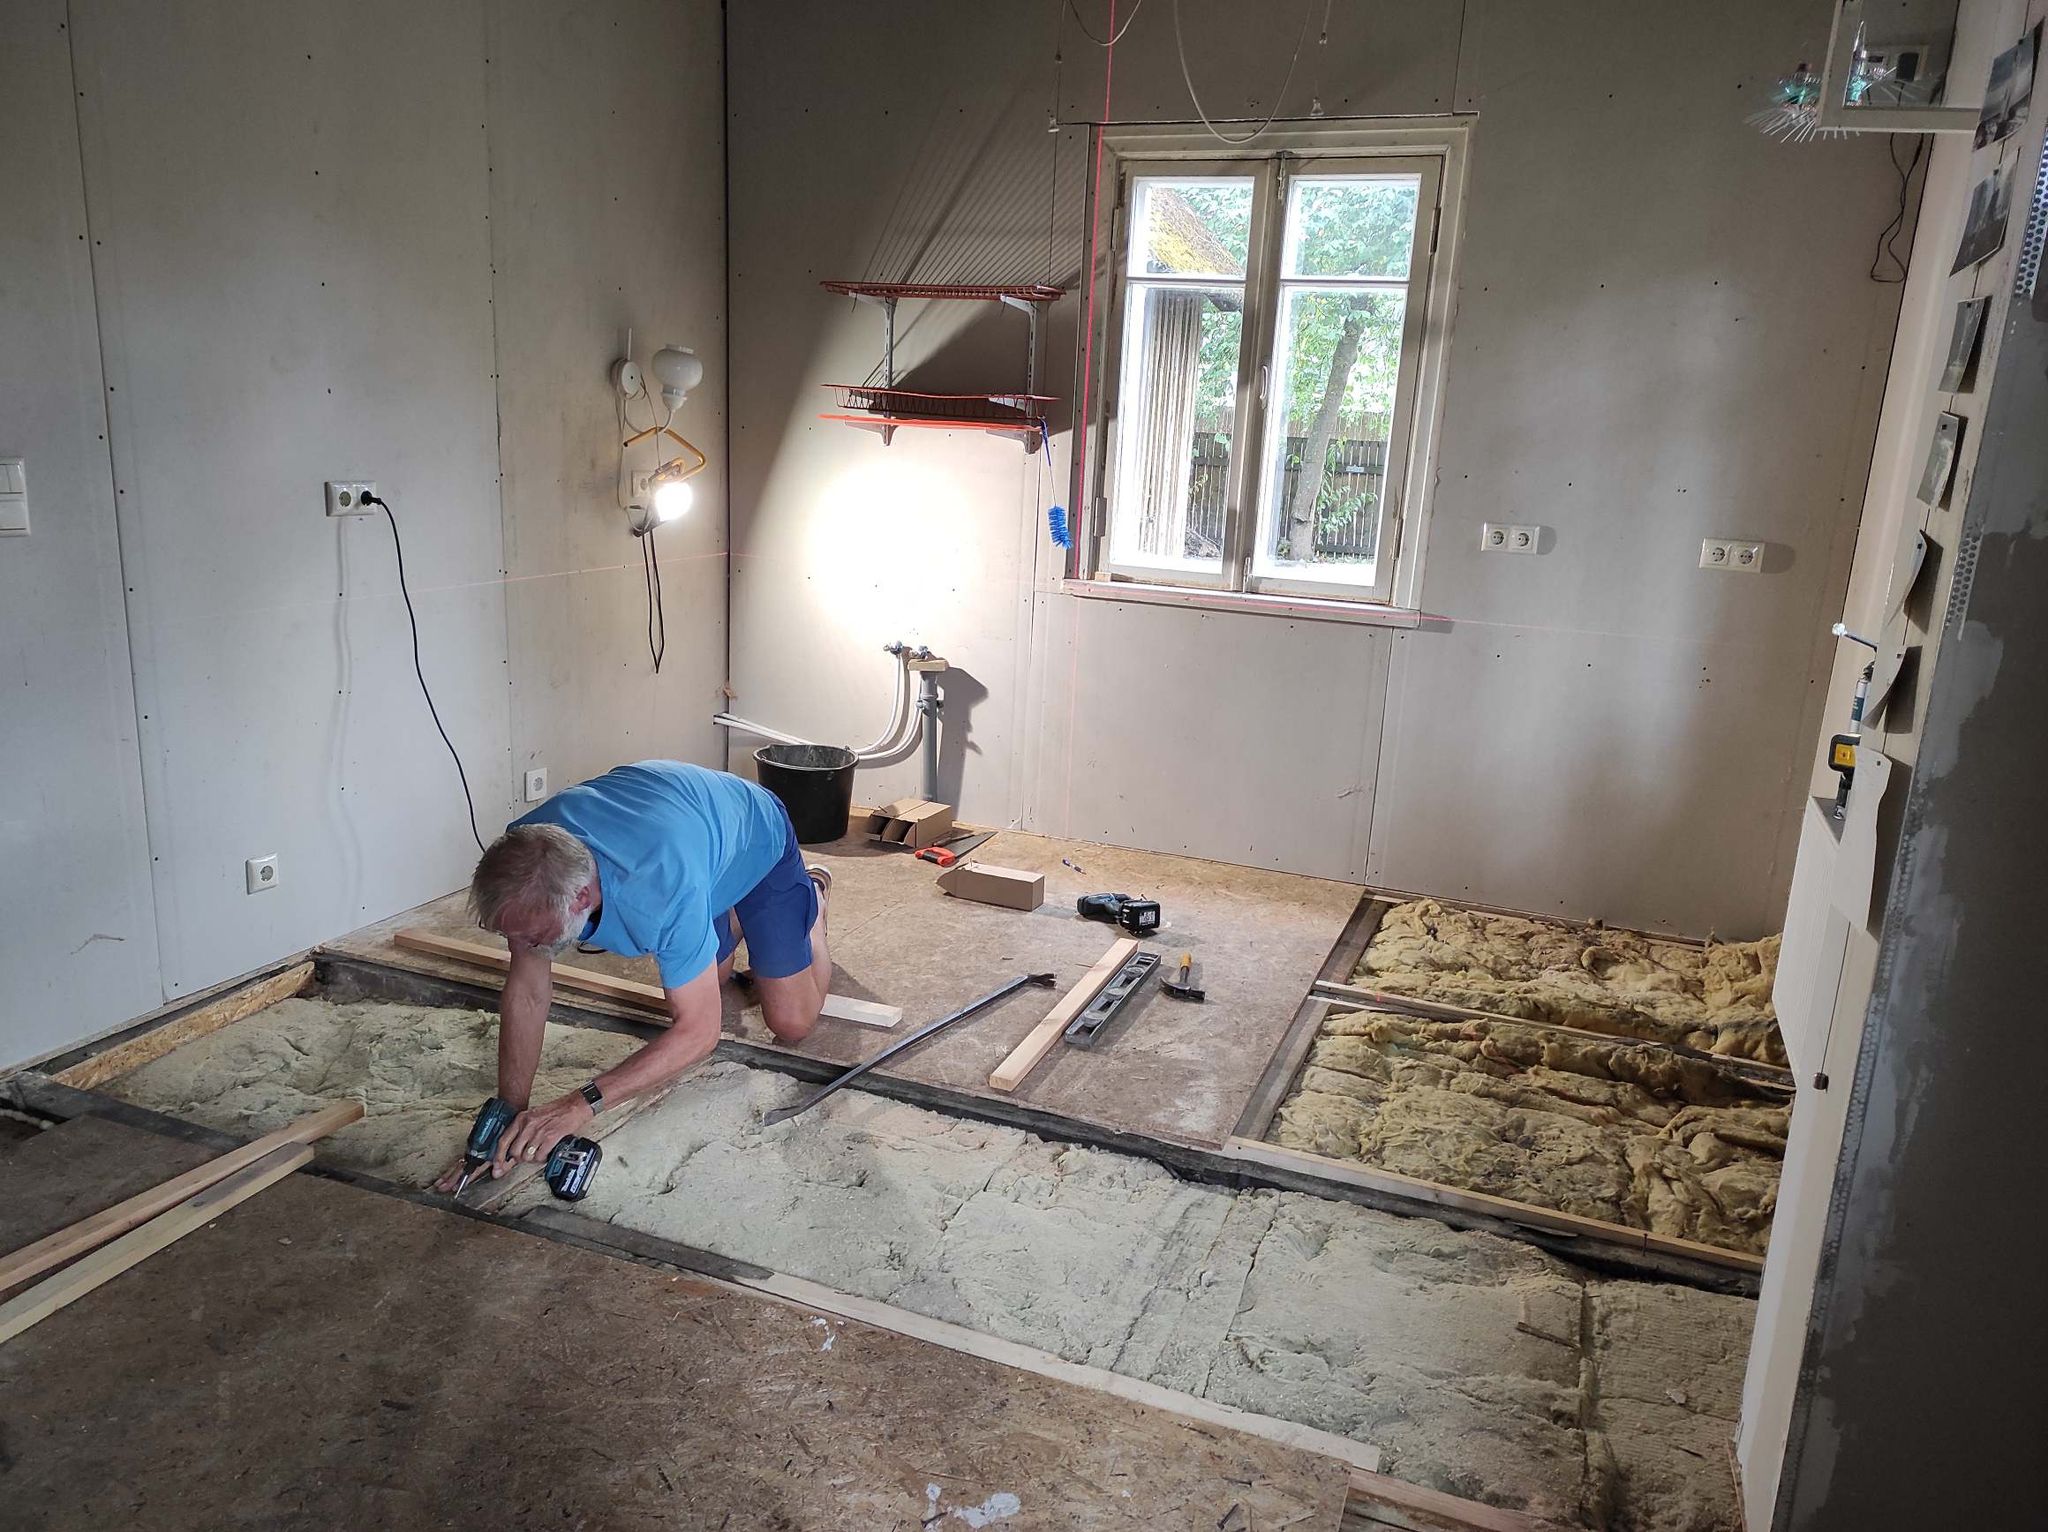
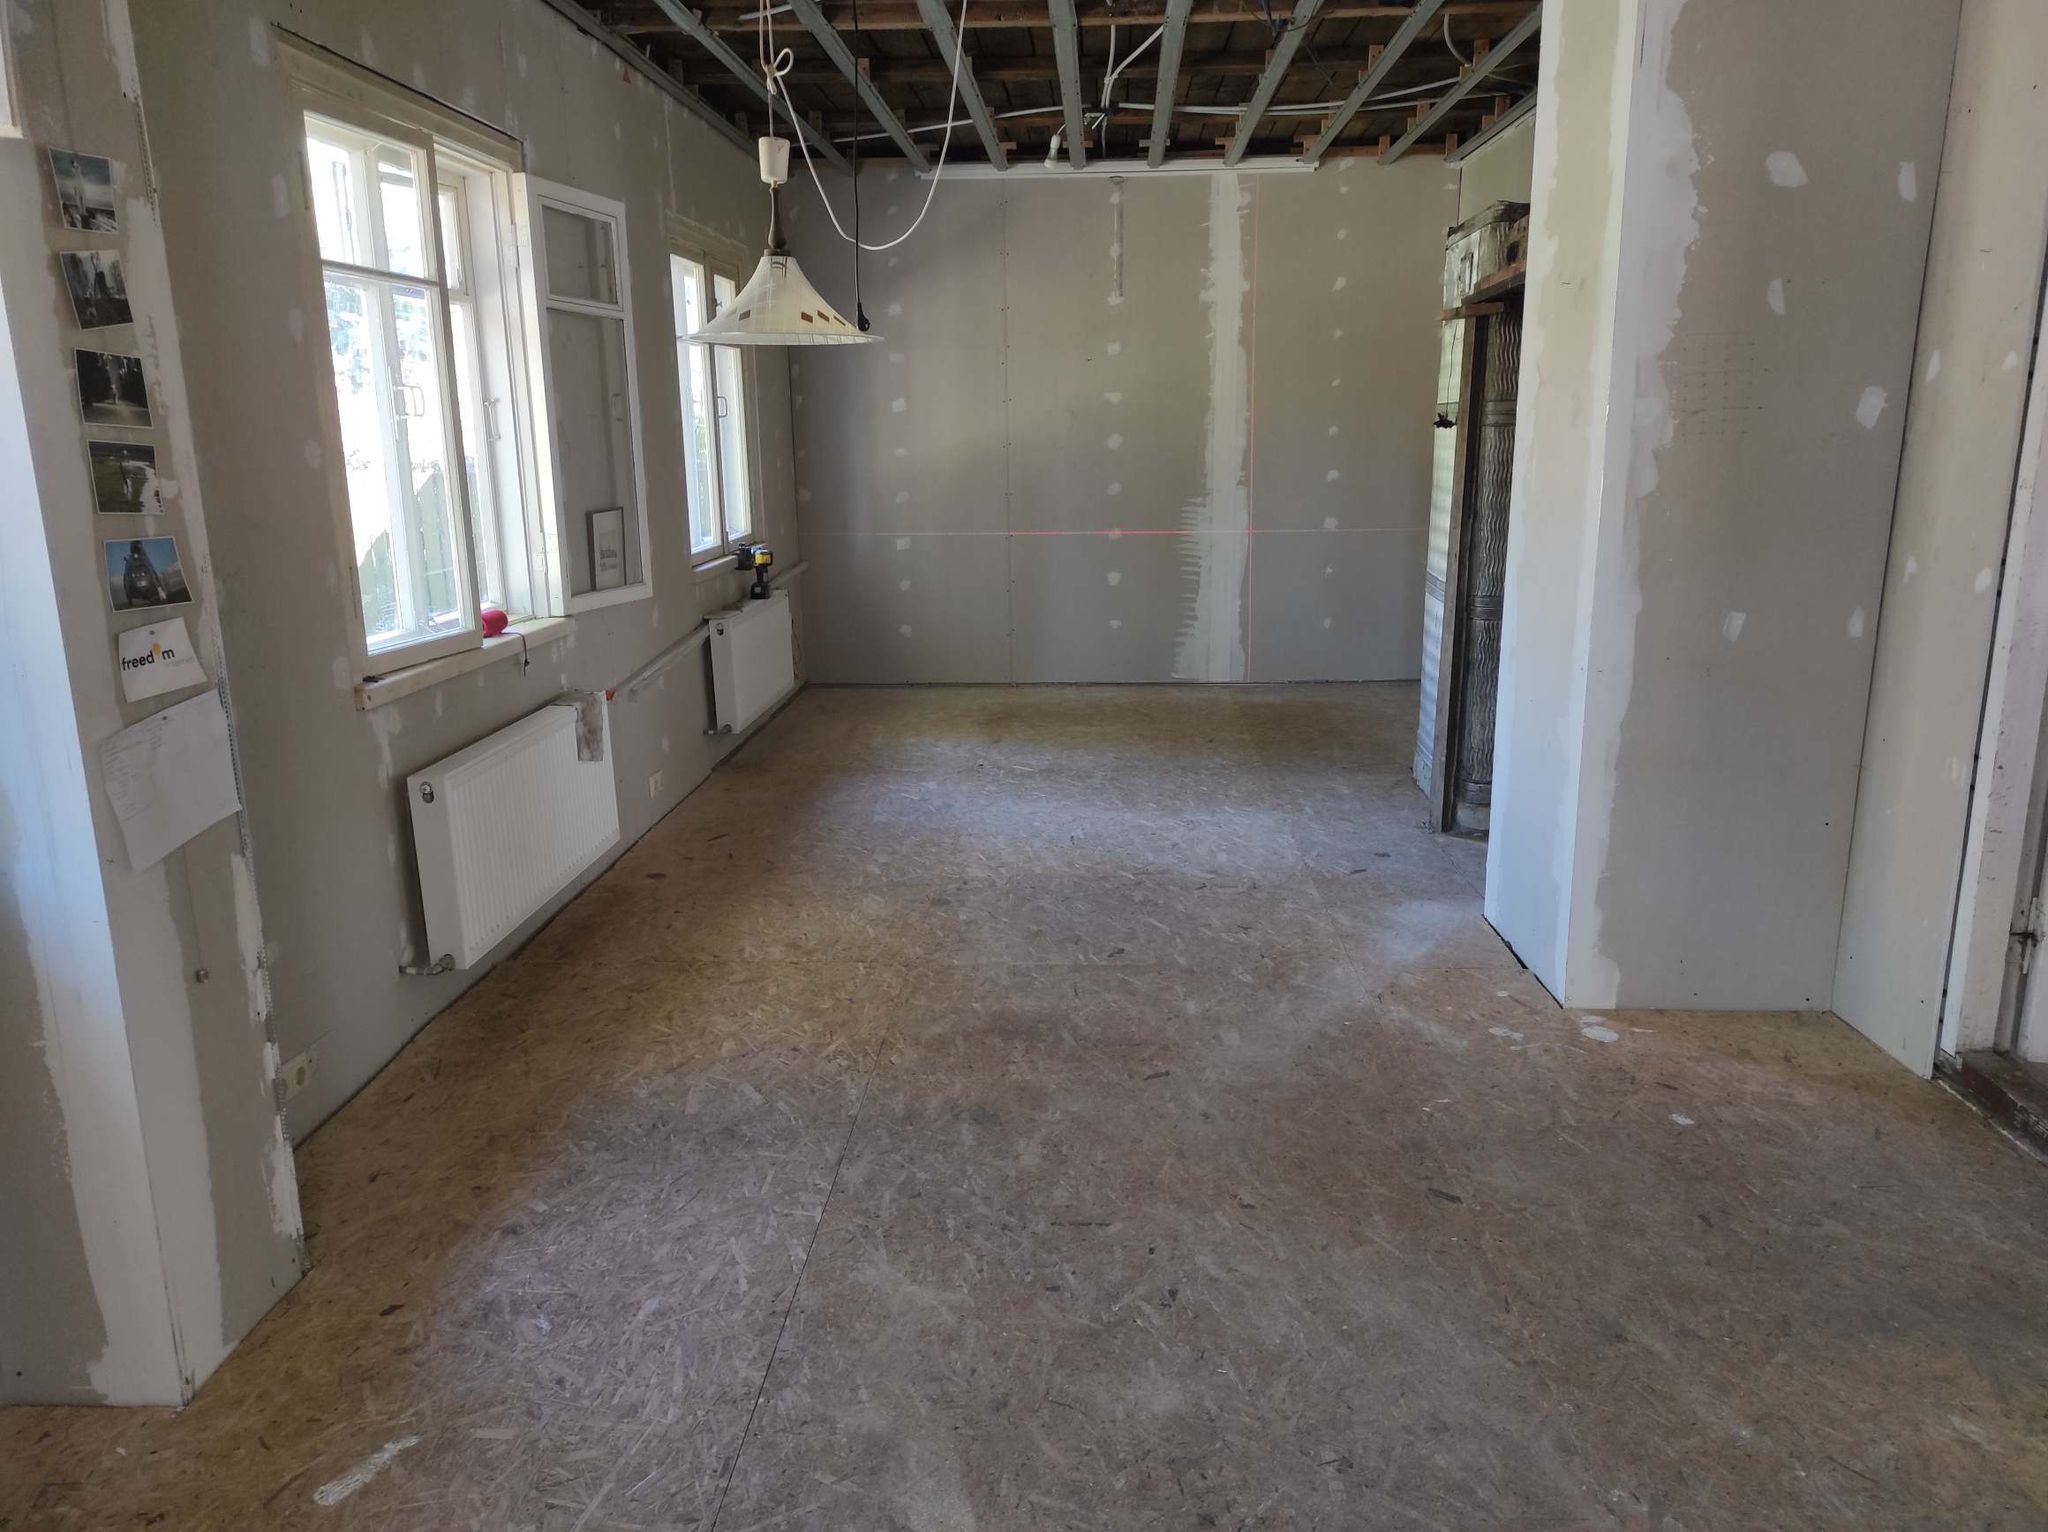
The first project my dad and I planned to do was to redo the floor, straighten it out an take out some of the of the movement we noticed in some spots. We planned to replace the OSB for a thicker version, but with the prices being threefold of last year, we decided on different solution.
First we took out the floor and then we had to find the highest and lowest point of the floor. With the laser and a pole this was relatively easy. We found the difference throughout the room was about 5 cm. Especially in the middle of the room the beams seem to have bend over the years.
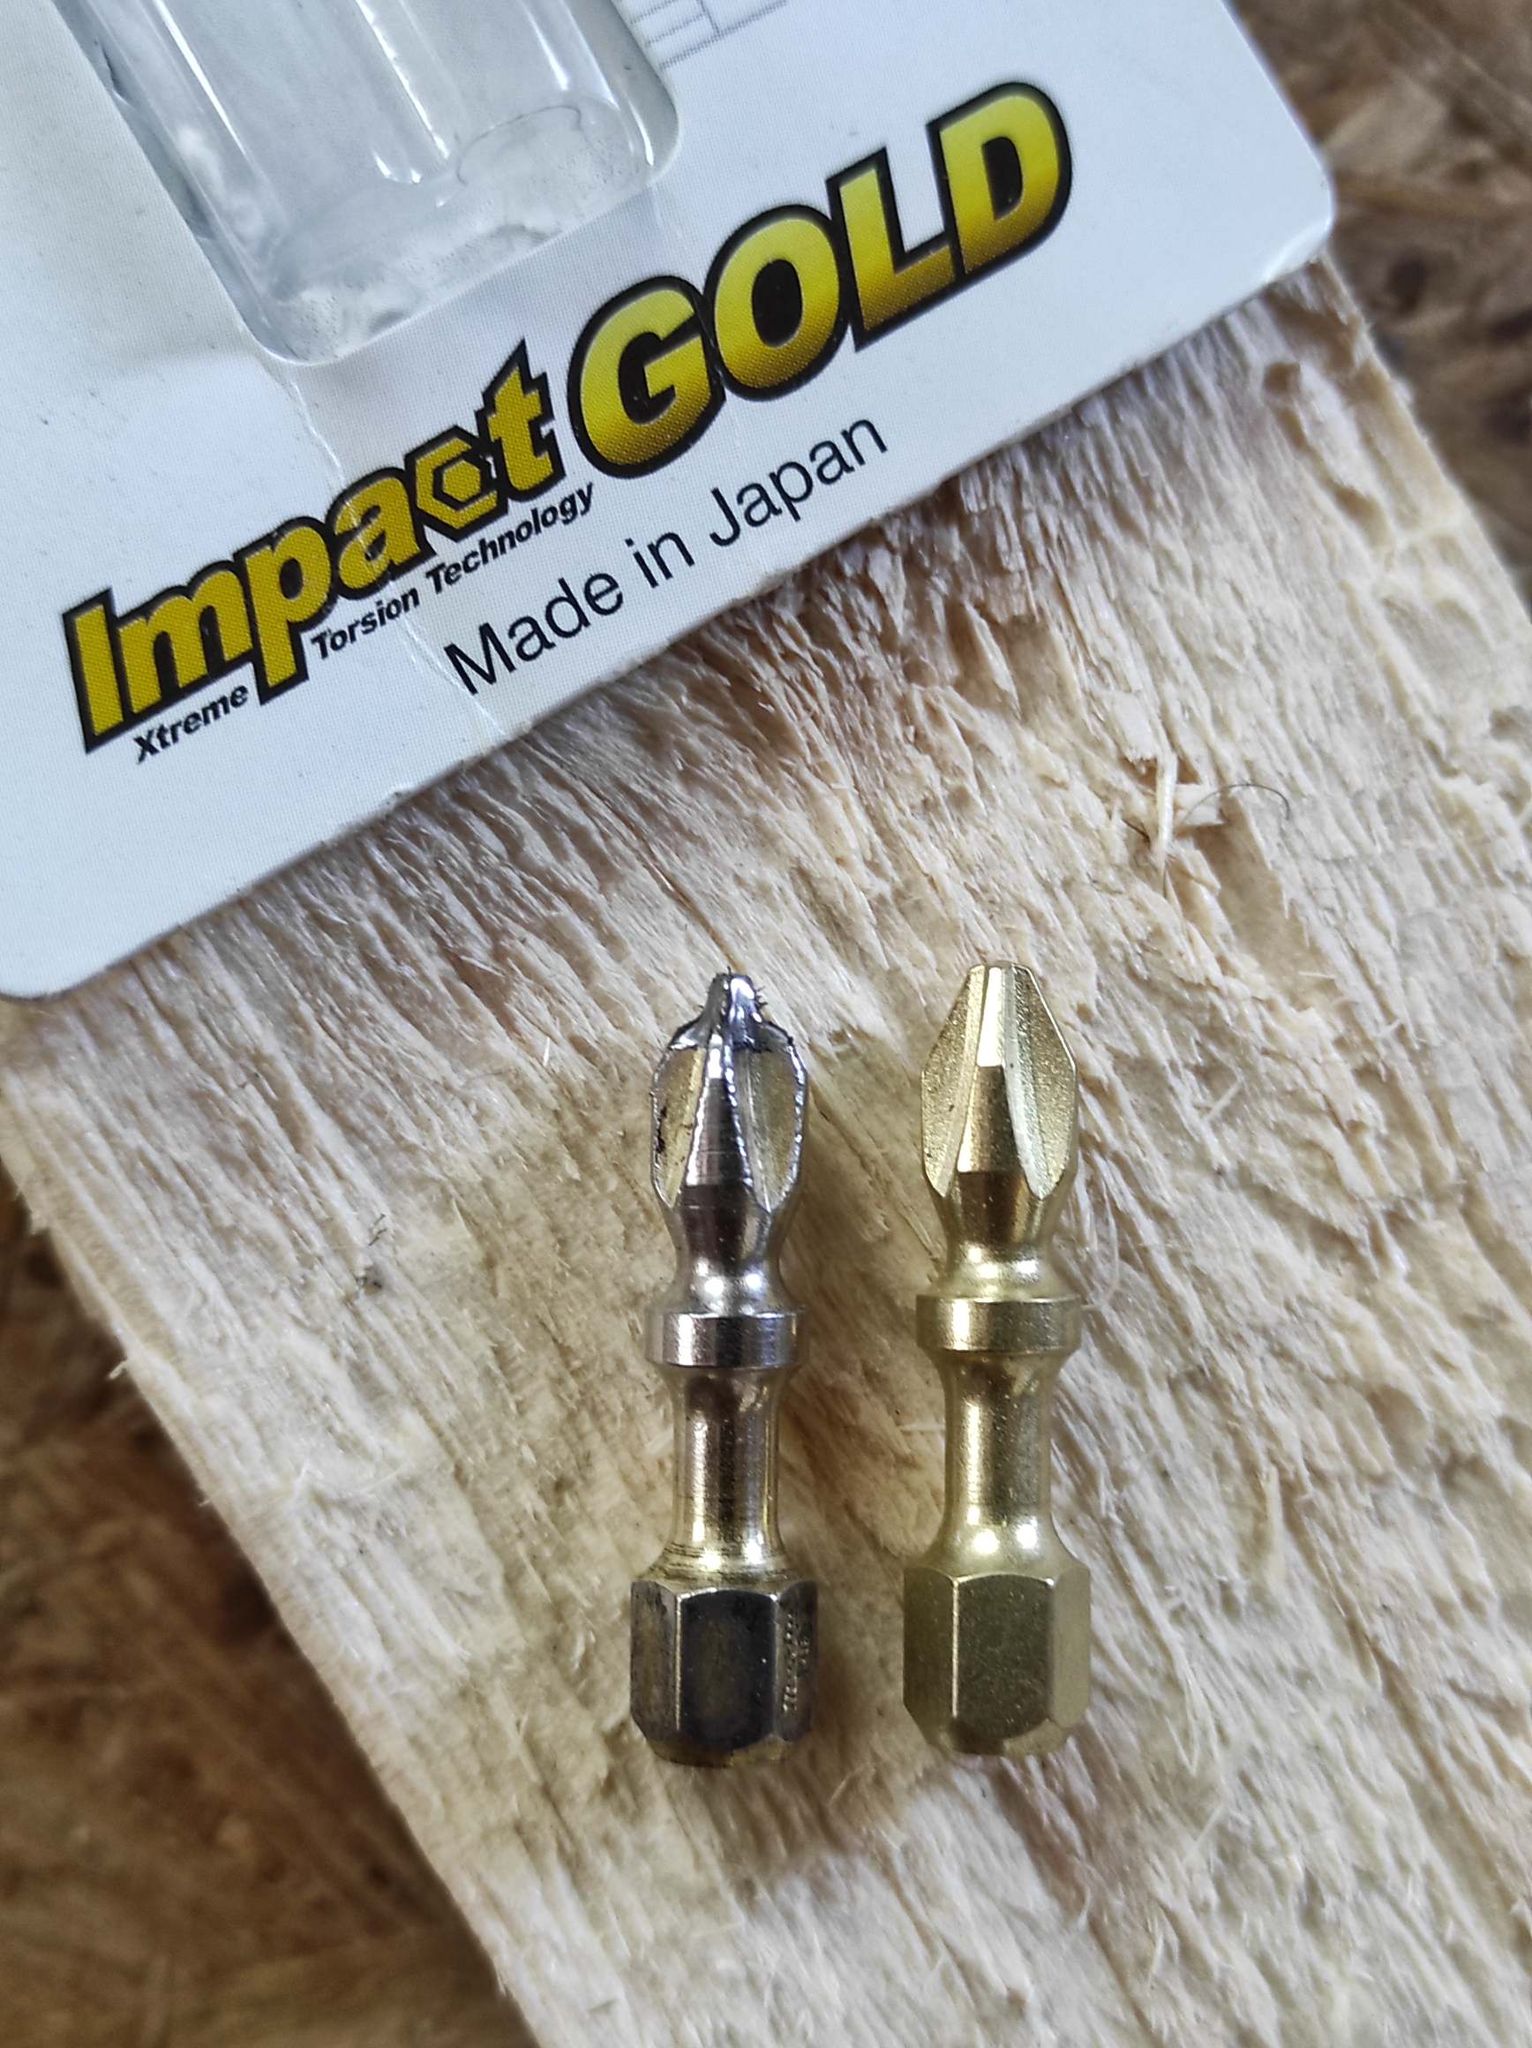
We got straight wood and screwed this to the sides of the original beams. In between we place cross beams to strengthen the floor boards. After this was done in the kitchen area, we got the hang of it. After about 6000 screw the more expensive Makita screw bit was warn out. It sure proved it was worth the extra money. All in all it still took almost a week to replace the floor, but the result was very satisfying.
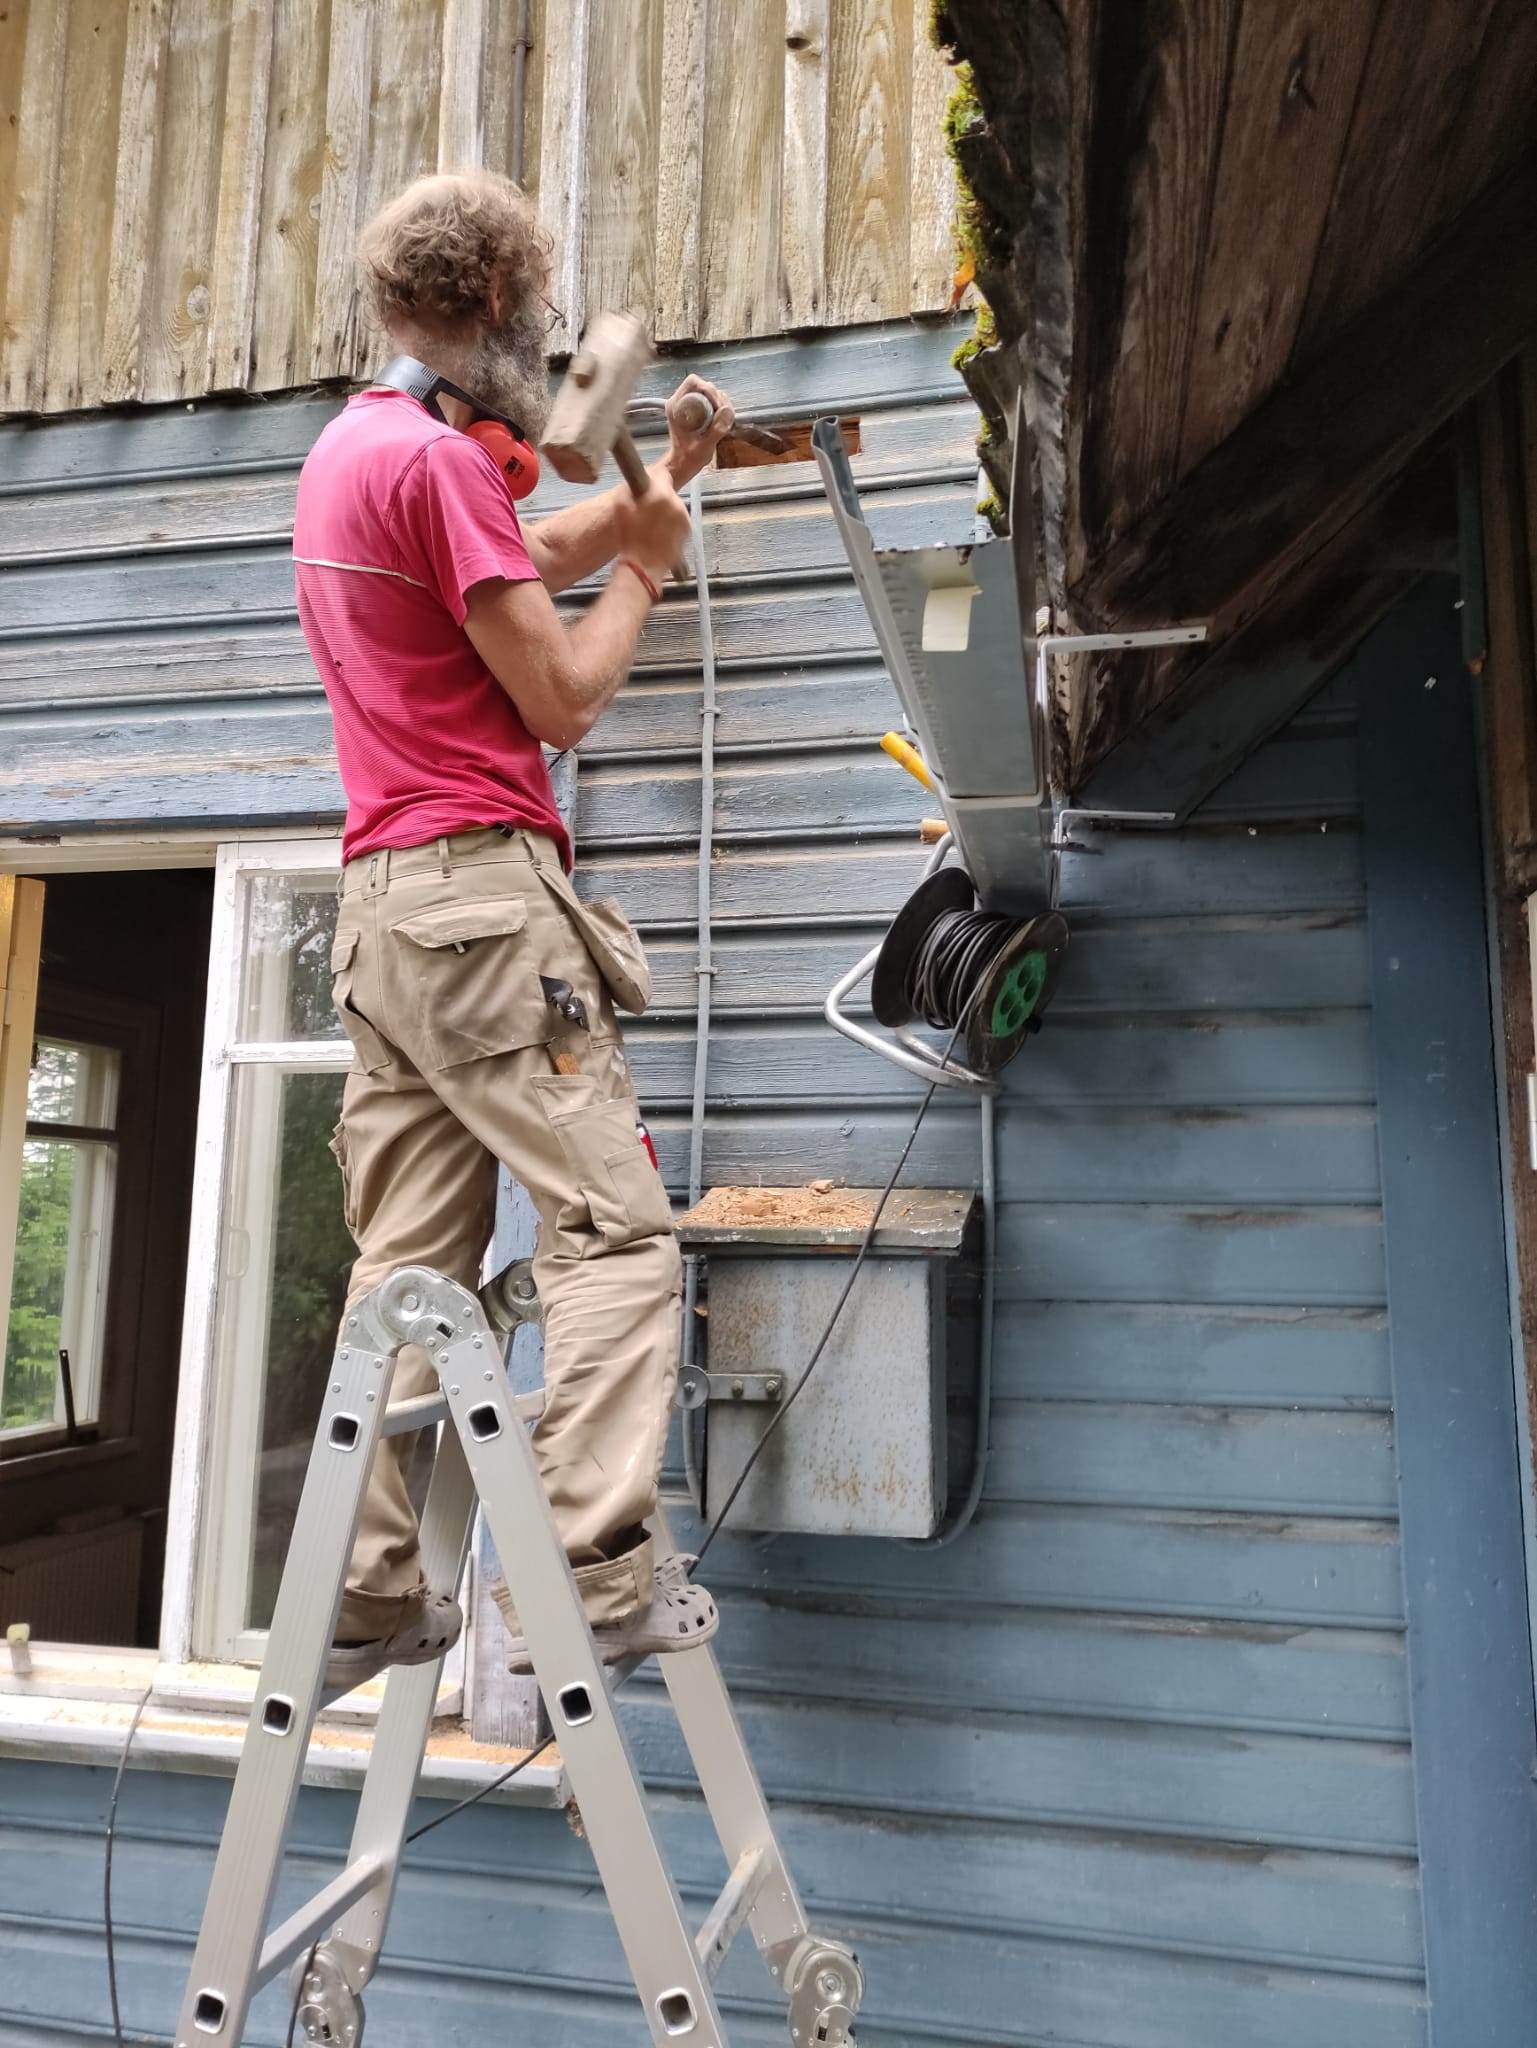
The next step was to create an air duct for extraction hood in the kitchen. After some careful consideration we create it with 1 90 degree angle in it so the exit would be a bit away from the roof, as in the winter snow would otherwise block the exit.
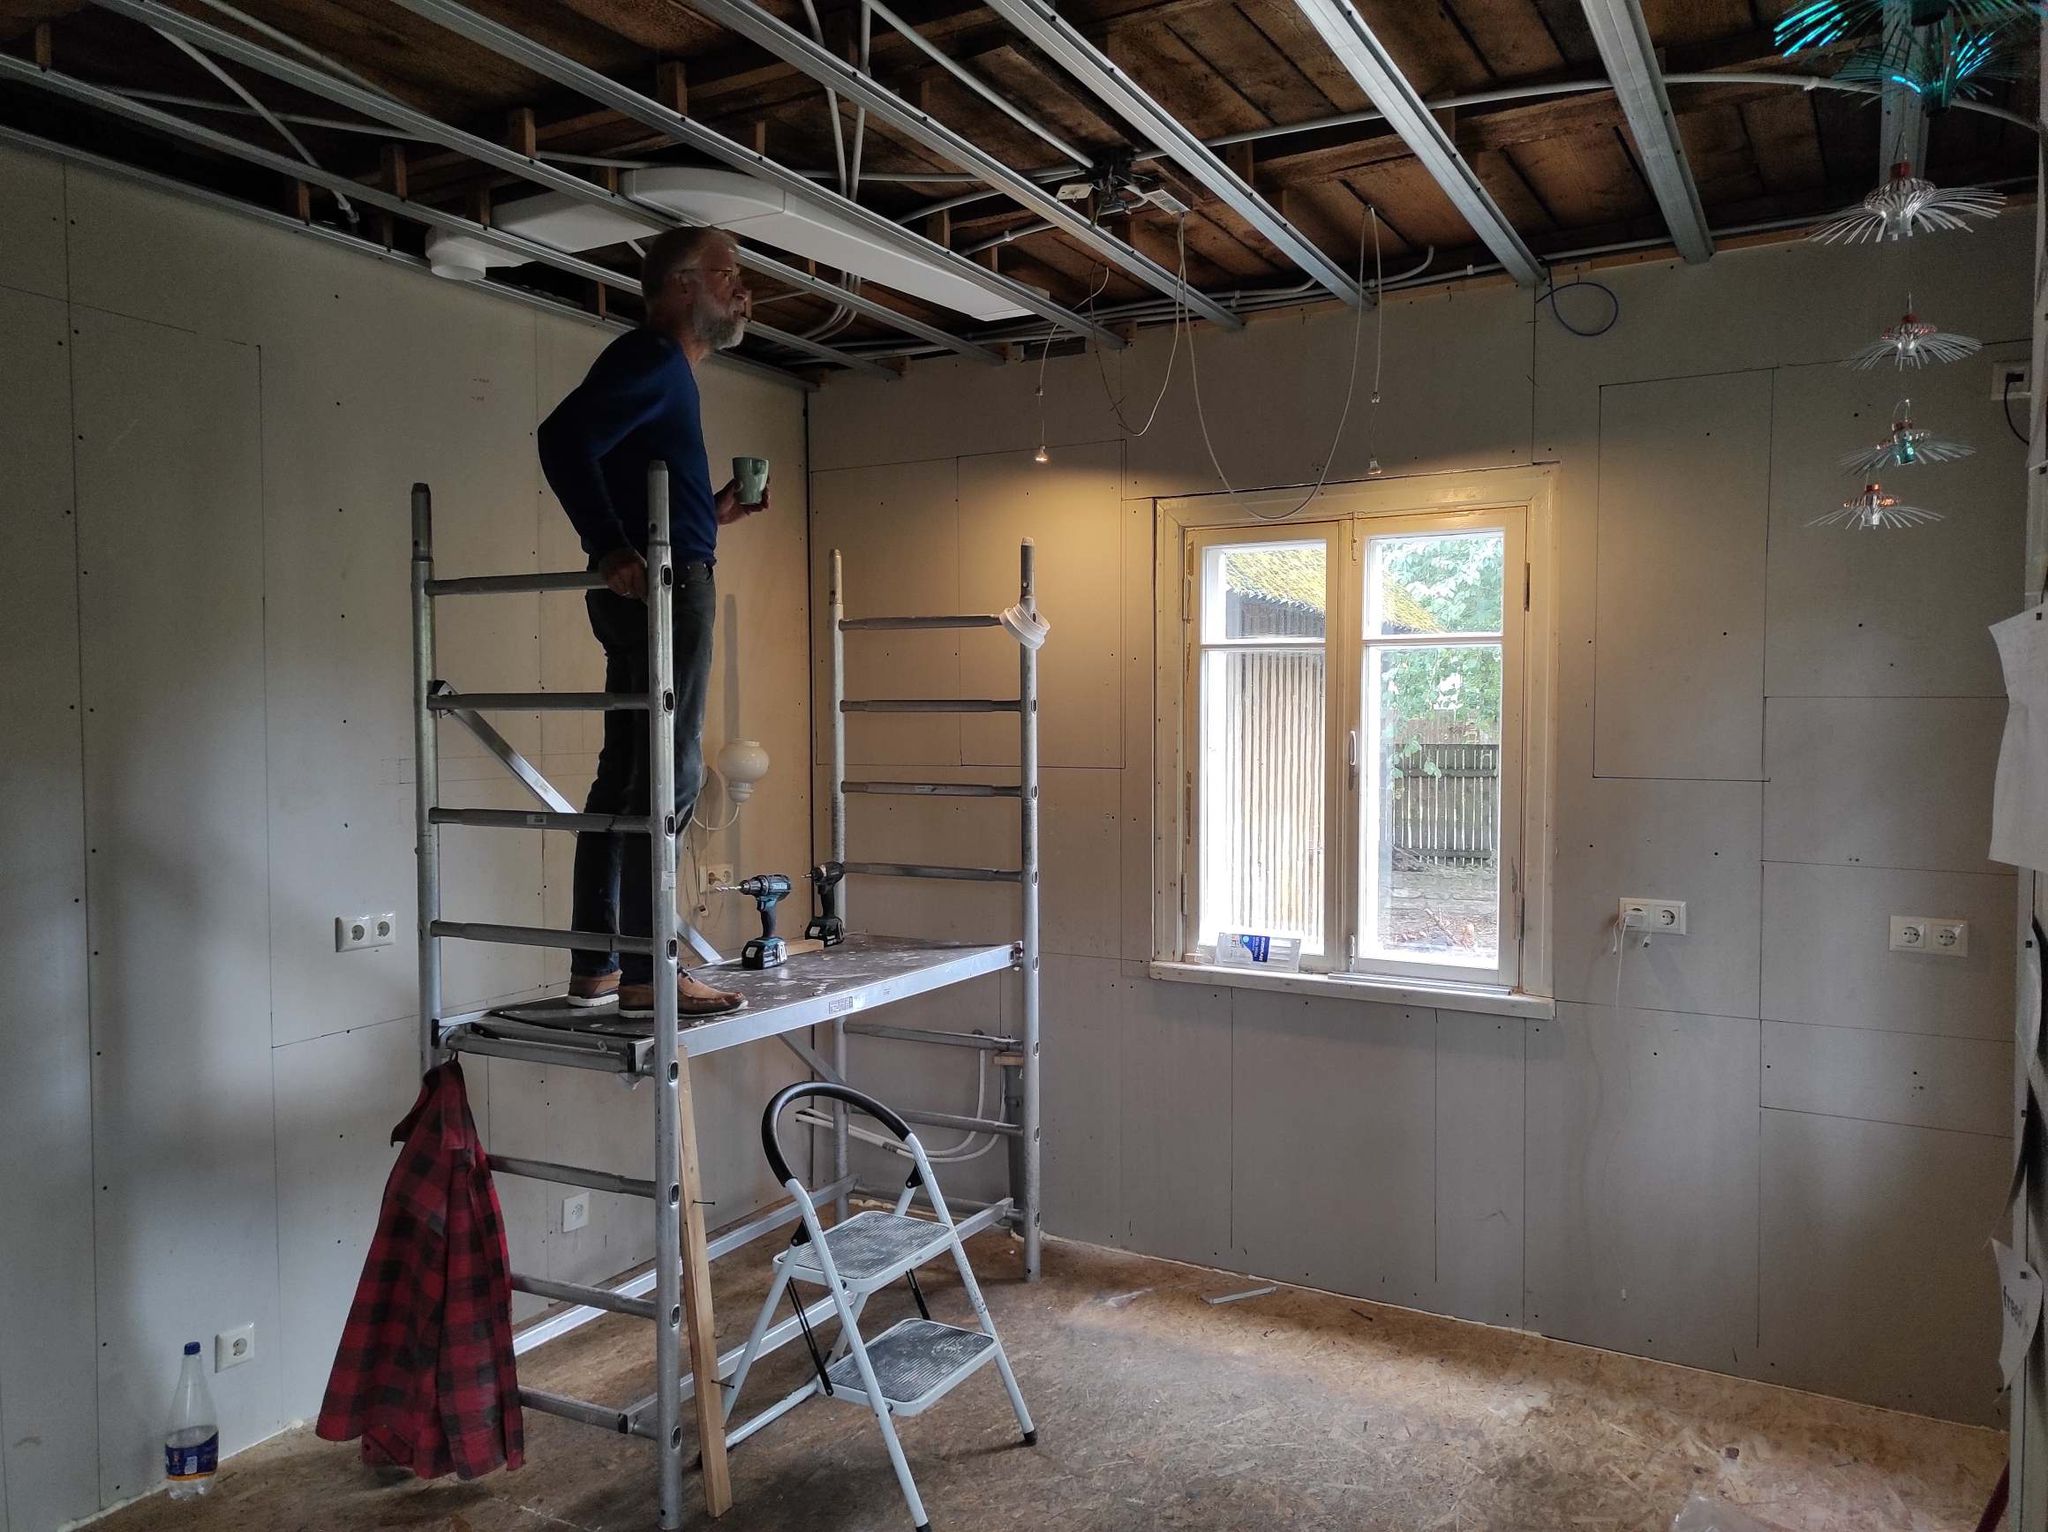
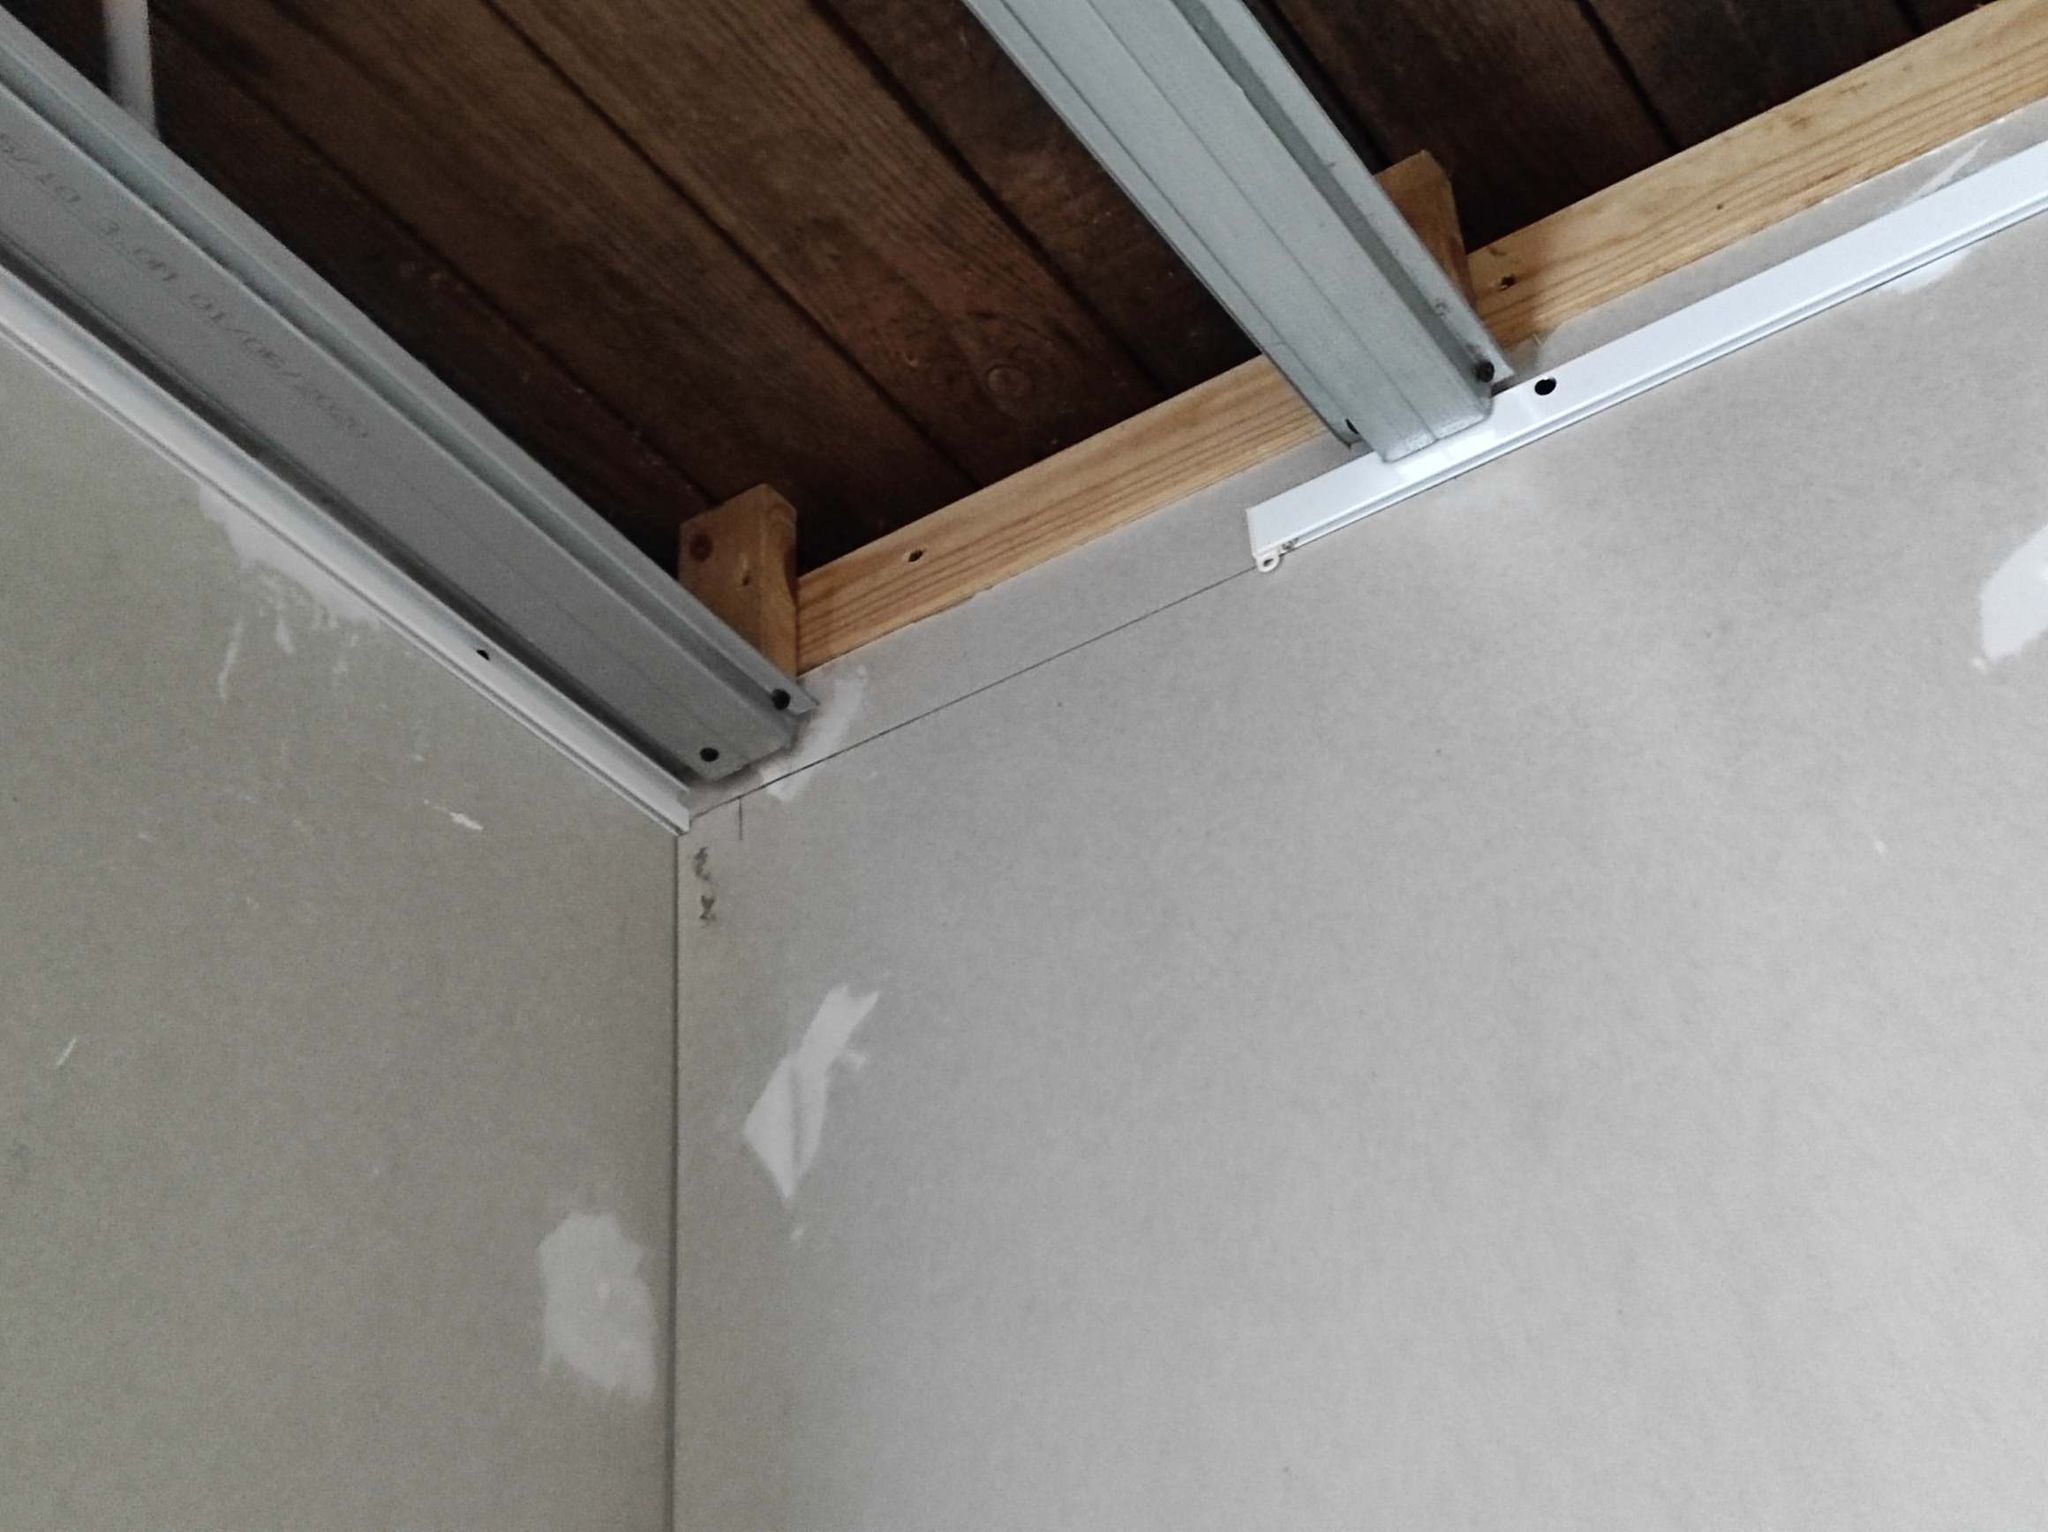
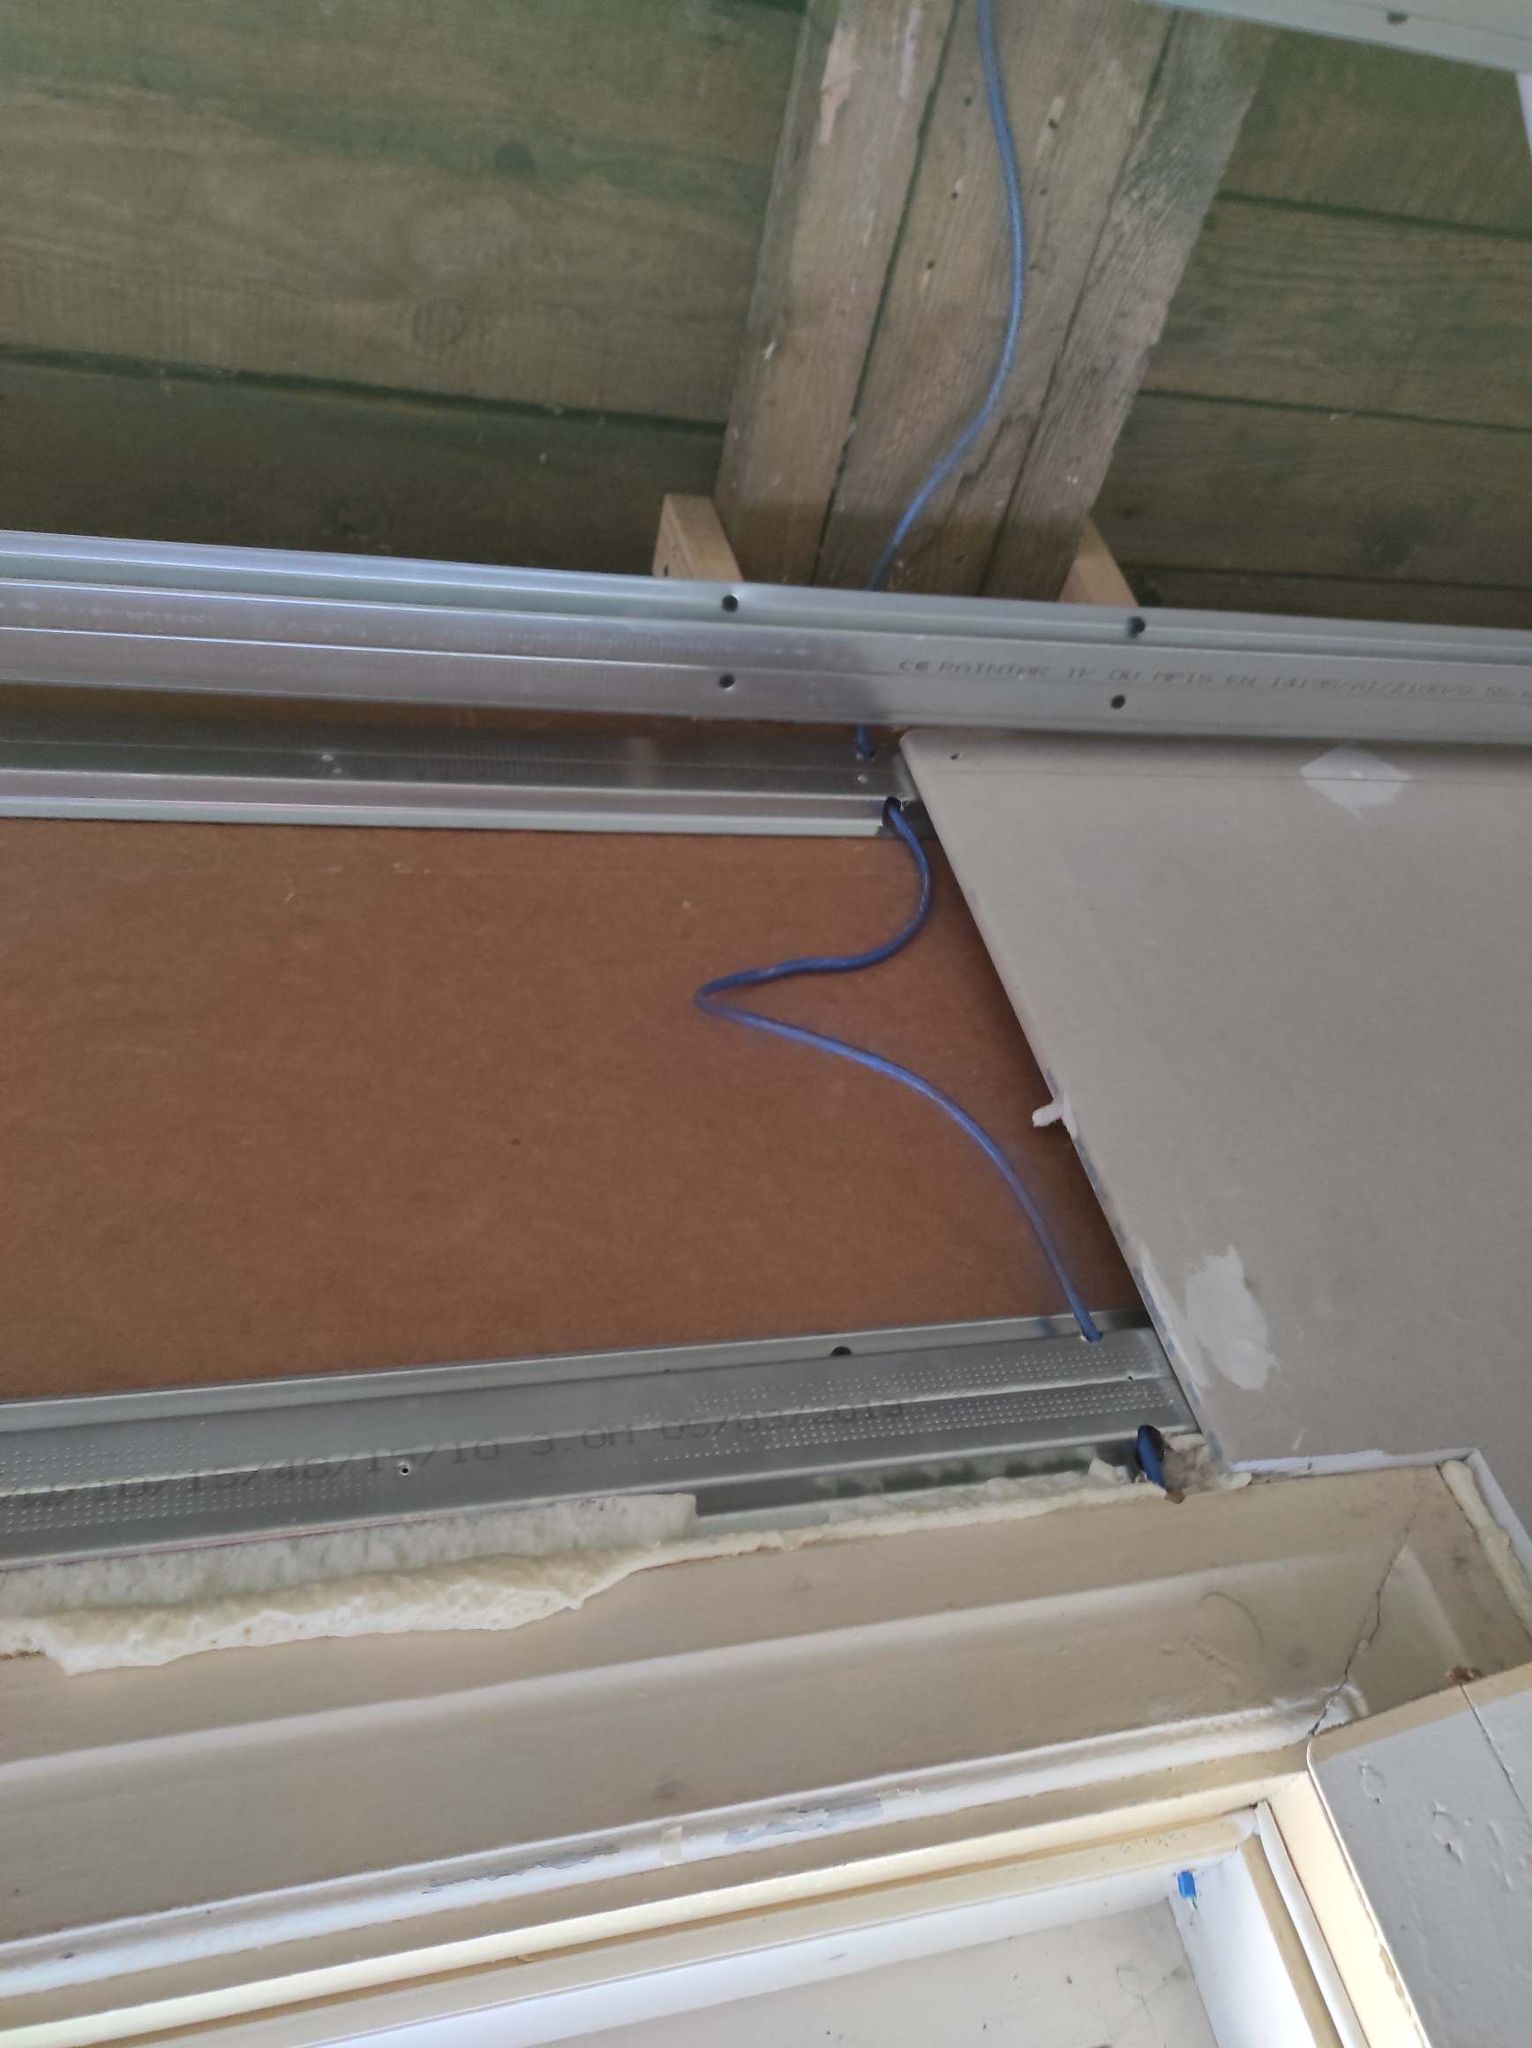
As I wanted to have gallery rails to hang painting from to be flush with the ceiling, on other job this week was to put these at the correct height. This made me realize it might be a good idea to run some cables to the windows in case in the future I want to create automated curtains. A small job now, hopefully it will be useful in the future.
Towards the weekend we got a message from Ikea that most of the kitchen was in. With a bit of logical loading the van held the entire kitchen and even had a bit of left over space.


Spelling error report
The following text will be sent to our editors: