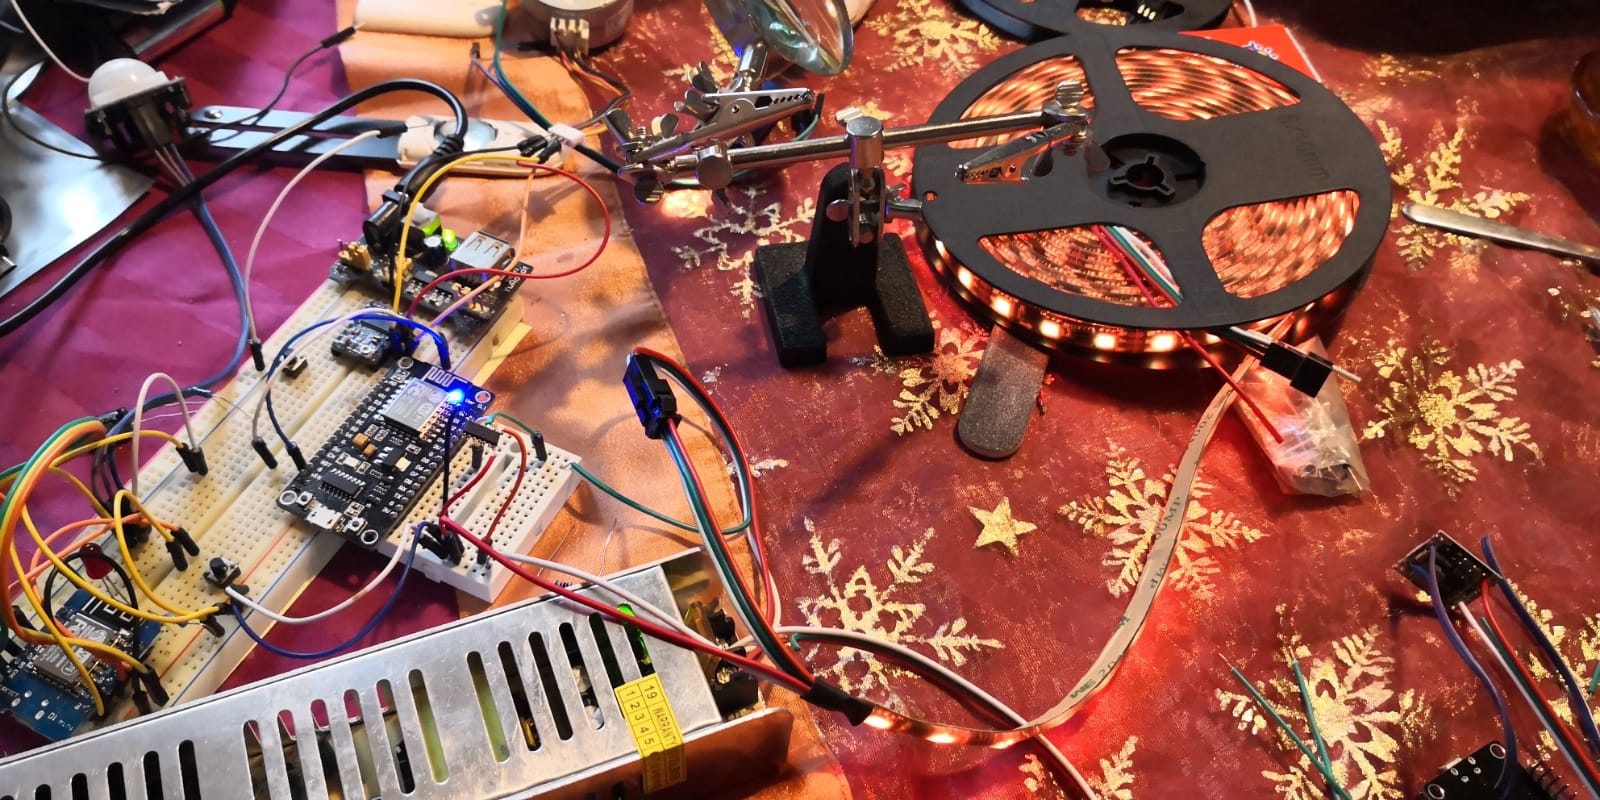
Once all the metal studs where put in, I could put in the vertical parts to create a light cove. When this was done, I could put in the LED strips and connect the power supply and QuinLED. After a quick test run it was time to put in the ceiling plates.
With the help of Mo and Mattias we put in the 4 plates, which went pretty smooth. On to the plastering and painting.
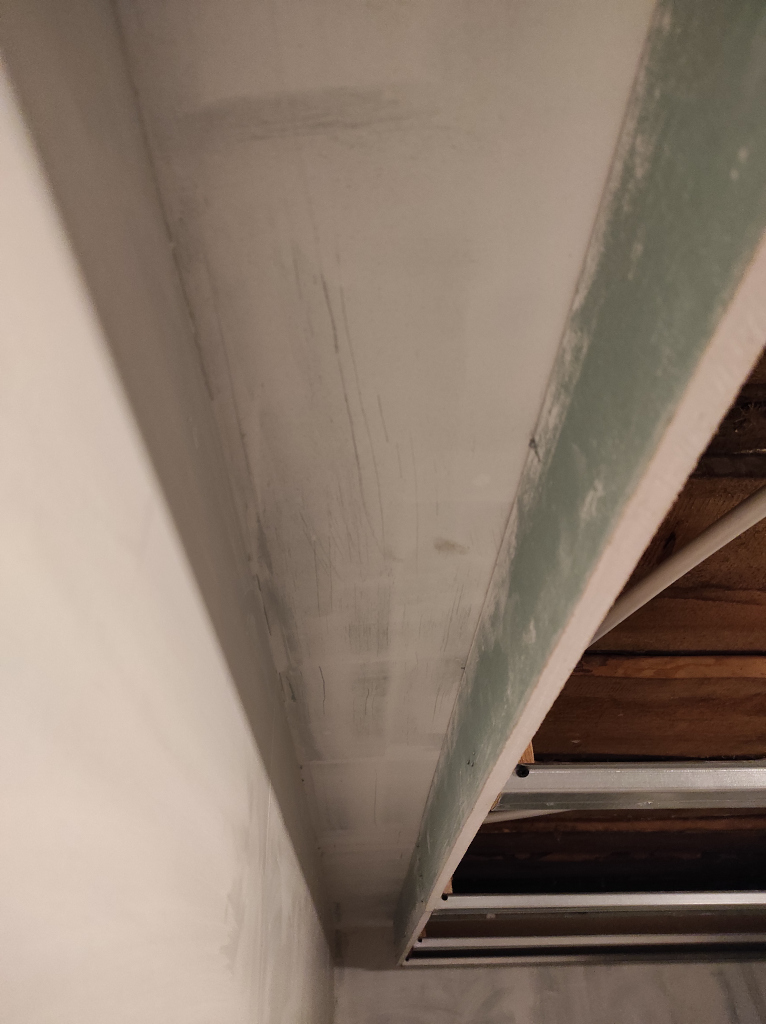
The light cove 
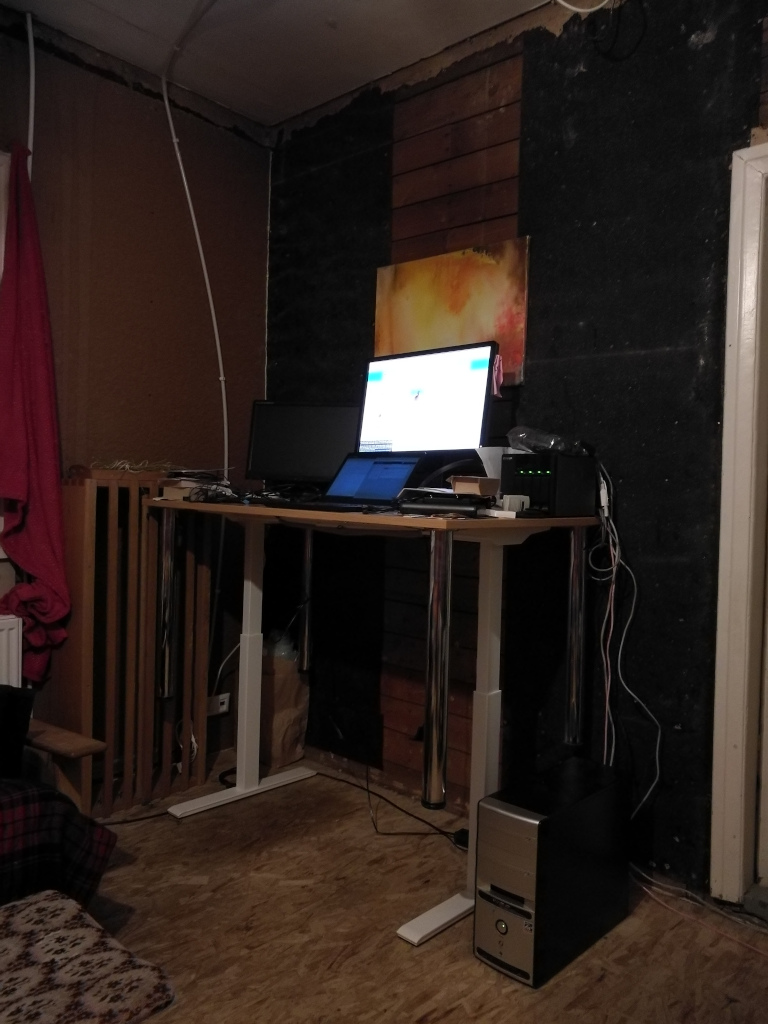
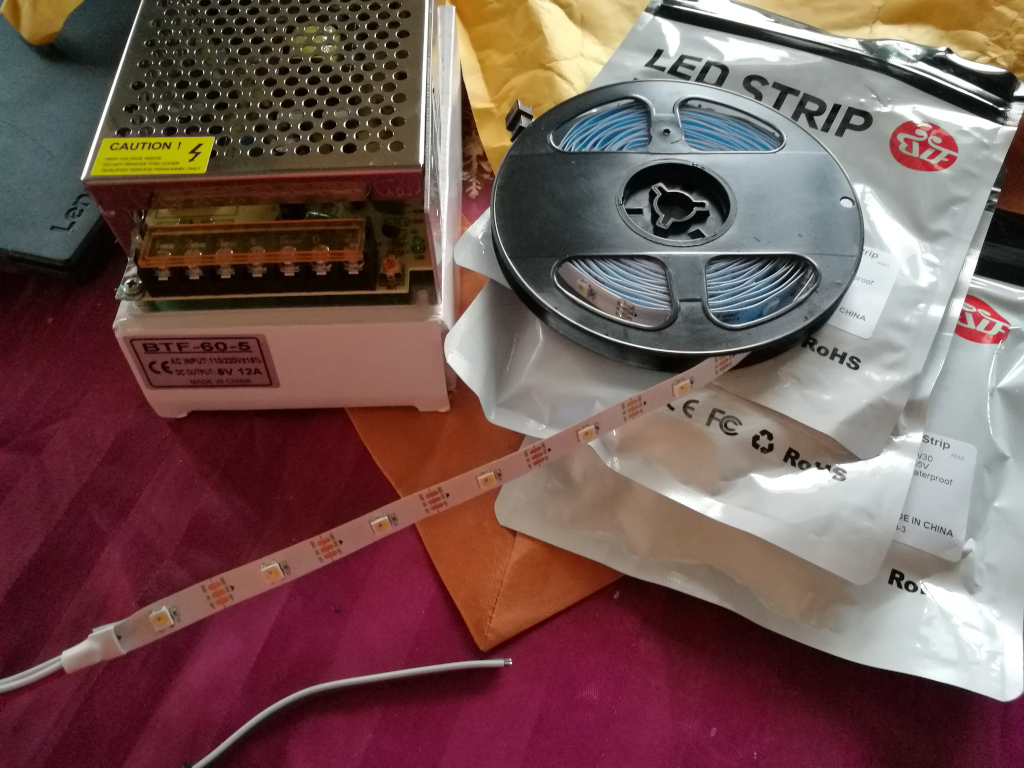
Powersupply and QuinLED 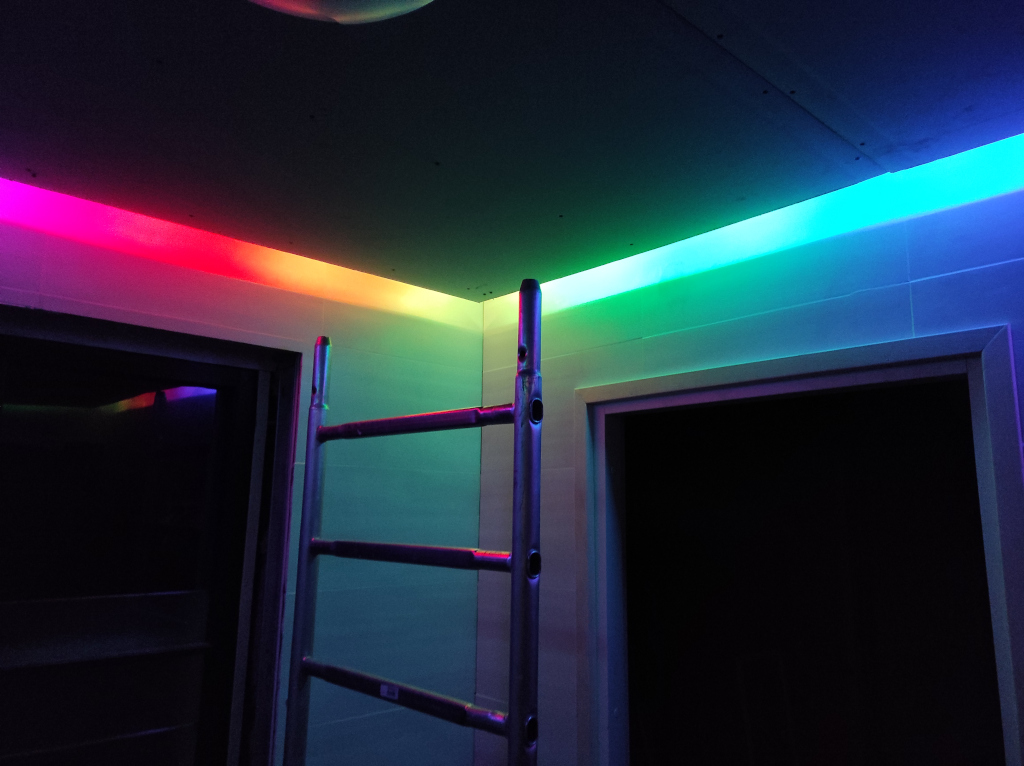
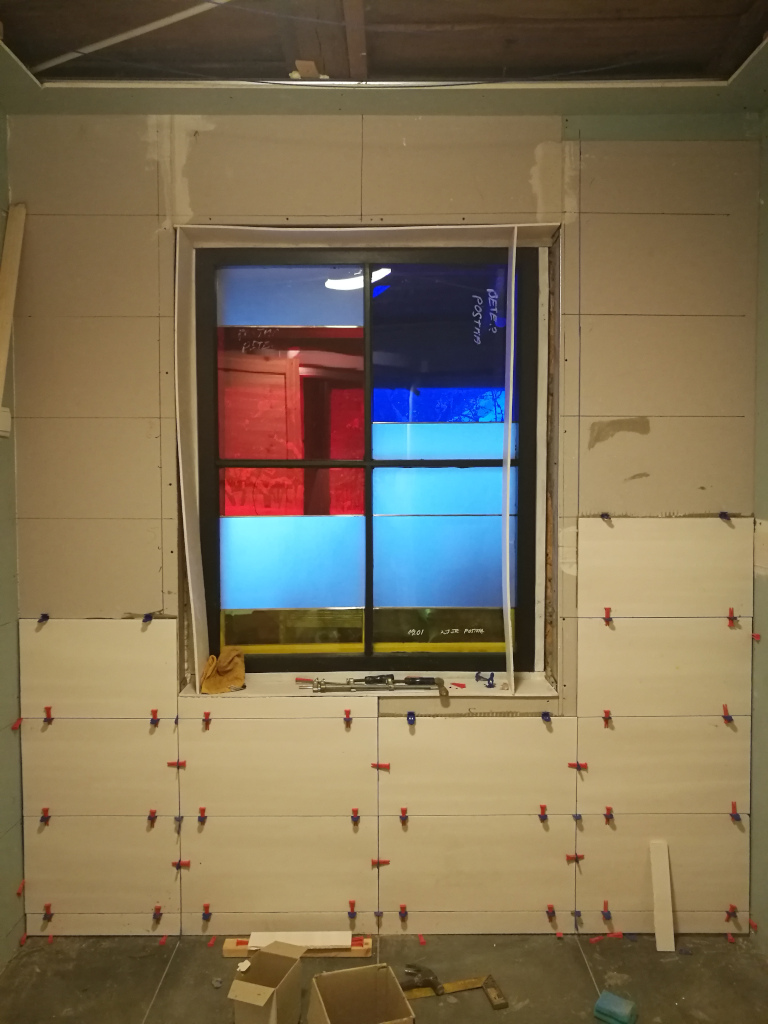
Test run, as if a unicorn farted 🙂


Spelling error report
The following text will be sent to our editors: