
Time is ticking and soon Mo will have her last day at work and the day after we can leave for a vacation to France. The plan is to turn the van in a simple camper with as much comfort as possible in a small space.
I put in the chemical toilet, a jerrycan for water, a washing bowl and a fridge. They just fit next to each other. Behind it a full mattress of 1m40 x 2m fits exactly.
Together with Jan we build the woodwork around it. From some thin triples I make replacement panels for the doors and like the the camper is almost done.
Time for a birthday party!
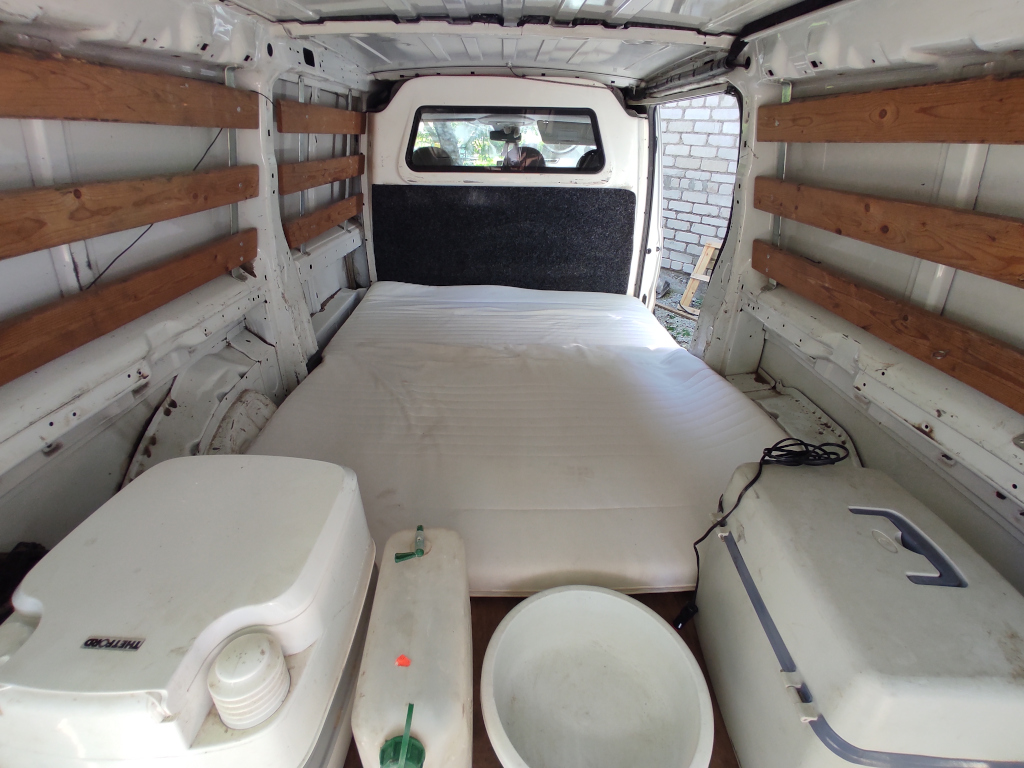
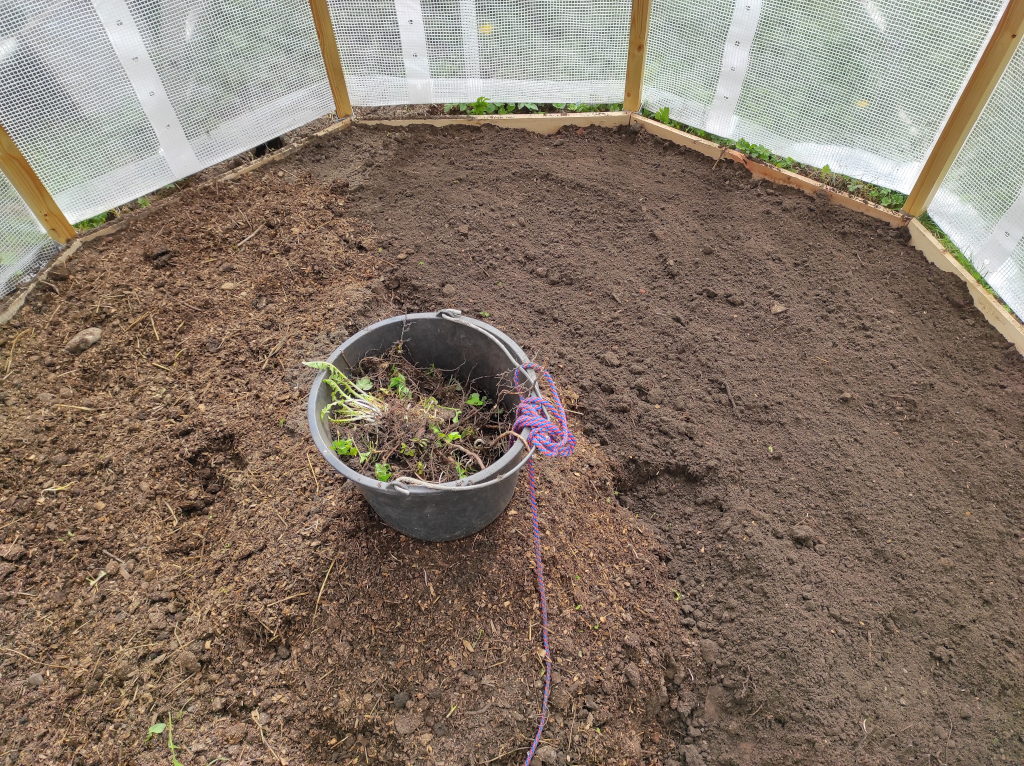
The rough layout 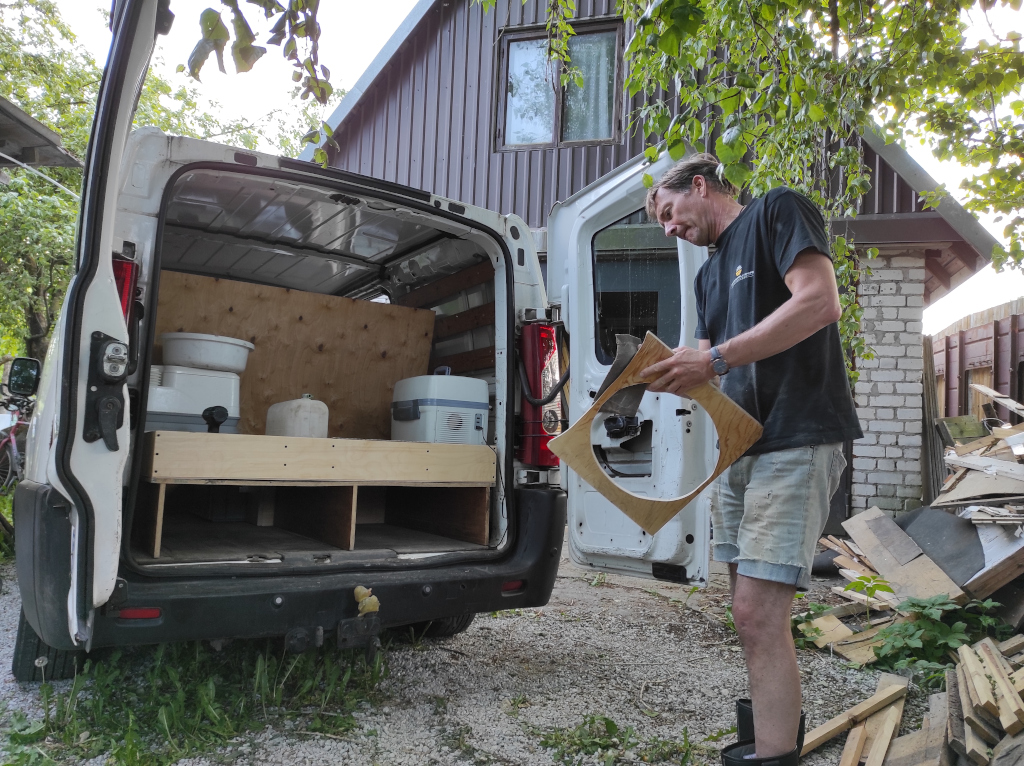
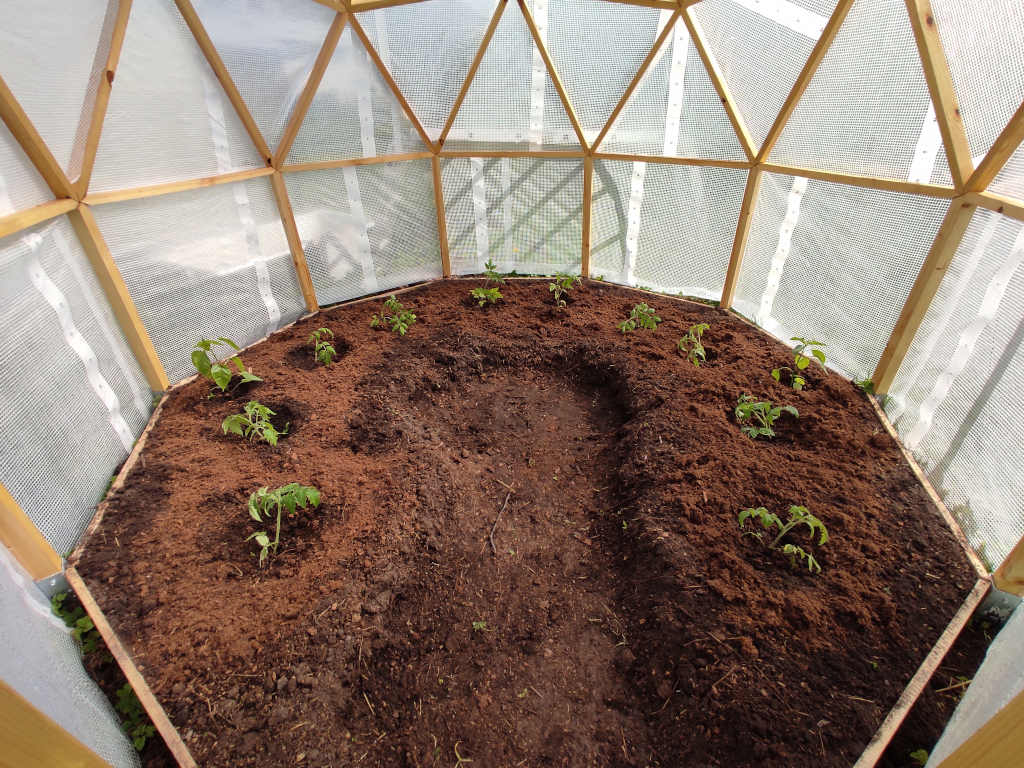
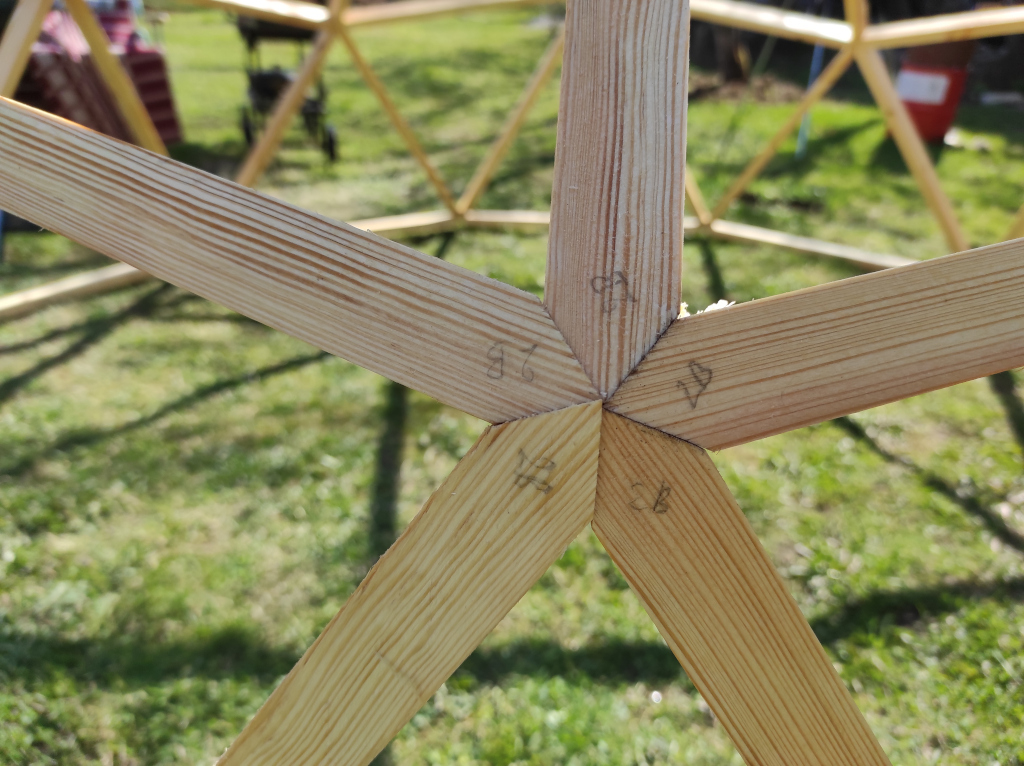
Putting it in a wooden frame 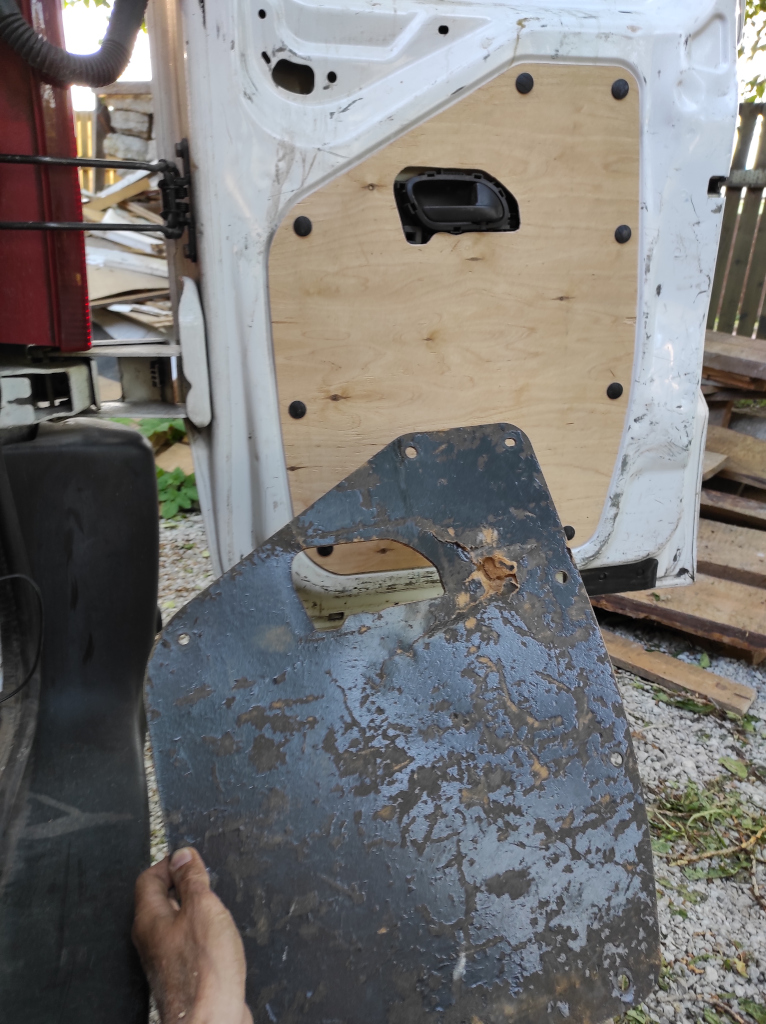
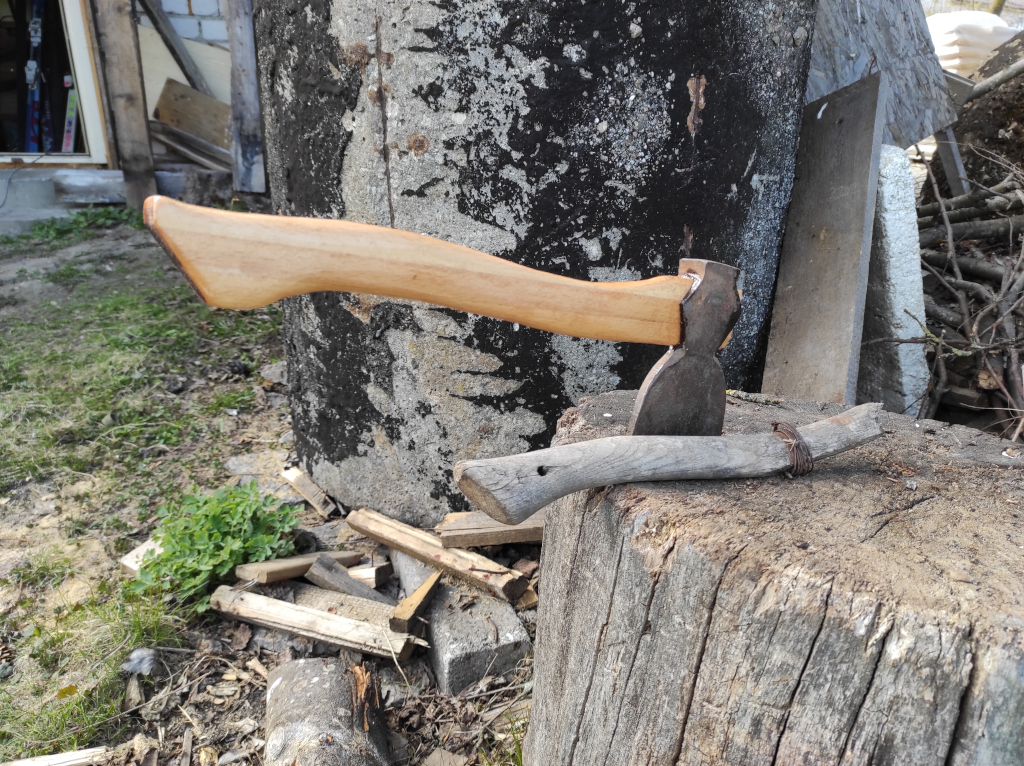
Old and new


Spelling error report
The following text will be sent to our editors: